
Standard Operating Procedure (SOP) for VOICE Streaming
✅ Prerequisites
Before you proceed, ensure:
- You have enabled access to Channels Hub on the account.
- Customer has provided:
- Bot Name
- Bot Description (optional but recommended)
- wss URL of their VOICE Bot for Bi-directional streaming
🧩 Step-by-Step Configuration
1️⃣ Set Up the VOICE Bot (Static or Dynamic Endpoint)
Before enabling inbound or outbound VOICE Streaming, you must set up an endpoint that tells the platform where to connect for two-way audio streaming. You can choose either a Static or Dynamic endpoint depending on how your bot is hosted.
🔹 Static Endpoint (Simple & Fixed)
Choose Static if your bot always uses the same WebSocket URL.
Use when:
- You have one fixed bot instance
- Your bot URL never changes
Setup steps:
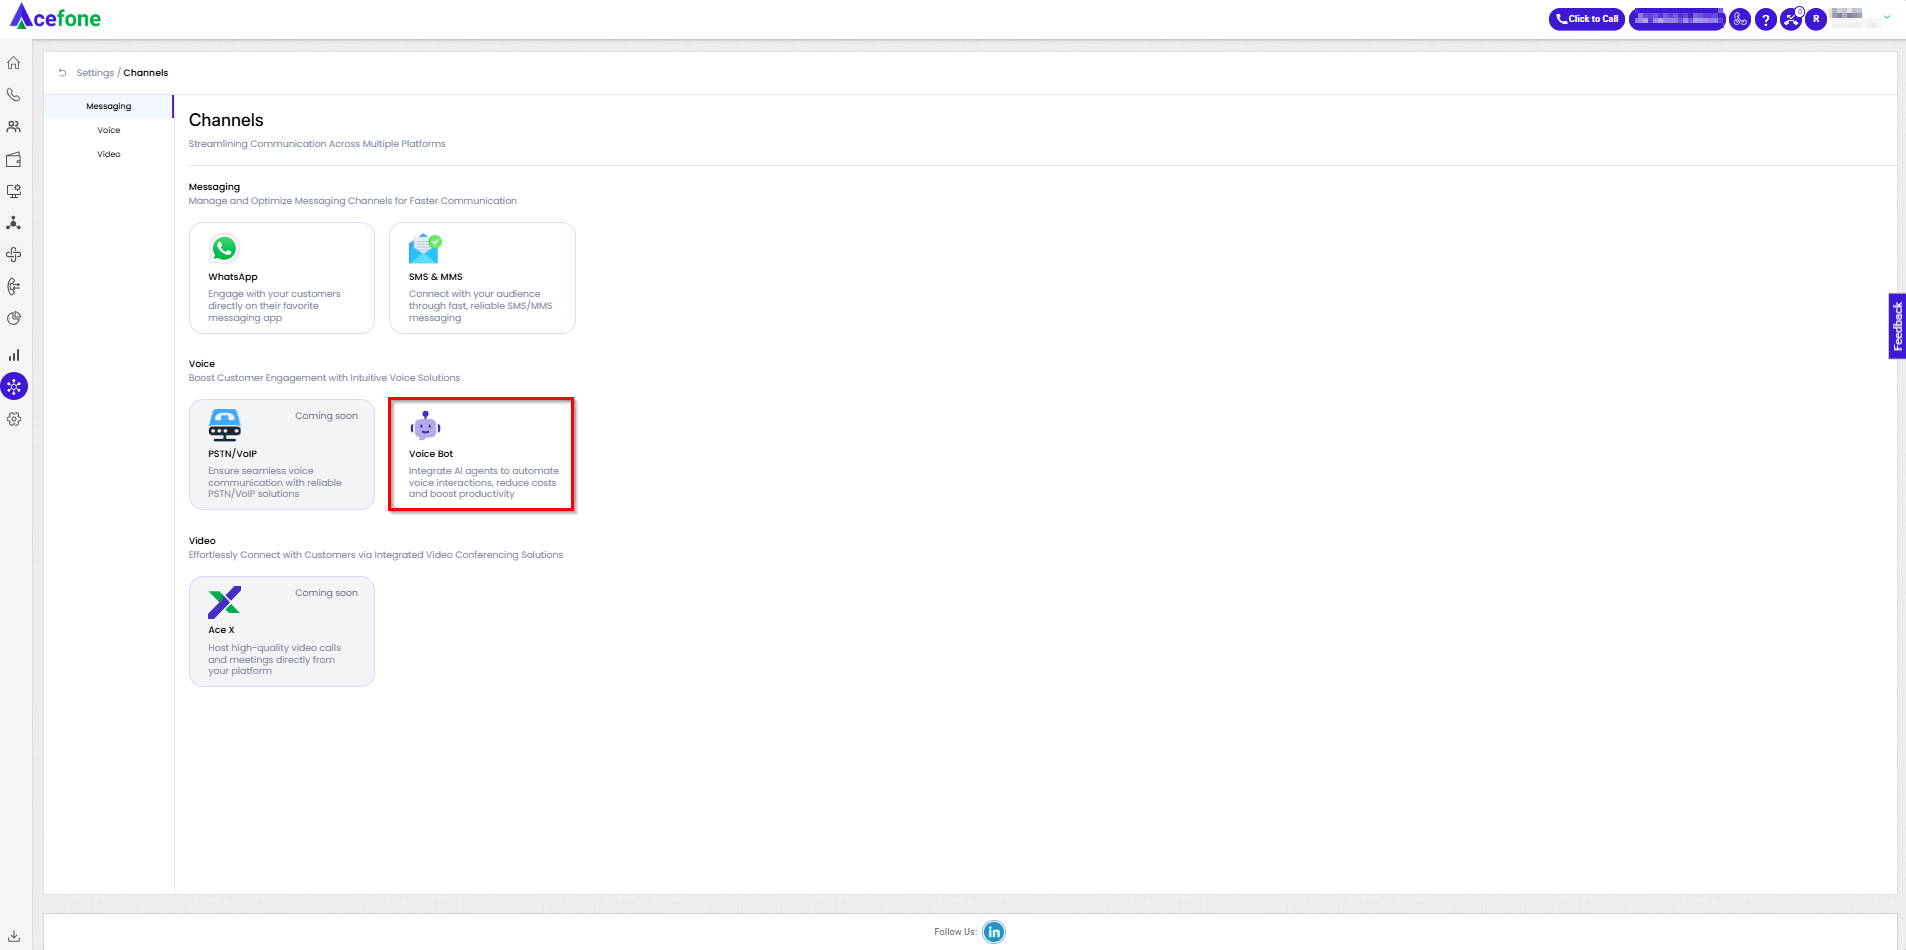
- Go to Settings → Channels → Voice Bot
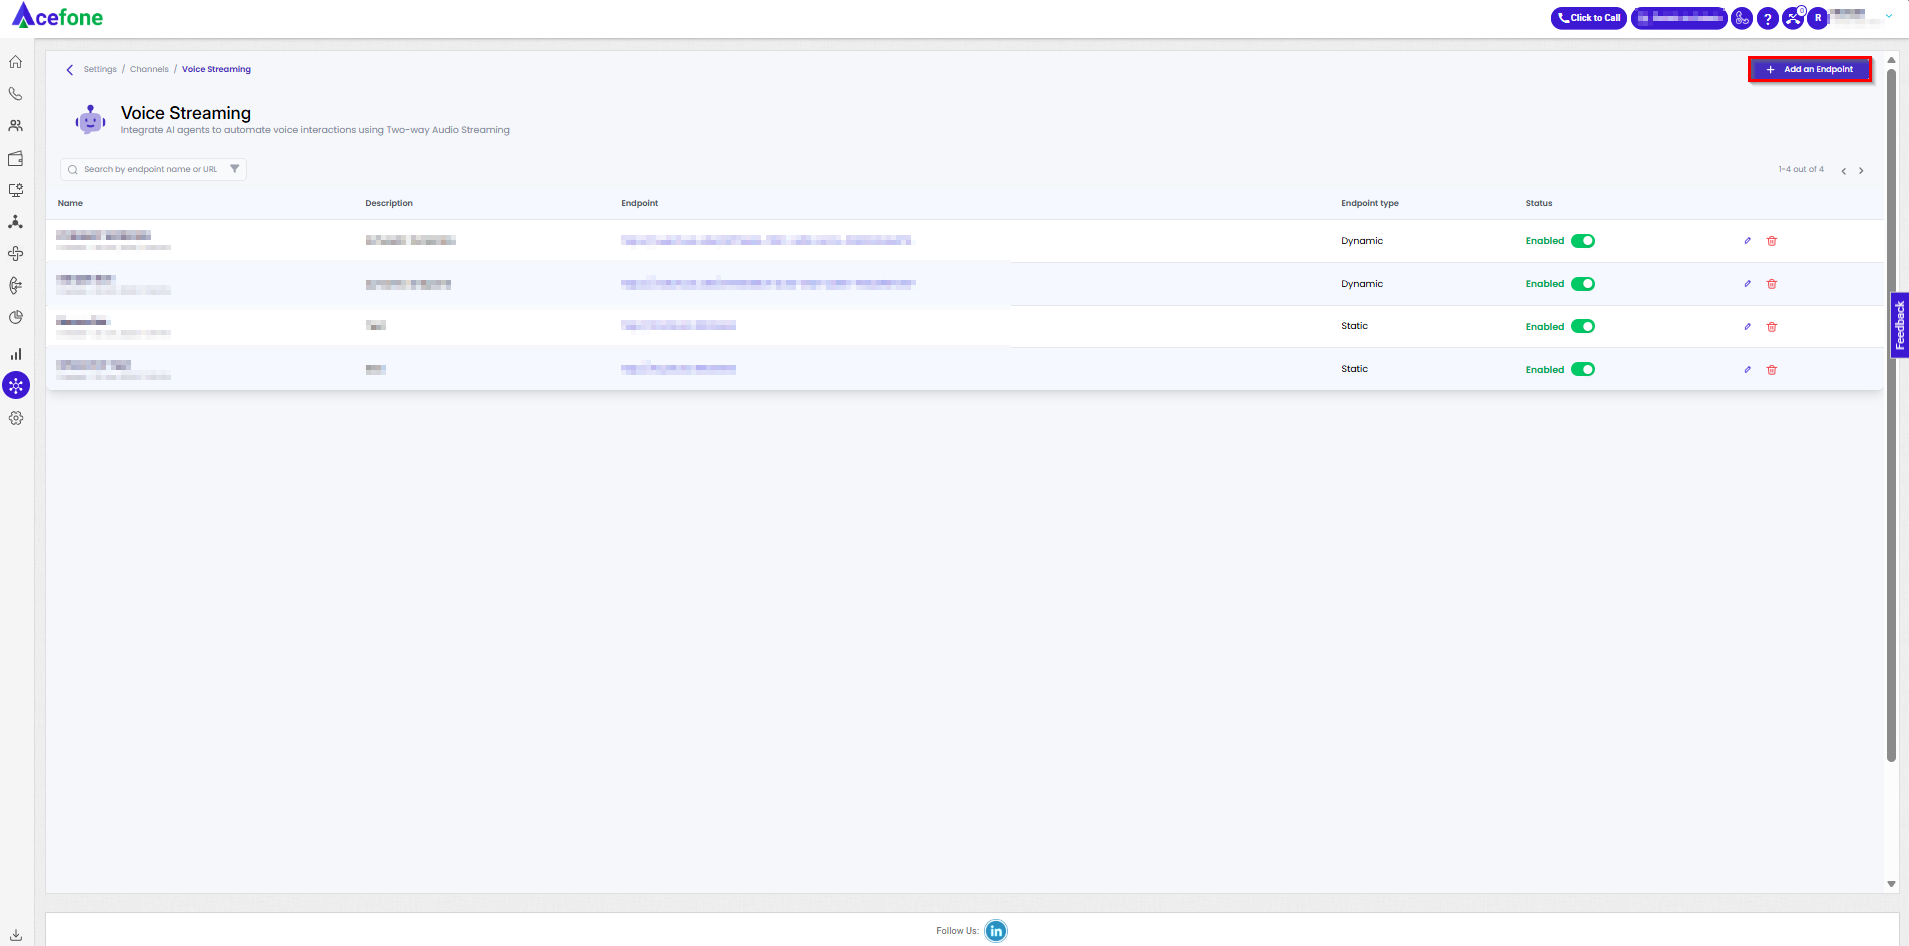
- Click Add an Endpoint
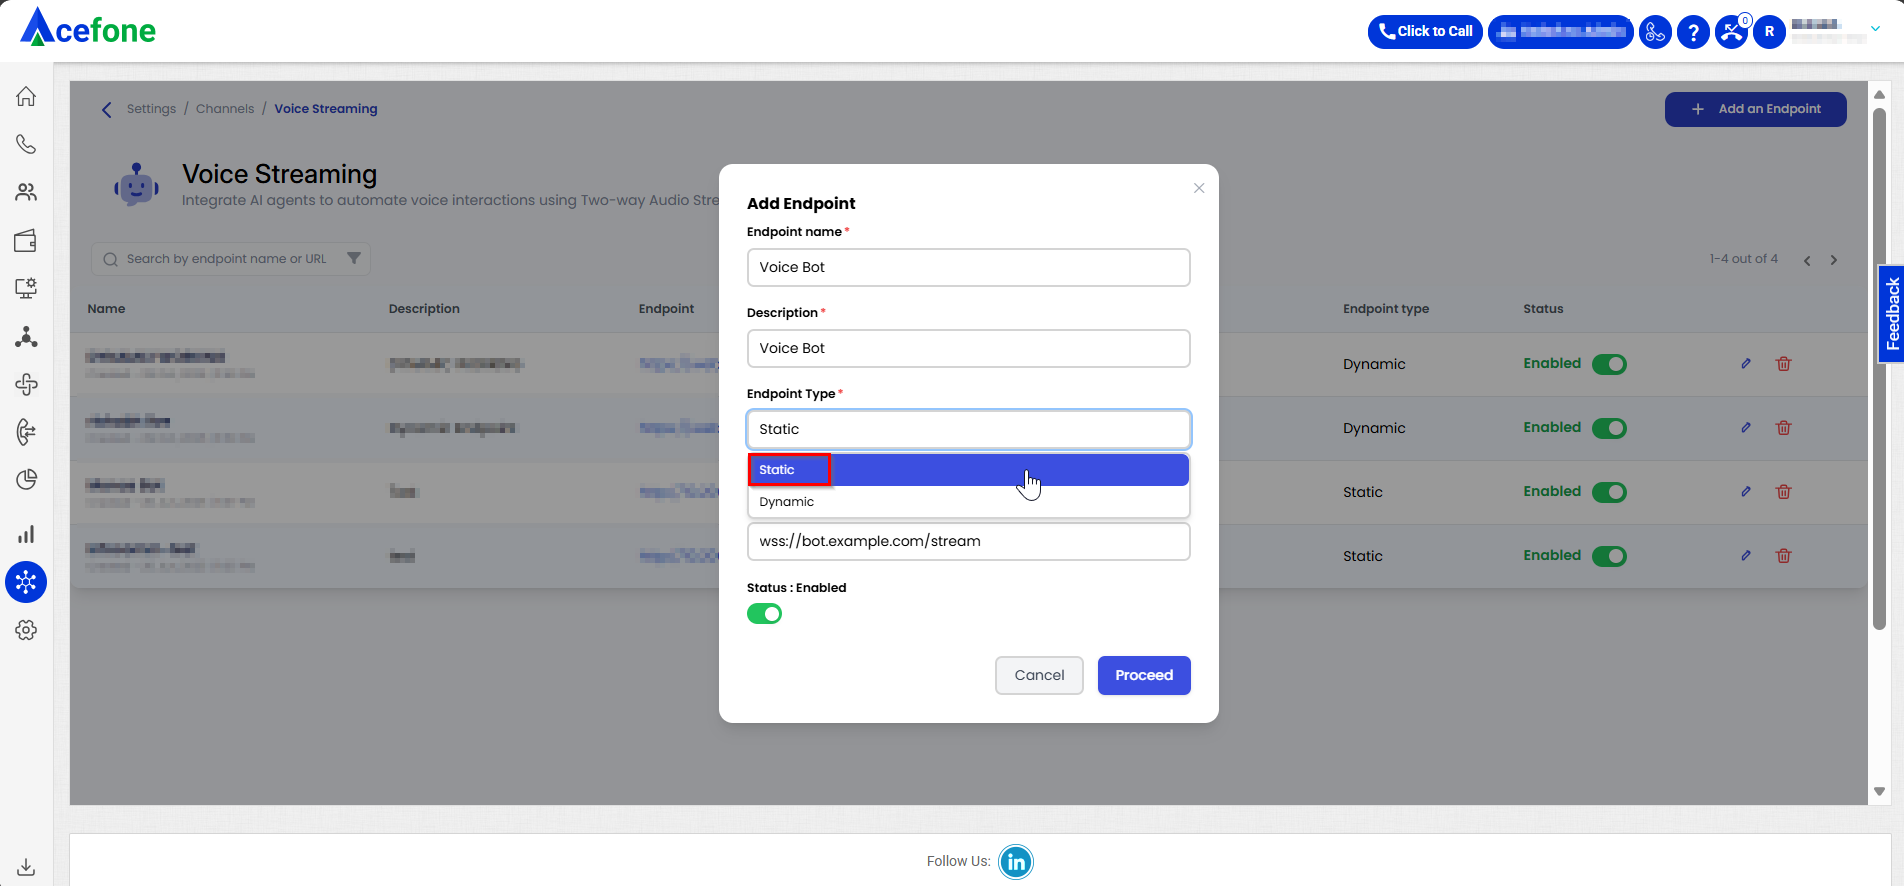
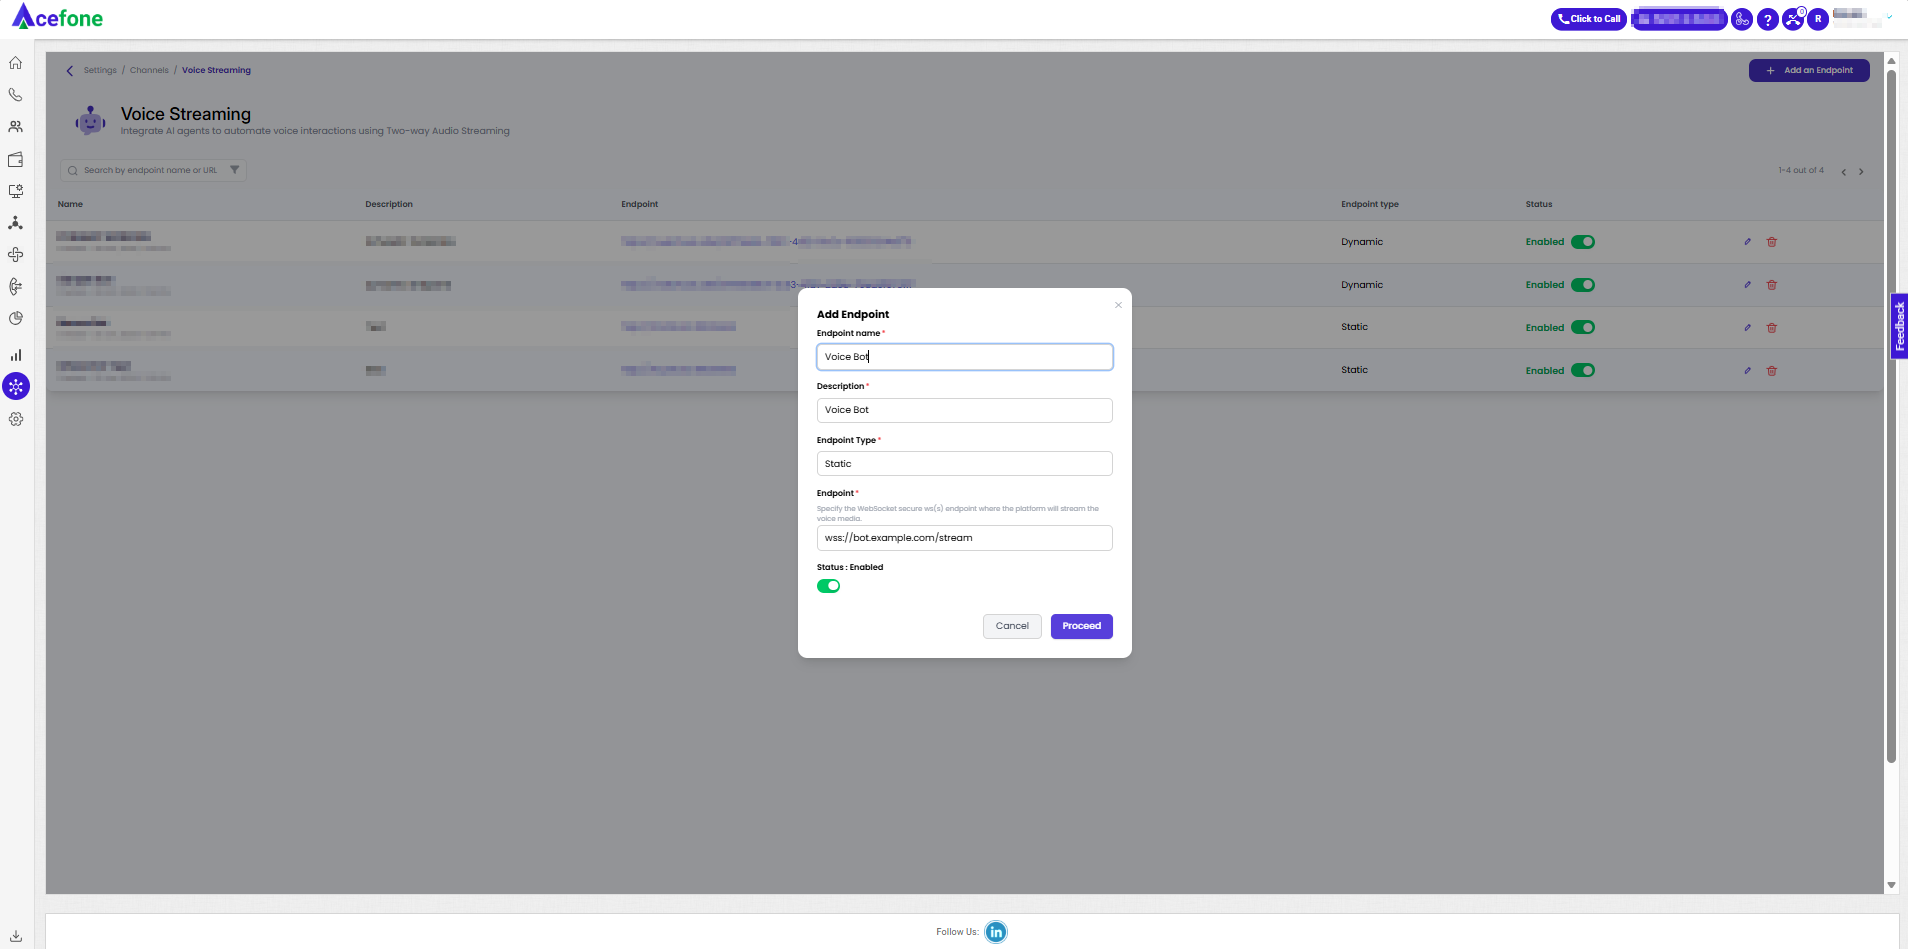
- Enter a Name and Description
- Keep Endpoint type = Static URL
- Paste your fixed wss:// URL
(Example:wss://bot.example.com/stream) - Save and Enable the endpoint
🔹 Dynamic Endpoint (Flexible & Call-Based)
Choose Dynamic if your bot’s WebSocket URL changes per call or is decided by your backend logic.
Use when:
- You route calls based on tenant, region, language, business hours, etc.
- Your backend generates a new URL for each call
Setup steps:
- Go to Settings → Channels → Voice Bot
- Click Add an Endpoint
- Enter a Name and Description
- Change Endpoint type → Dynamic
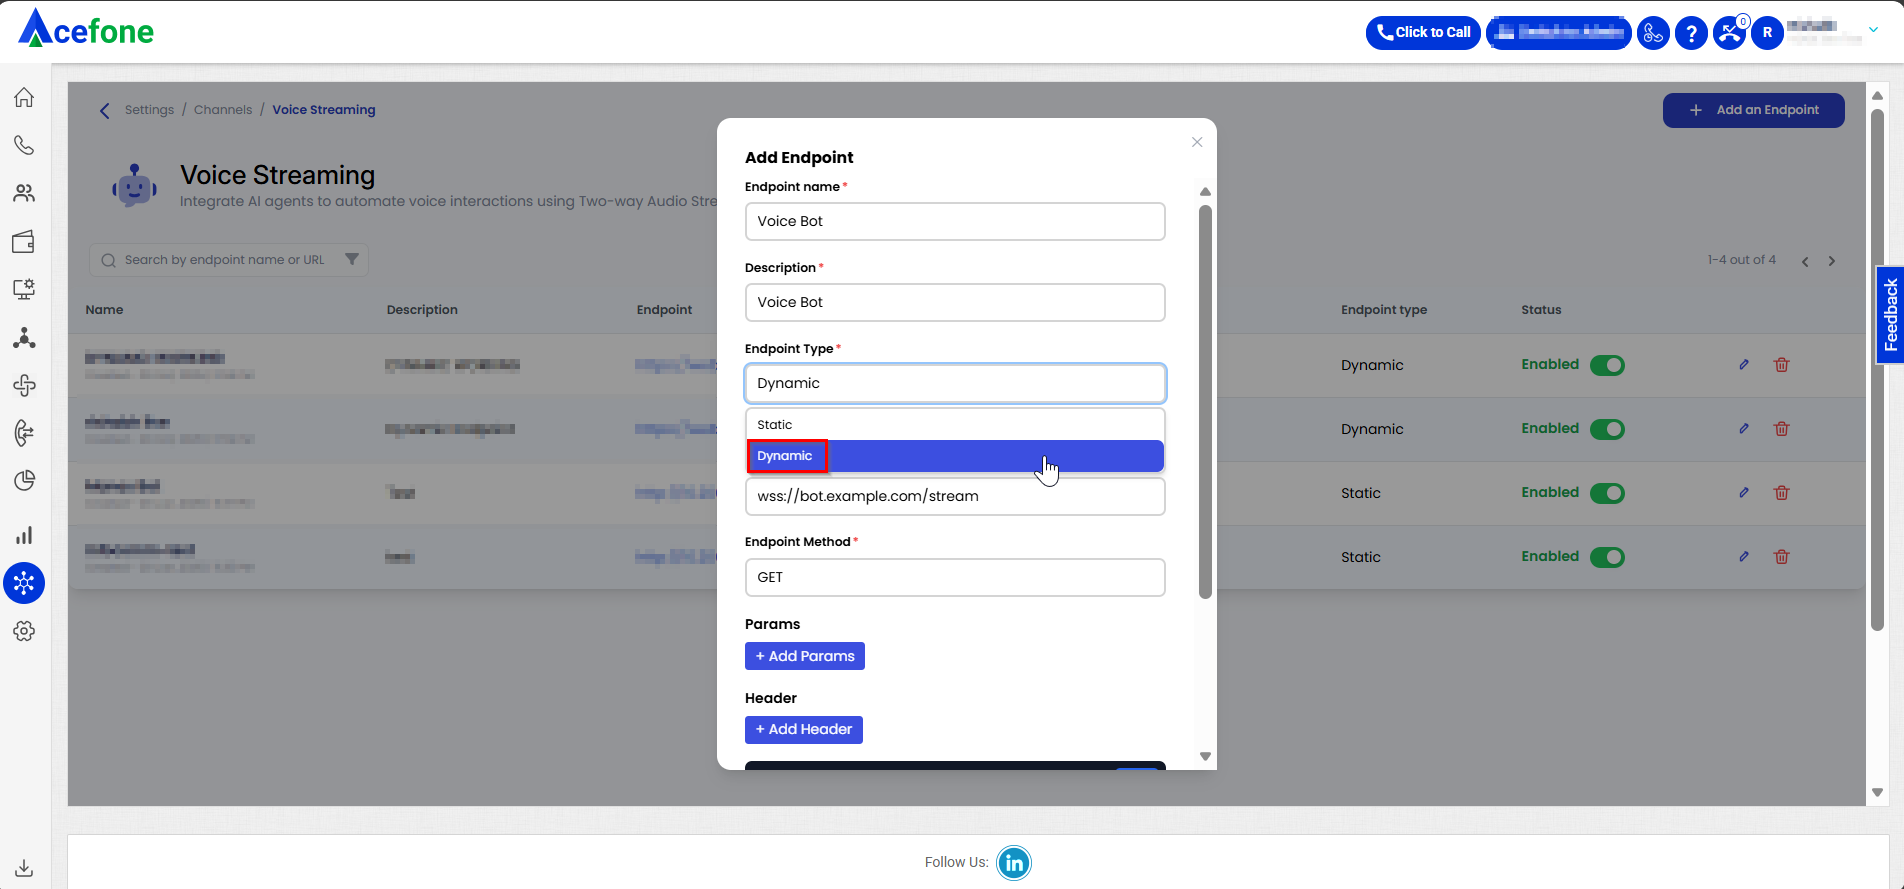
- Choose the request method (GET or POST)
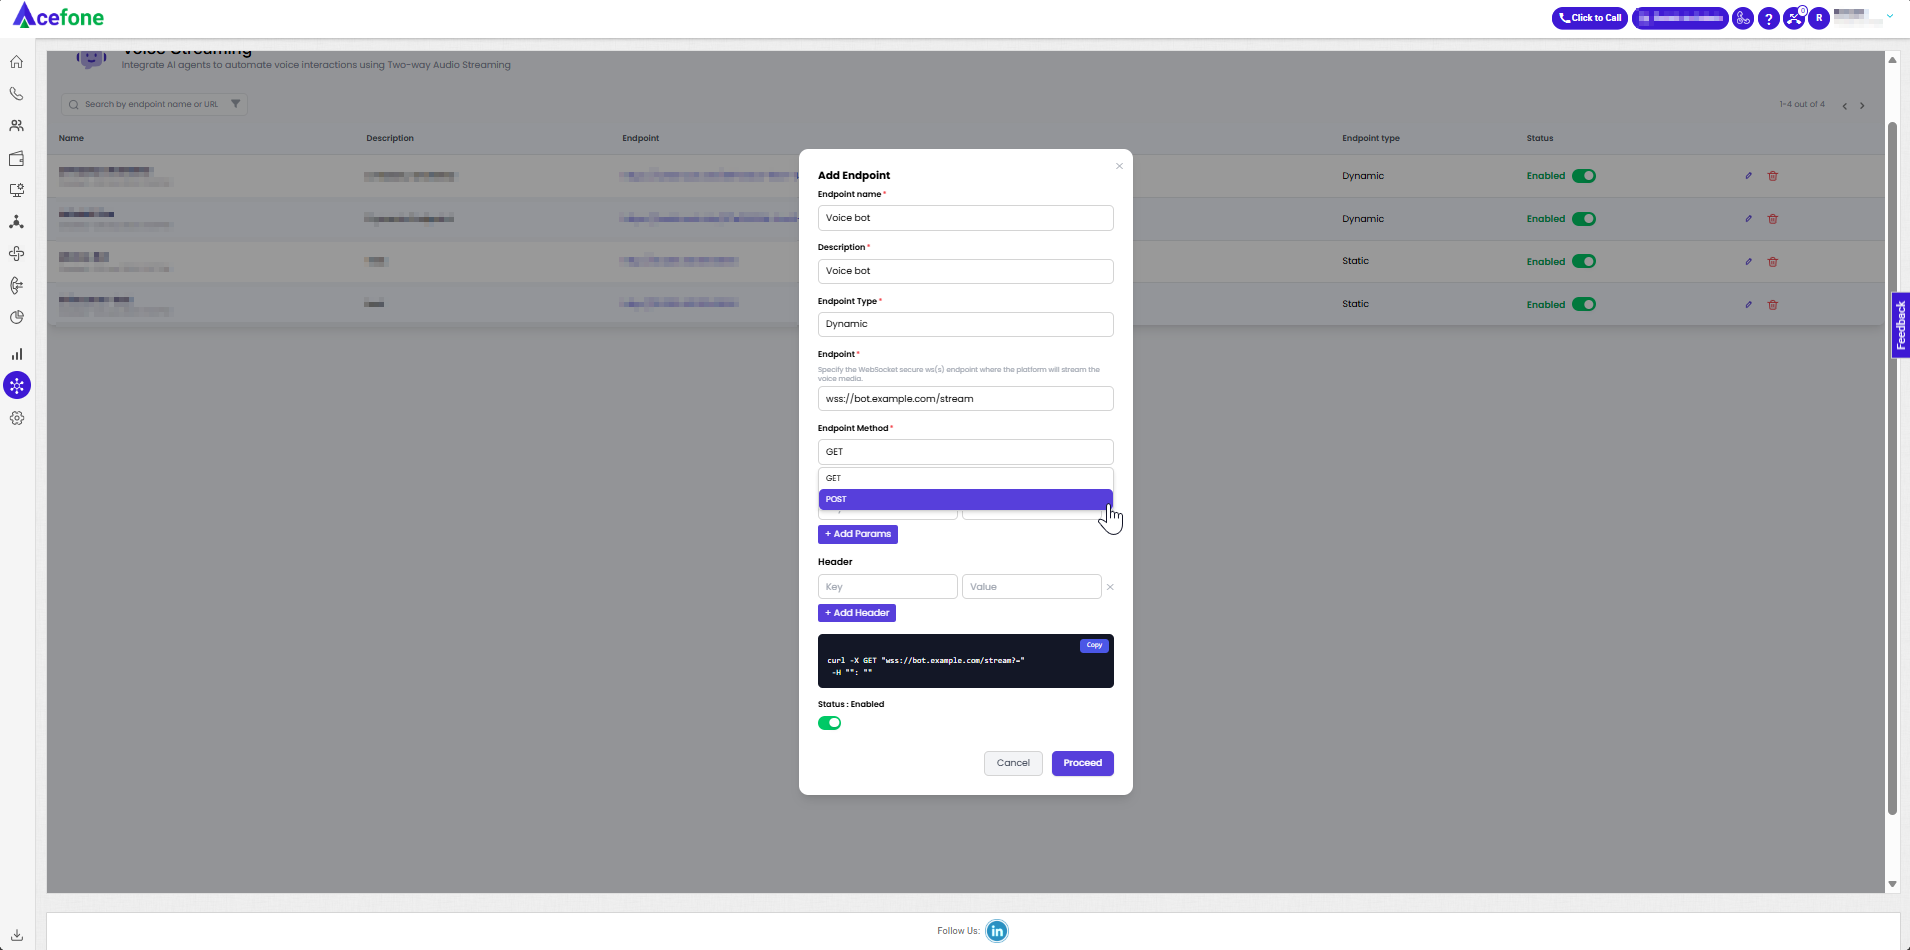
- Add the fields (variables) you want sent to your endpoint
- Review the request preview to confirm what the platform will send
- Save and Enable the endpoint
You’re now ready to map this endpoint in your inbound or outbound call setup.
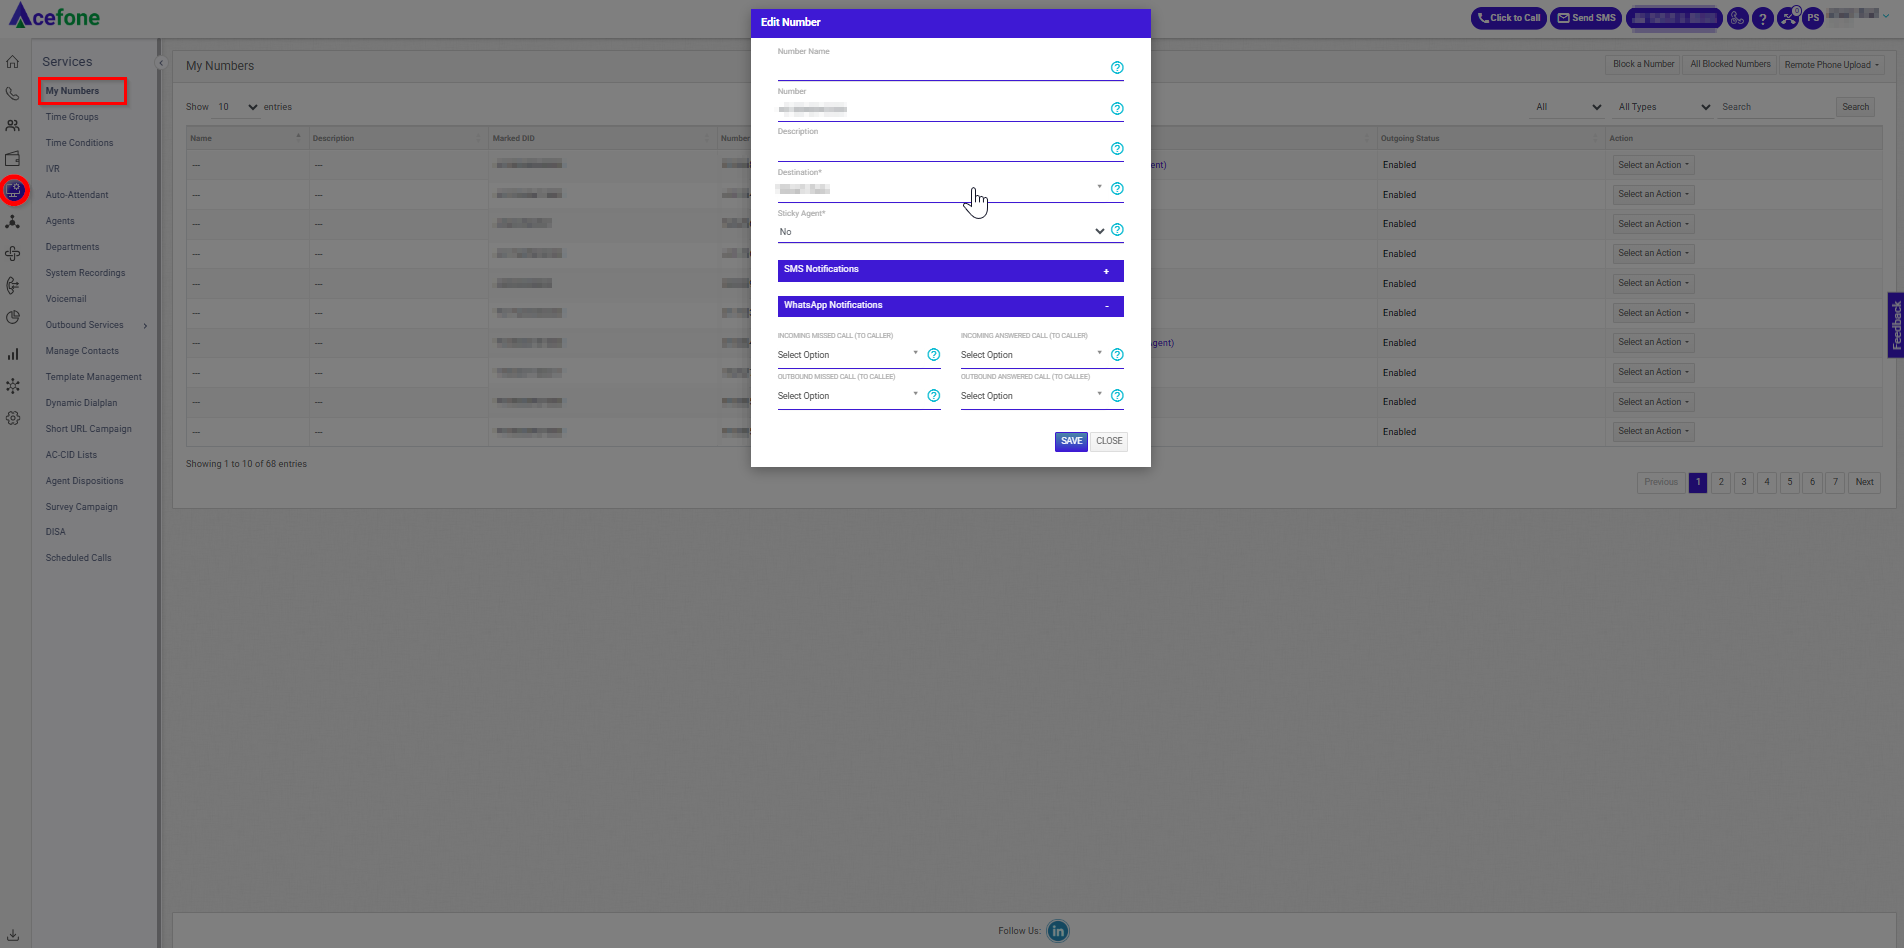
2️⃣ Configuration for Inbound VOICE Streaming
This setup enables streaming on incoming calls received on customer’s DIDs.
Steps:
- Go to My Numbers
- Locate the customer’s DID (Phone Number)
- Click on "Configure Destination"
- From the destination options, select the VOICE Bot configured in Step 1
- Save the configuration
✔️ Result: Any incoming call on this DID will now trigger VOICE Streaming to the linked VOICE Bot.
3️⃣ Configuration for Outbound VOICE Streaming (Click to Call)
This setup enables streaming on outgoing calls triggered via the Click to Call Support API.
Steps:
- Navigate to API Connect → Click to Call Support API
- Click on "Generate New API Key"

- Provide the necessary details.
- In the Destinations configuration, select the VOICE Bot configured in Step 1
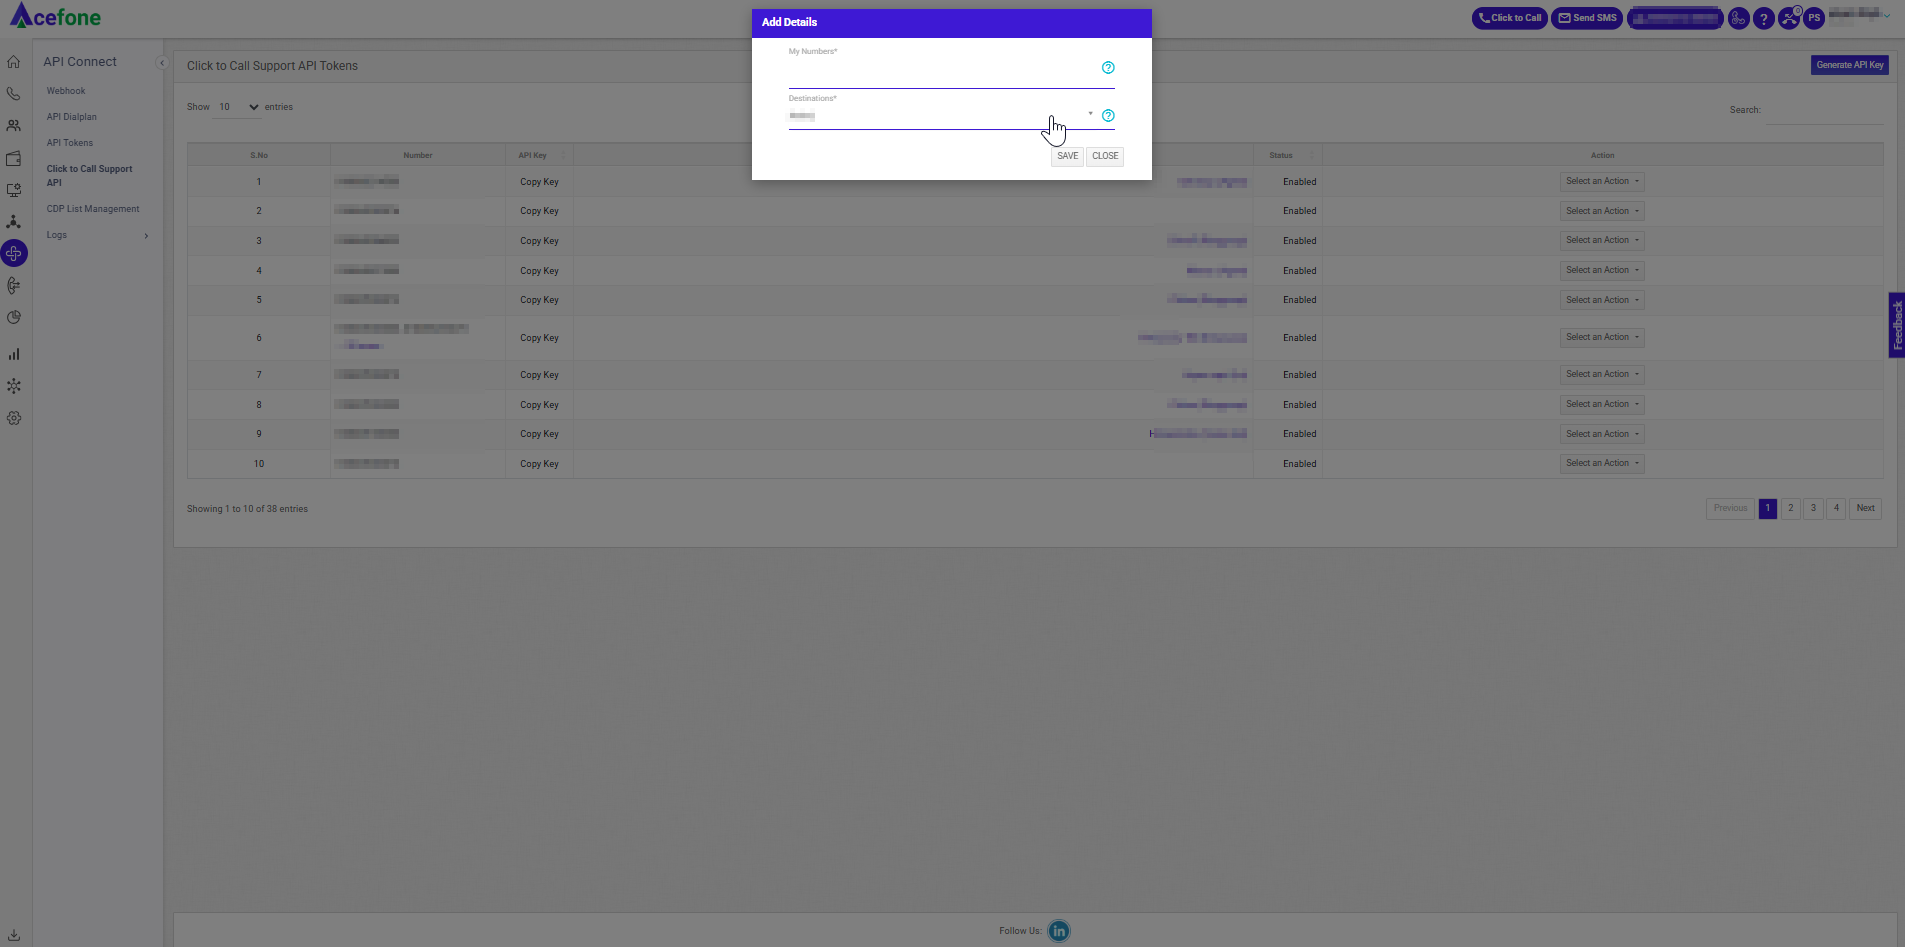
- Save the token.
✔️ Result: All outgoing calls triggered via this API key will initiate VOICE Streaming to the configured VOICE Bot.
📝 Note:
If the customer wants faster API responses, guide them to use the optional async=1 parameter in the API call. While this omits the call_id in the immediate response, they can pass up to 3 custom fields to track the call via webhooks and VOICE Streaming start event.
💡 Post-Setup Tips
- Validation: After setup, ask the customer to initiate test calls (inbound and/or outbound) to validate that the bot receives and responds to audio.
- Monitoring: Check the Call Logs for CDRs and VOICE Streaming entries to confirm correct routing.
- Troubleshooting: If VOICE Streaming doesn't trigger:
- Check that the correct VOICE Bot is mapped.
- Confirm the bot’s wss URL is correct.
- If issue persists, connect with the VOICE Cohort.
📌 Notes
- VOICE Streaming currently supports:
- Inbound Calls via UIX
- Outgoing Calls via Click to Call Support API
- Broadcast/Outreach Campaigns are not yet supported (planned for future)
Updated 7 months ago