
Dashboard
Dashboard Overview
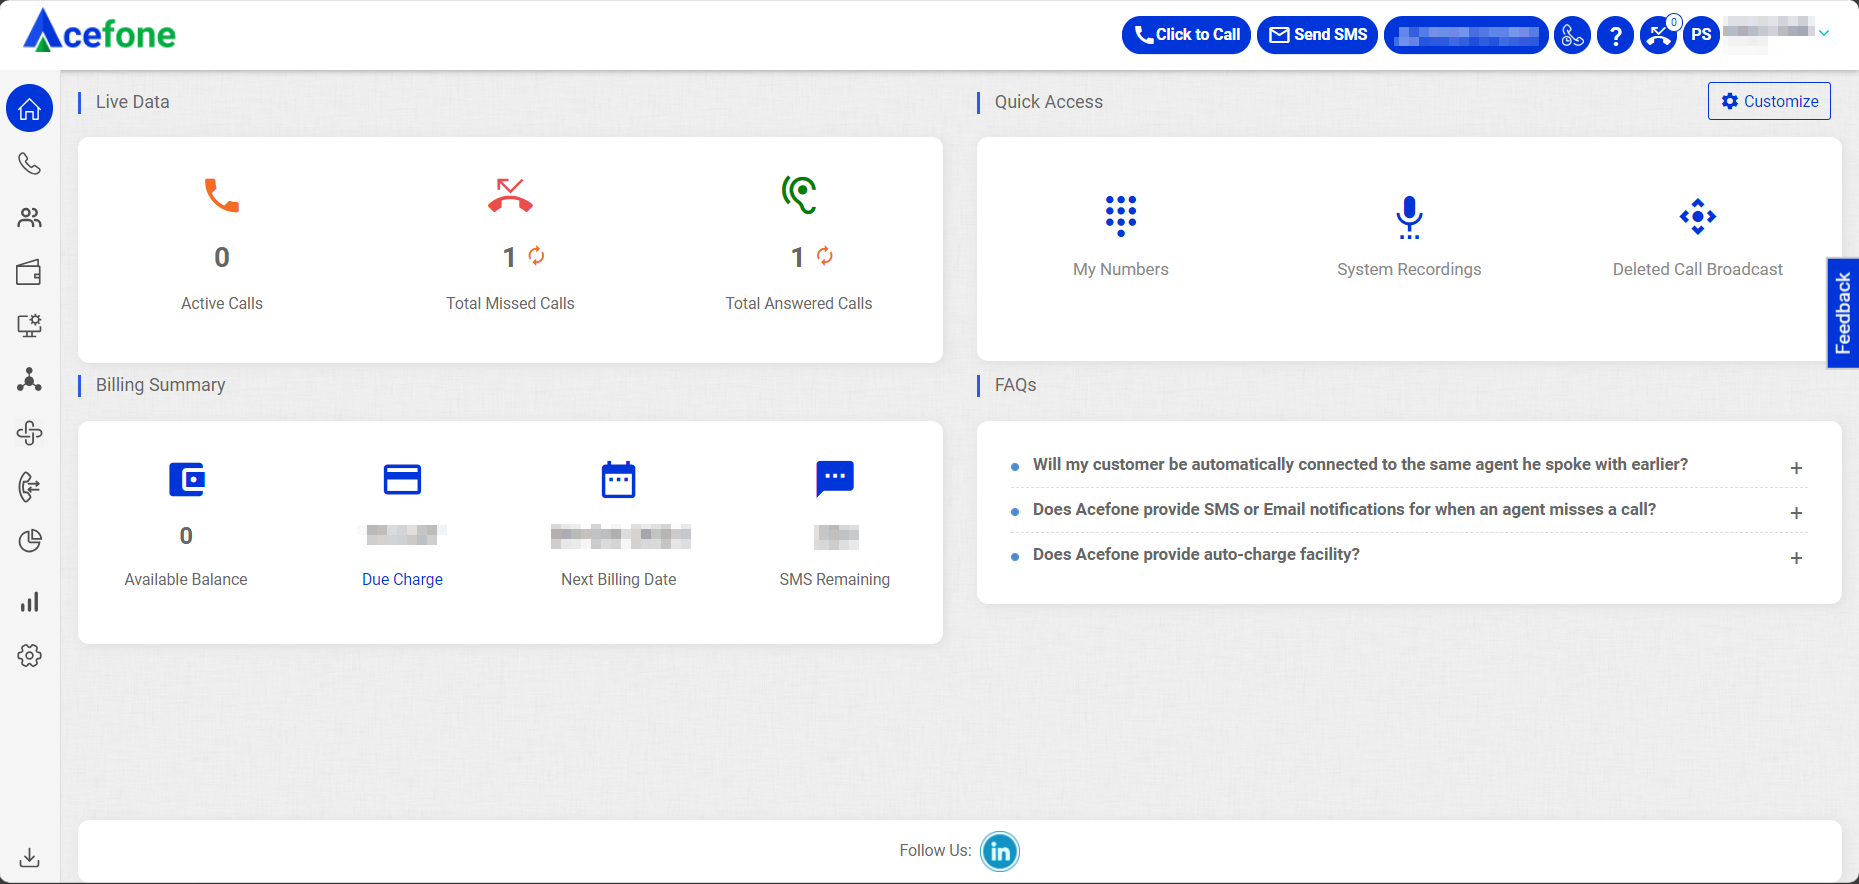
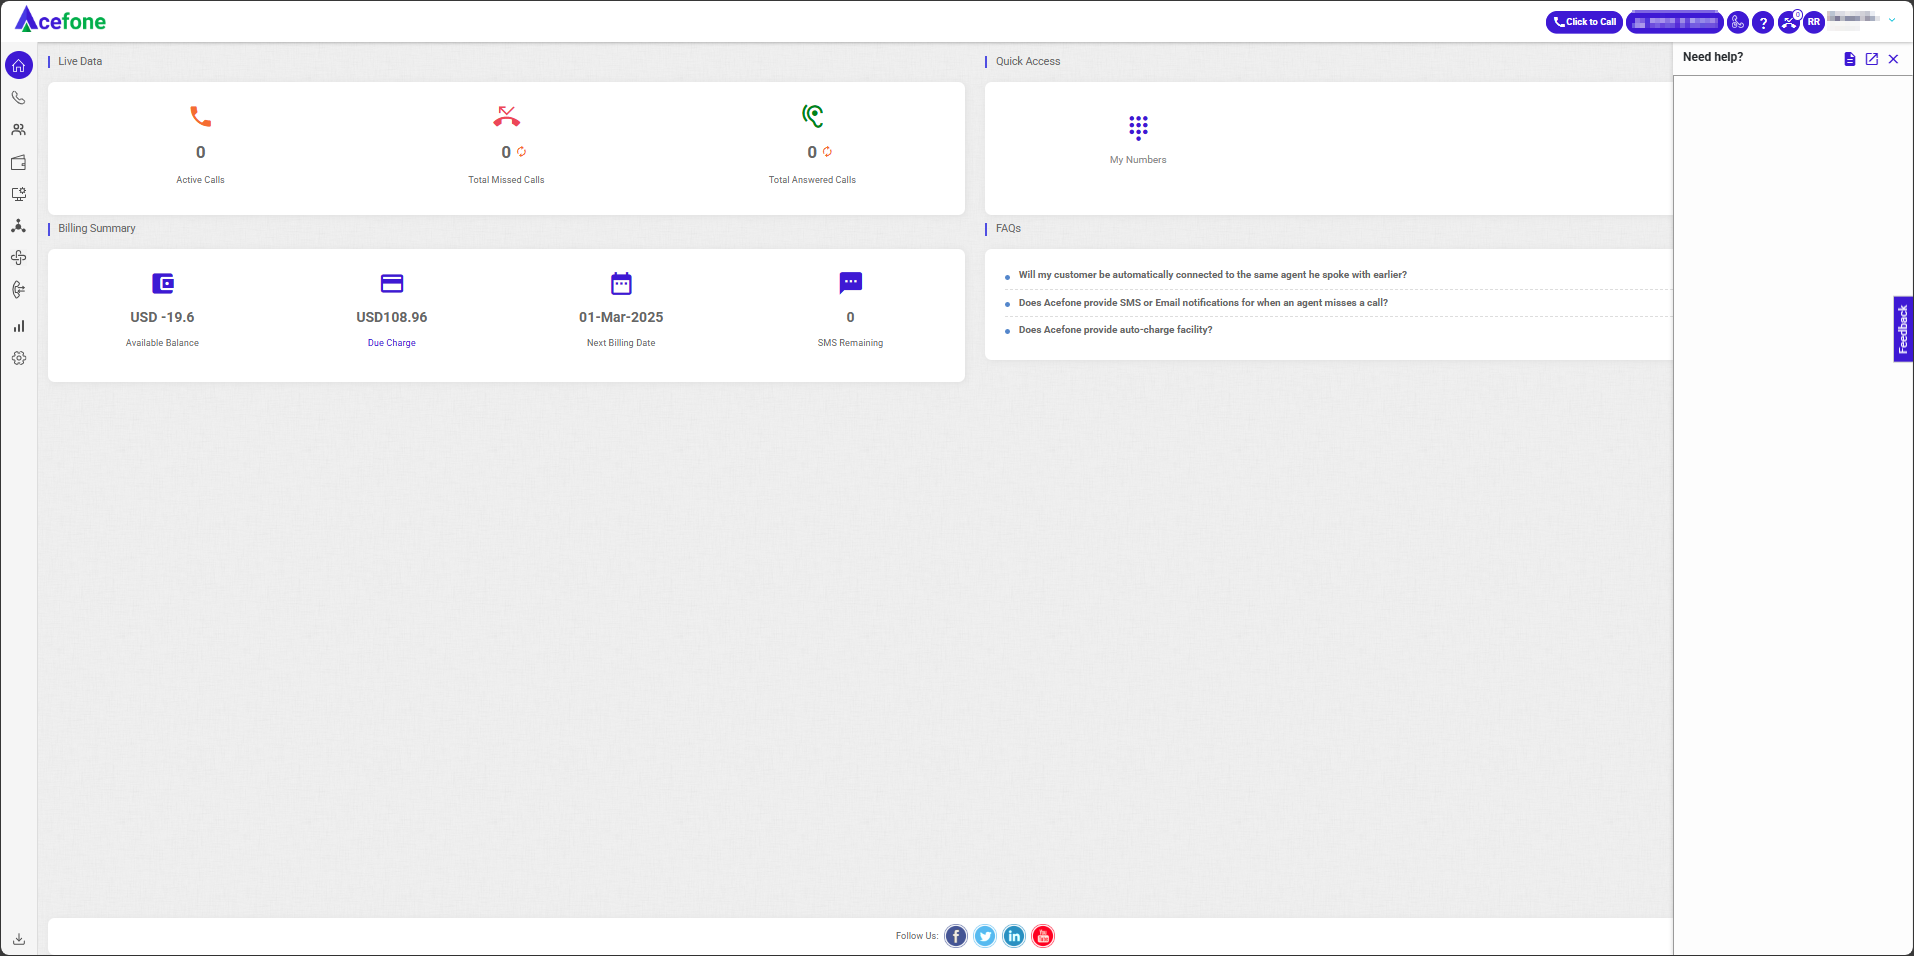
The Acefone “Dashboard” provides a comprehensive overview of your telephony services, including live data on call activities, quick access to key features, and video tutorials. This screen is designed to help you manage your calls and access important functions easily.
Getting Started with Dashboard
Login to your Acefone account using your unique User ID and Password. Once logged in, you will be directed to the main dashboard which provides an overview of key metrics and offers quick access to essential features. Here's an explanation of the key sections on the Acefone dashboard:
1. Live Data

The Live Data section on the dashboard provides real-time insights and is divided into three categories Calls, Total Missed Calls and Total Answered Calls. These metrics offer a snapshot of call activity, helping to monitor and manage call handling efficiency.
| Live Data | |
|---|---|
| Active Calls | Show the total count of active calls in real-time, including those from the dialer and HPBX. |
| Total Answered Calls | Shows the total count of answered incoming calls (HPBX). |
| Total Missed Calls | Shows the total count of missed incoming calls (HPBX). |
2. Quick Access
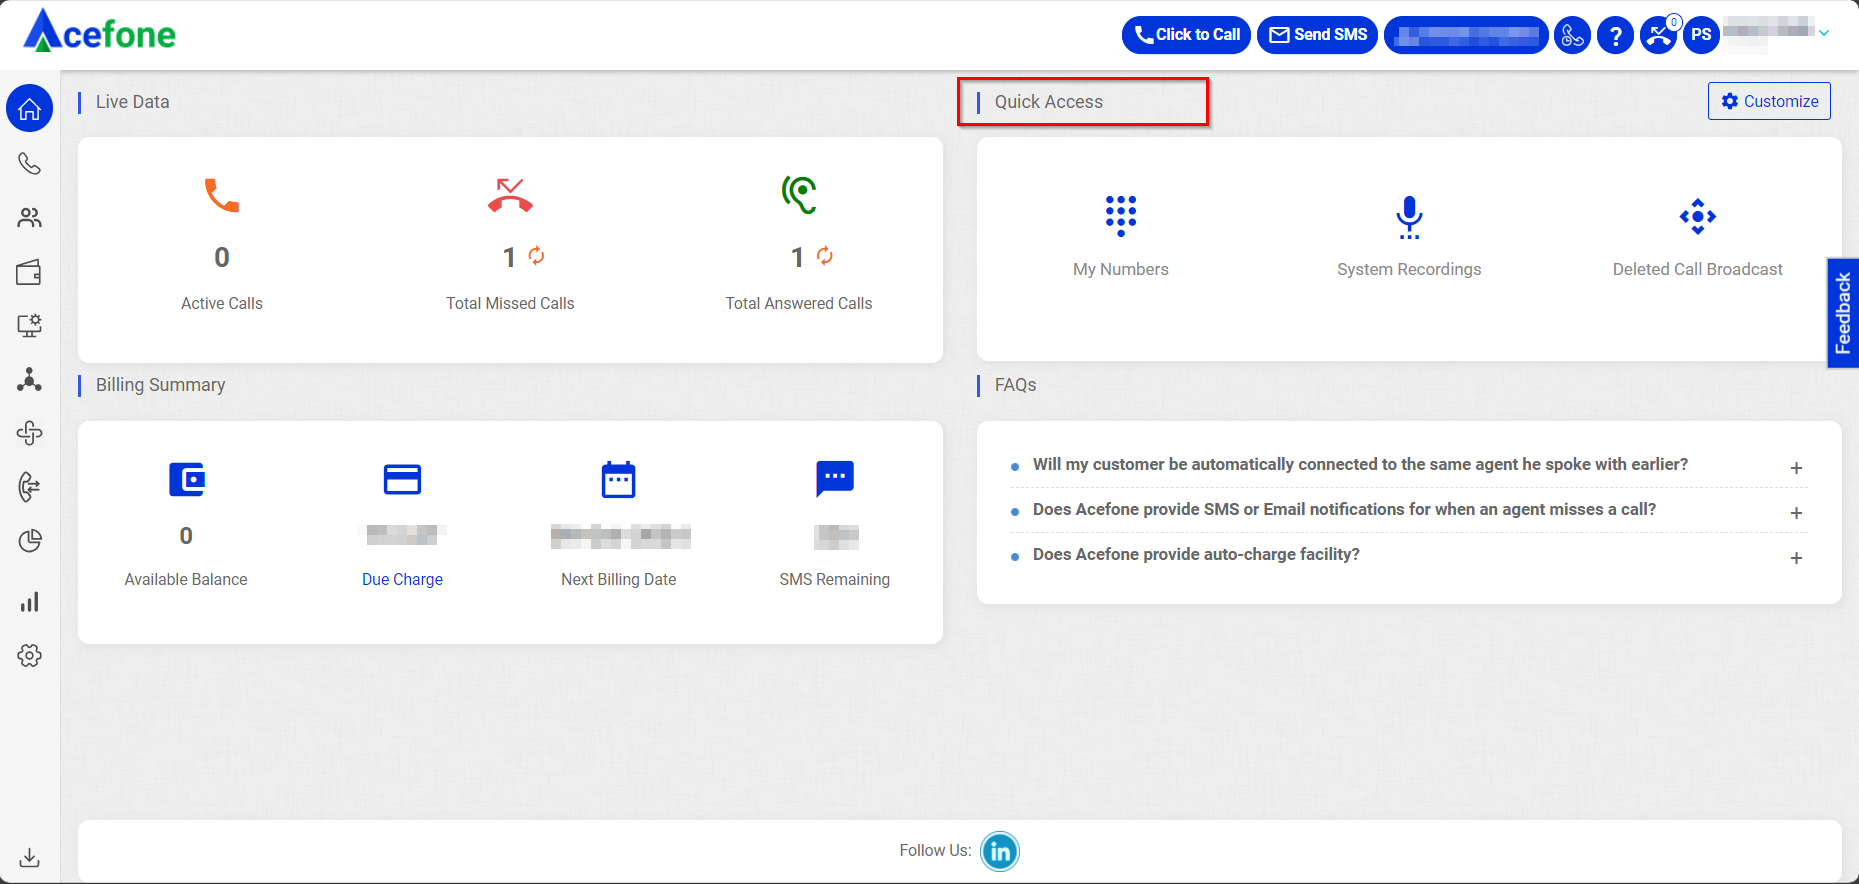
This section provides easy access to essential features such as My Numbers, TTS (Text-to-Speech), and Manage Contact Groups. These options enable you to efficiently handle and organize communication-related tasks. There is also a customize option available, allowing you to tailor the Quick Access section according to your specific needs.
Quick Access
My Numbers
My Numbers
Access and manage all the numbers linked to your account.
TTS (Text-to-Speech)
TTS
Create dynamic TTS messages for Broadcast automated calls, such as: "Hello <Variable>, this is an automated broadcast call.
Example:
"Hello Kajal, this is an automated broadcast call."
Manage Contact Groups
Manage Contacts
Enables you to create and organize contacts along with their details.
1. Click to Call
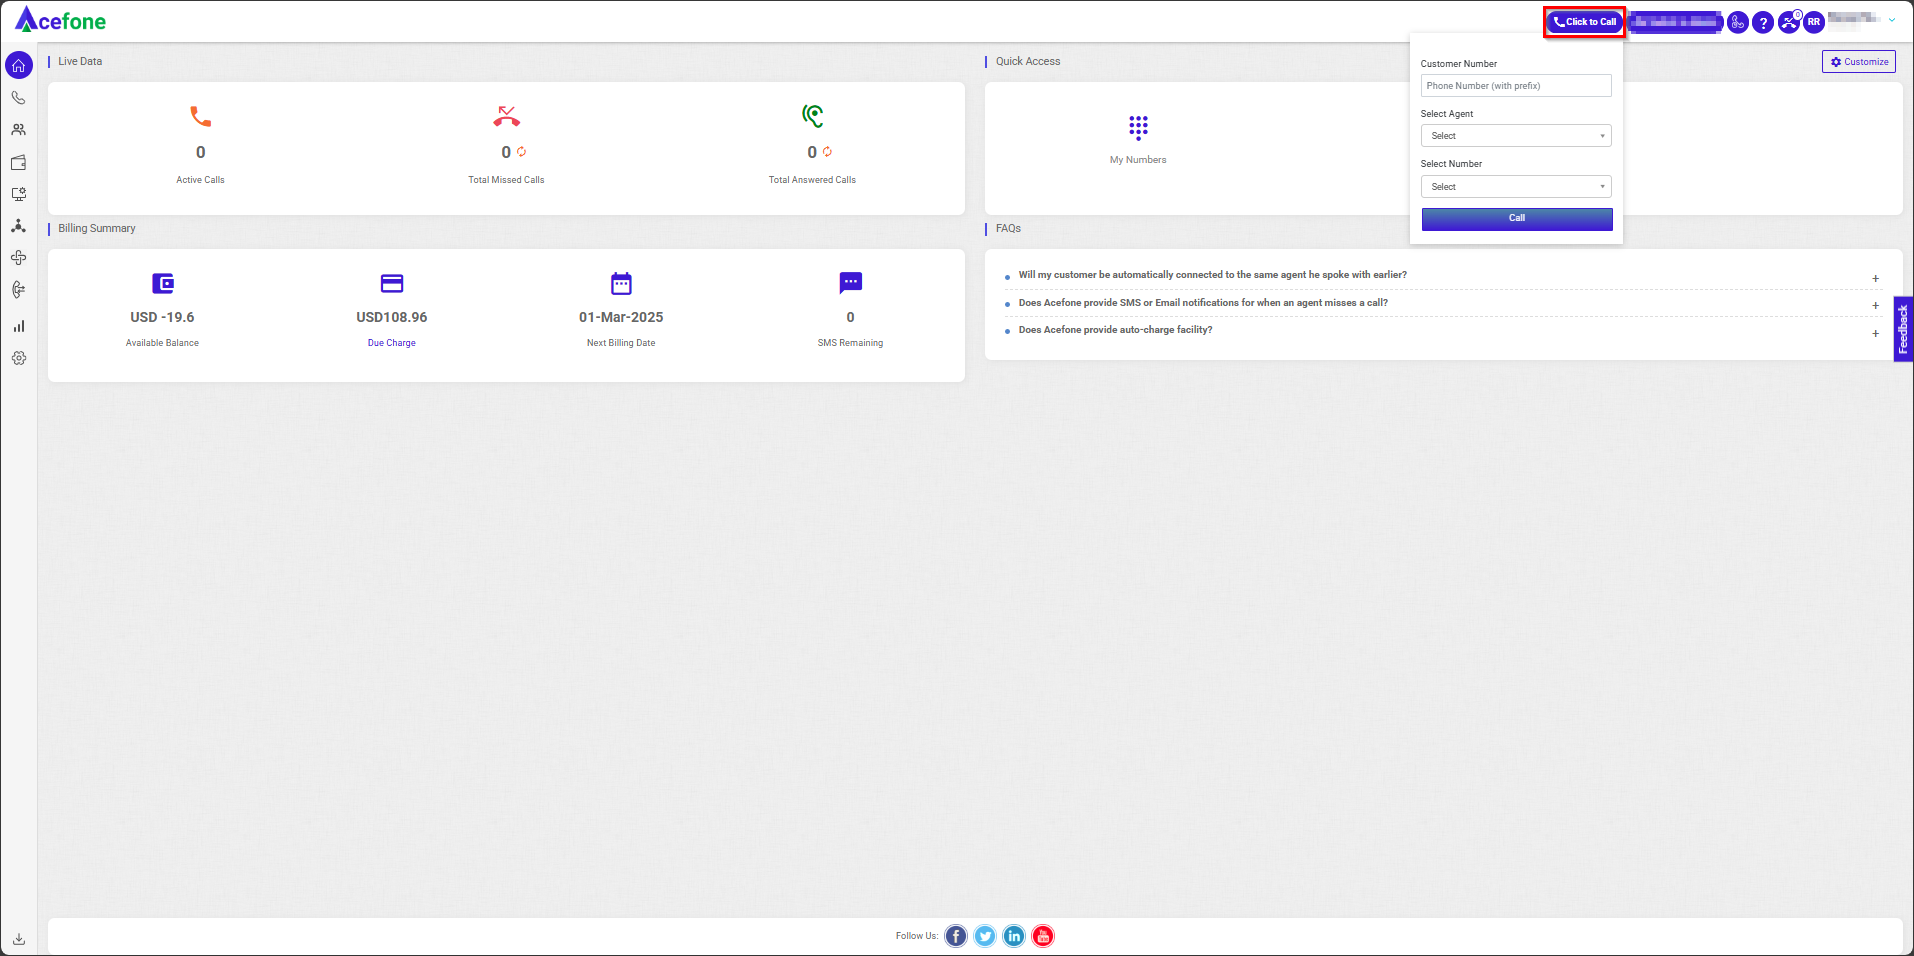
The Click to Call functionality helps you call agents or customers instantly with a single click.
- Click the Click to Call button on the top-right corner.
- Enter the desired number under Customer Number (10-15 digits; prefixes +91 and 0 allowed).
- Select the agent under Select Agent.
- Choose the DID number under Select Number.
- Click the Call button.
5. Schedule Calls

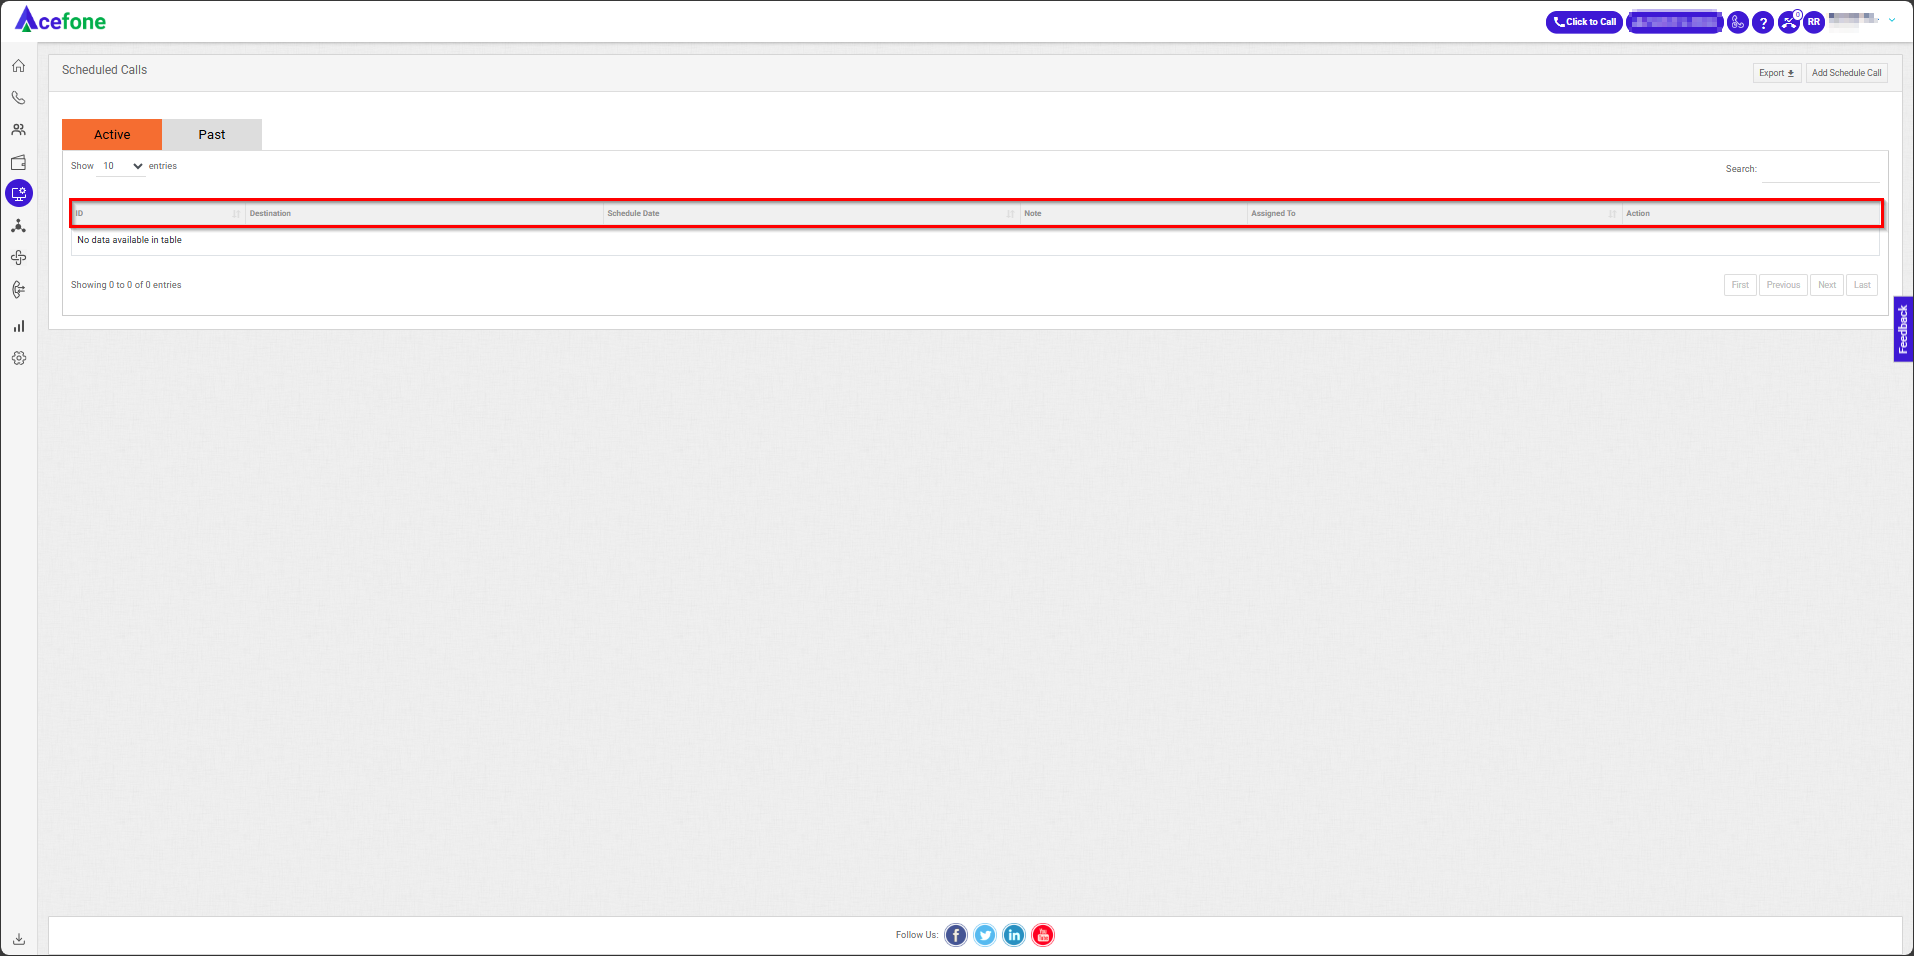
The Schedule Calls section shows all calls scheduled by agents on both the dialer and HPBX.
| Field | Description |
|---|---|
| Destination | Displays the customer’s name and phone number. |
| Schedule Date | Shows the scheduled call date. |
| Note | Includes notes added during scheduling. |
| Assigned To | Displays the assigned agent’s name. |
| Action Button | Allows editing or deleting scheduled calls. |
6. Need Help?
The Need Help button opens the knowledge base. Use the expand icon to open it in a new tab.
8. Profile Settings
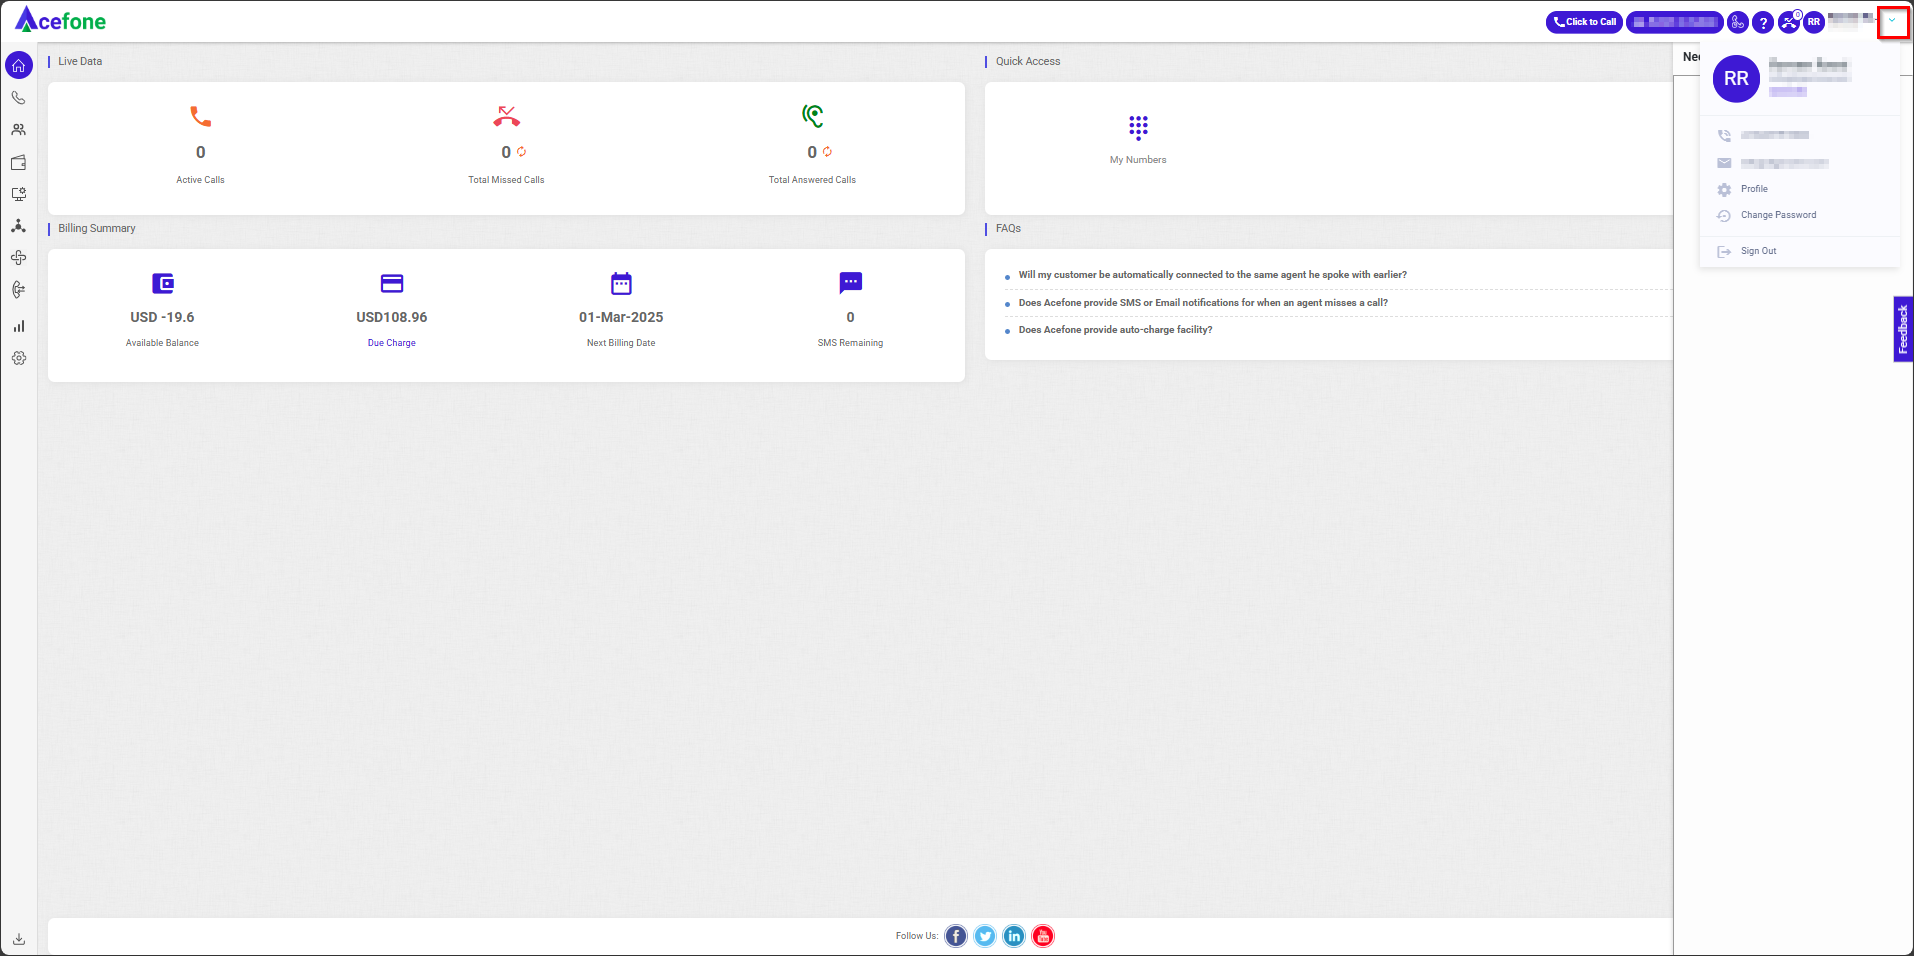
In Profile Settings, you can:
- View your registered number and email address.
- Access the Change Password option.
- Sign out of your account.