
Freshdesk CRM Integration Guide
📘 Integration Guide: Freshdesk CRM with Acefone Dialer
This document provides a step-by-step guide to integrating Freshdesk CRM with Acefone Dialer for seamless calling and call logging. The integration enables users to:
- 📞 Make calls directly from Freshdesk
- 📝 Log call details automatically
- 🎧 Access call recordings for future reference
✅ Prerequisites
Before starting the integration, ensure you have the following:
1. Acefone Requirements
- Acefone Admin Account – For telephony integration setup
- Acefone Agent Account – For making/receiving calls
- Dialer Campaigns Setup – At least one empty lead list assigned throughout the campaign
2. Freshdesk Requirements
- Active Freshdesk CRM Account with Telephony Integration
- API Permissions enabled (for telephony, leads, and marketplace)
- Marketplace permission with custom app installation support
🔧 Integration Steps
Step 1: Enable Freshdesk Dialer Integration in Acefone
-
Log in to the Acefone Telephony Portal
-
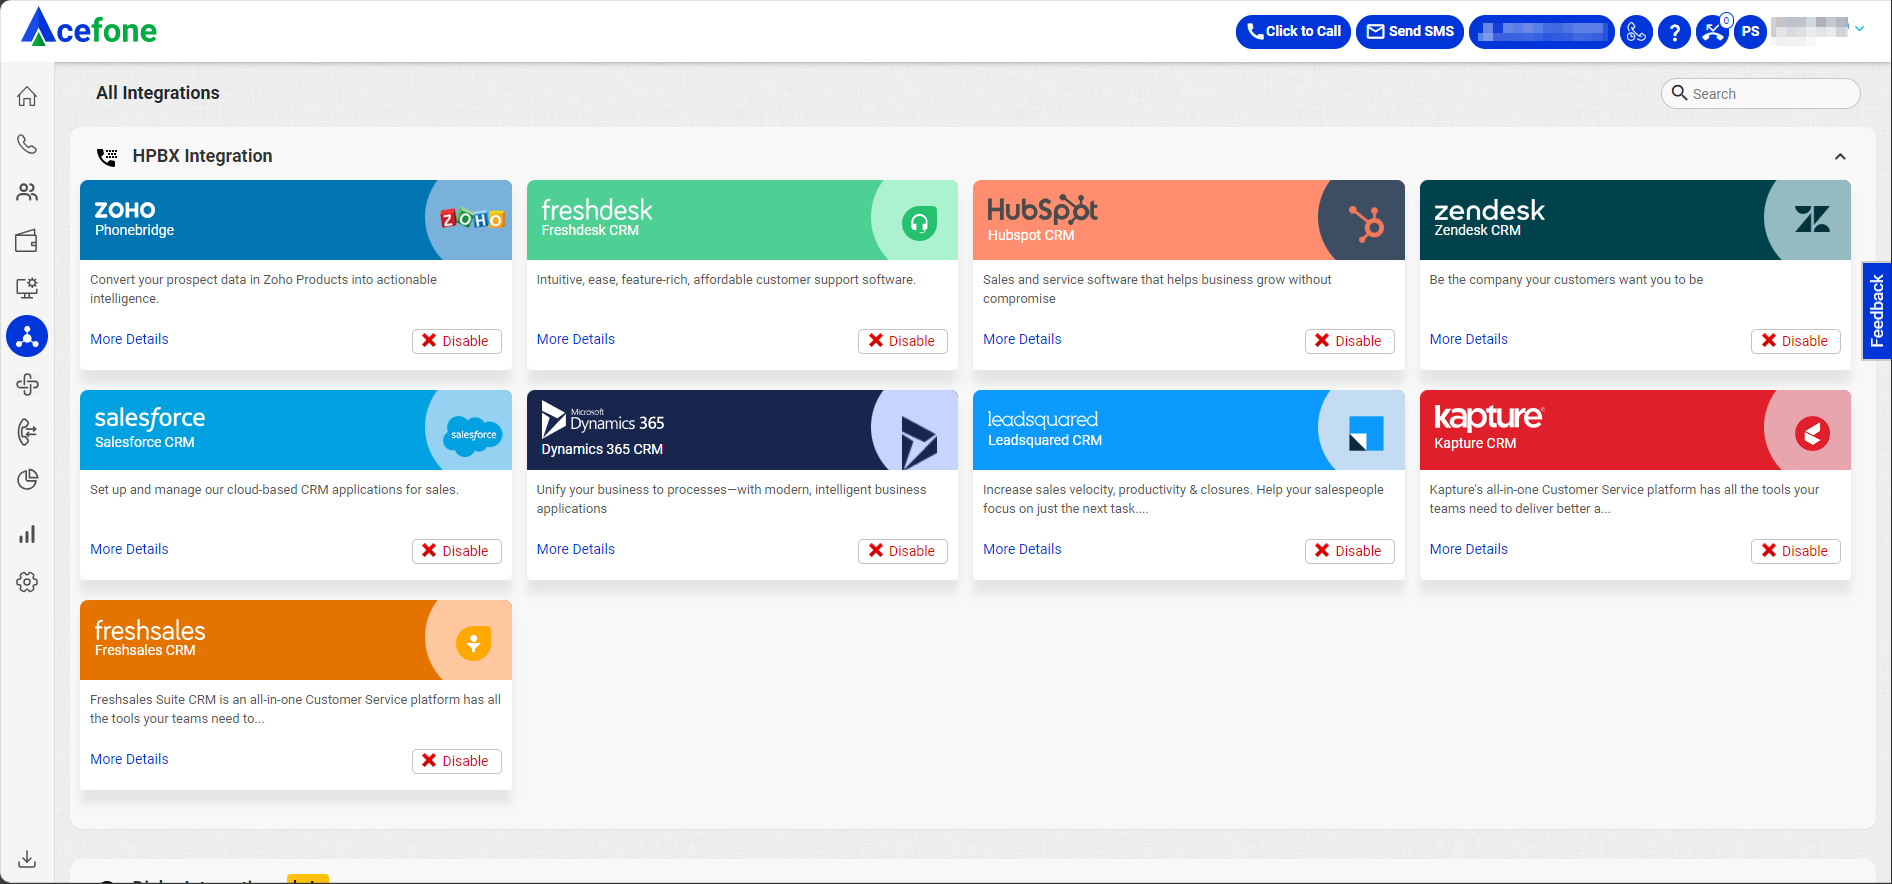
Navigate to the Integration tab
-
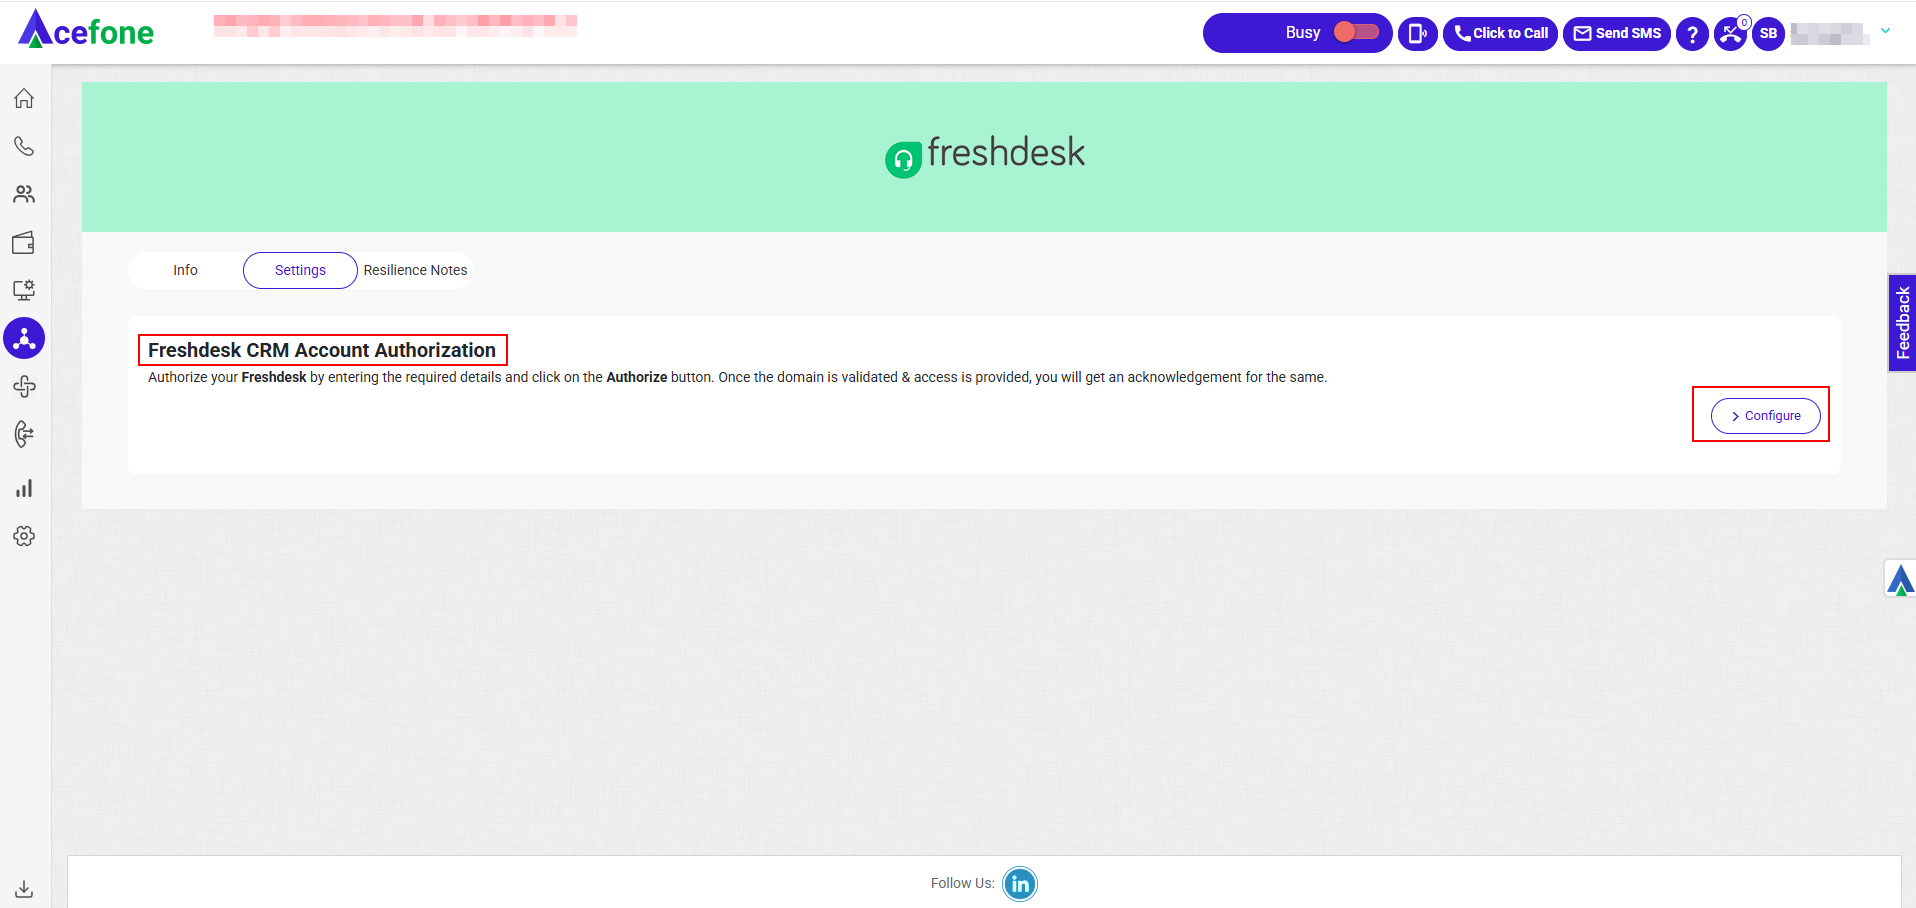
Click Enable for Freshdesk CRM and then click More Details


-
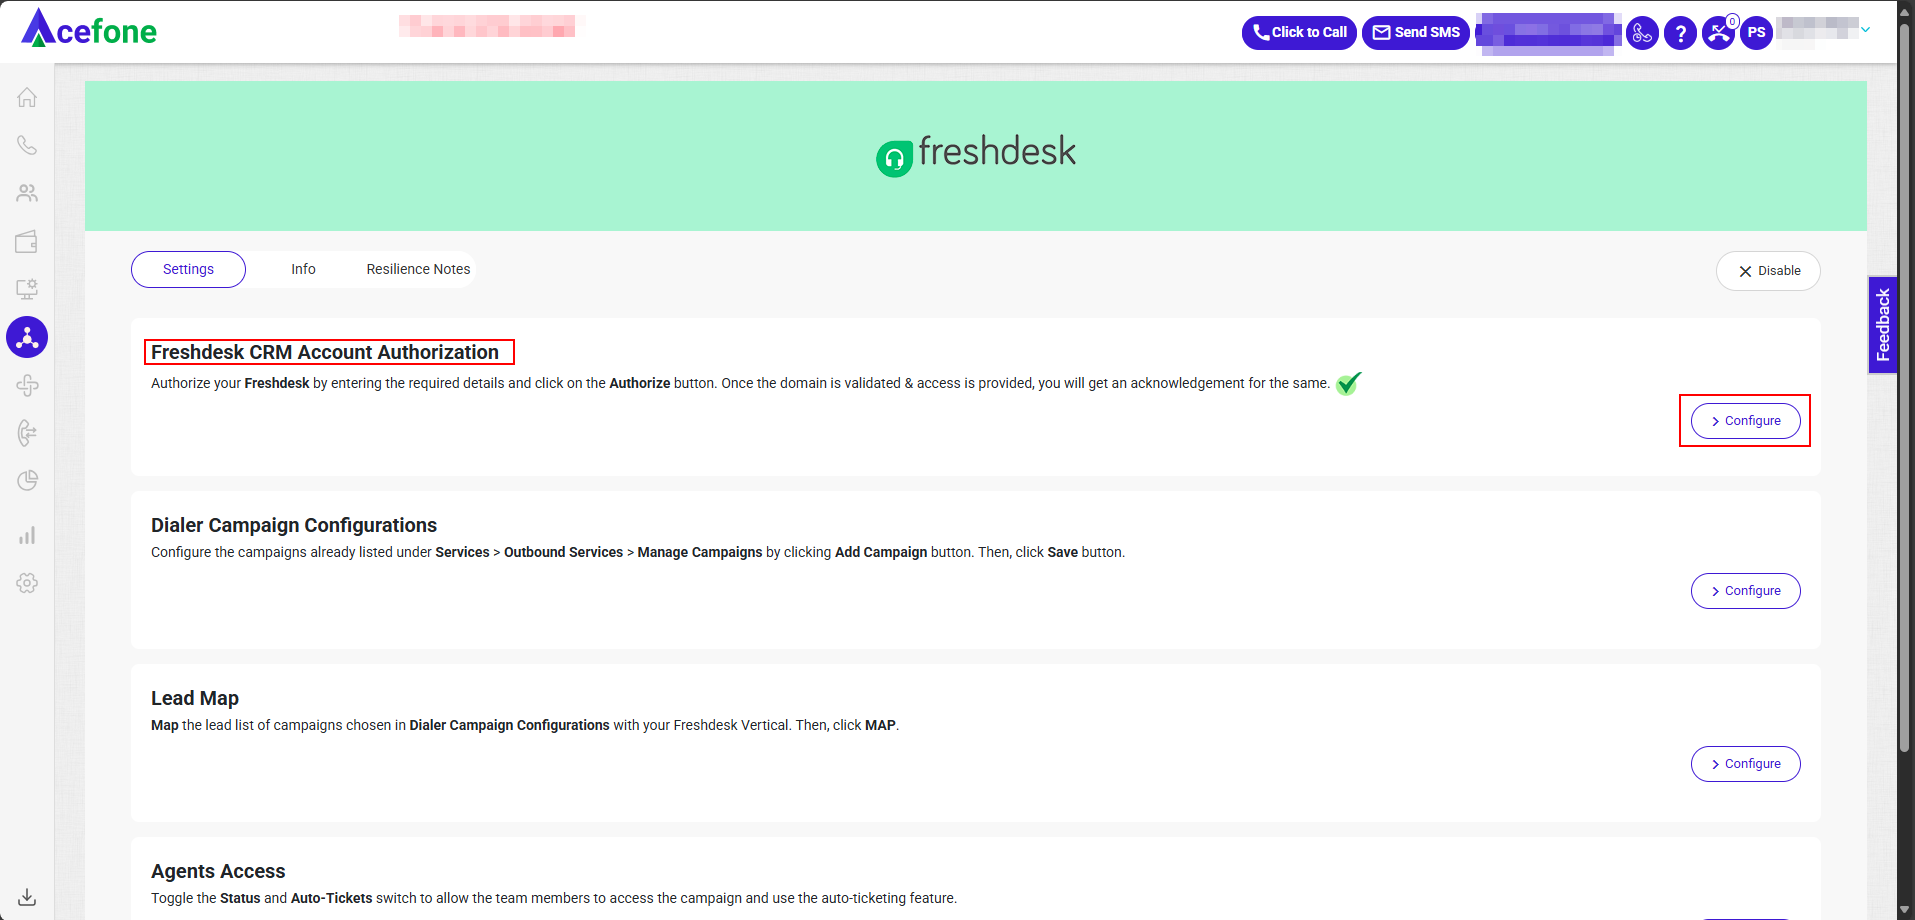
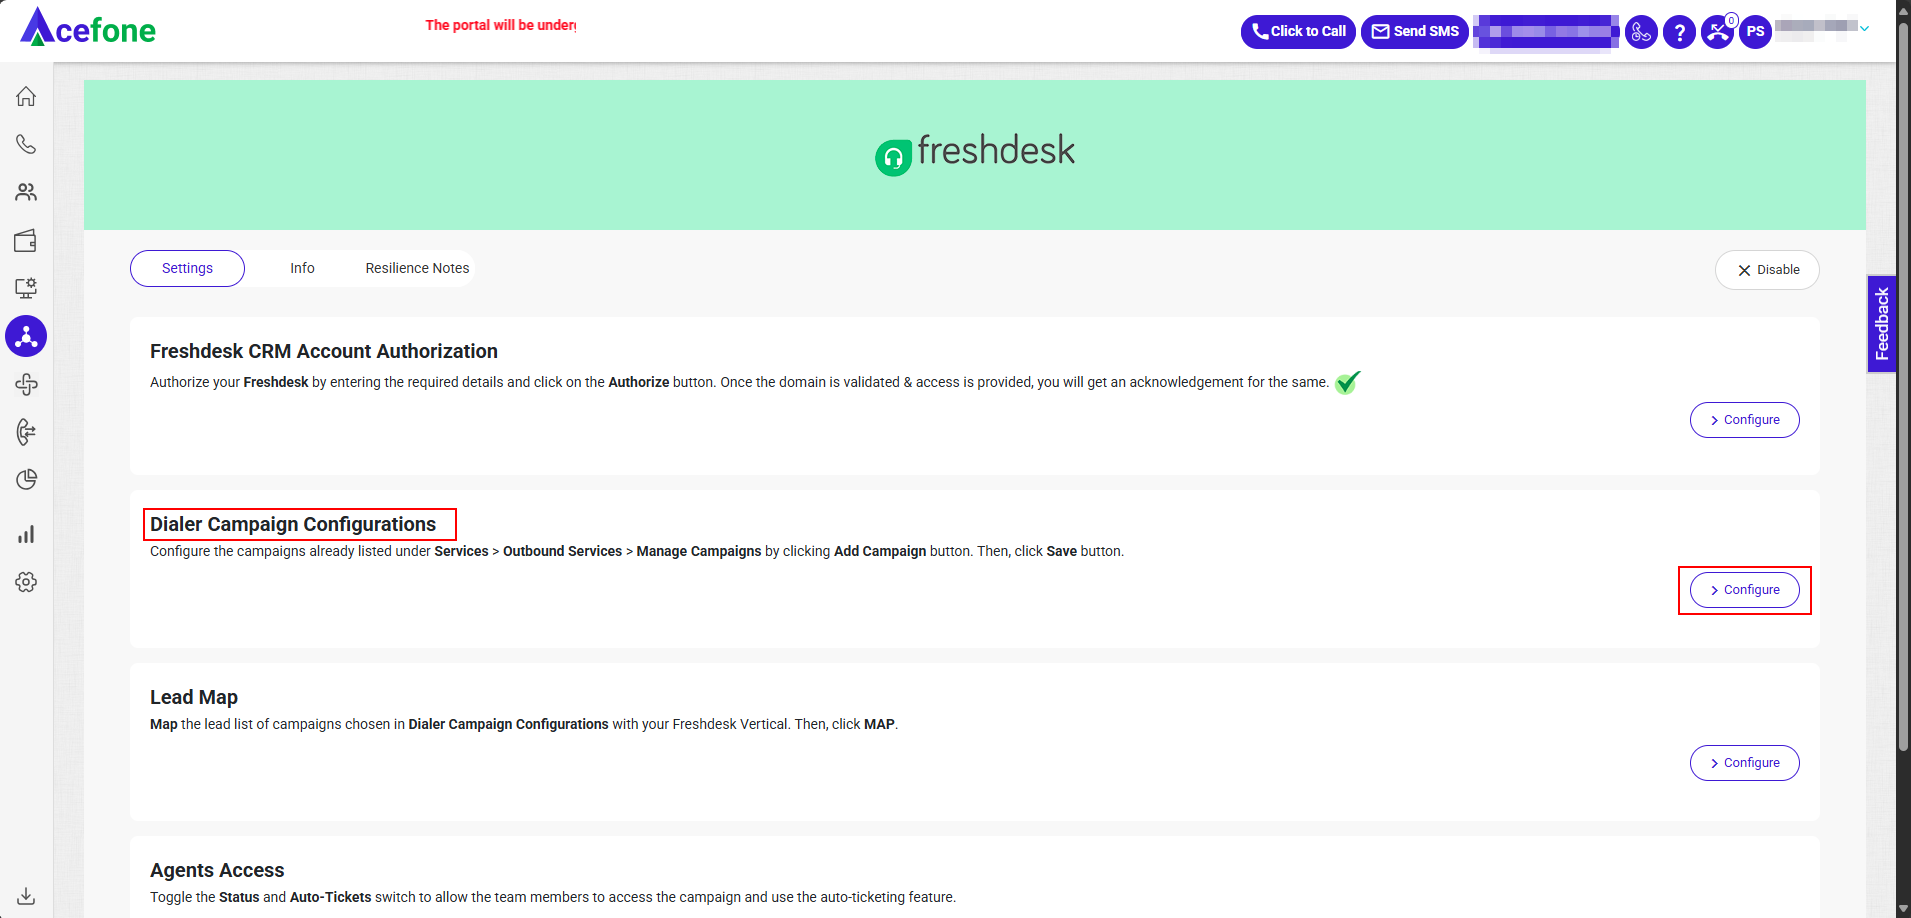
In the Settings tab, click Configure under Freshdesk CRM Account Authorization
- Log in to your Freshdesk CRM.
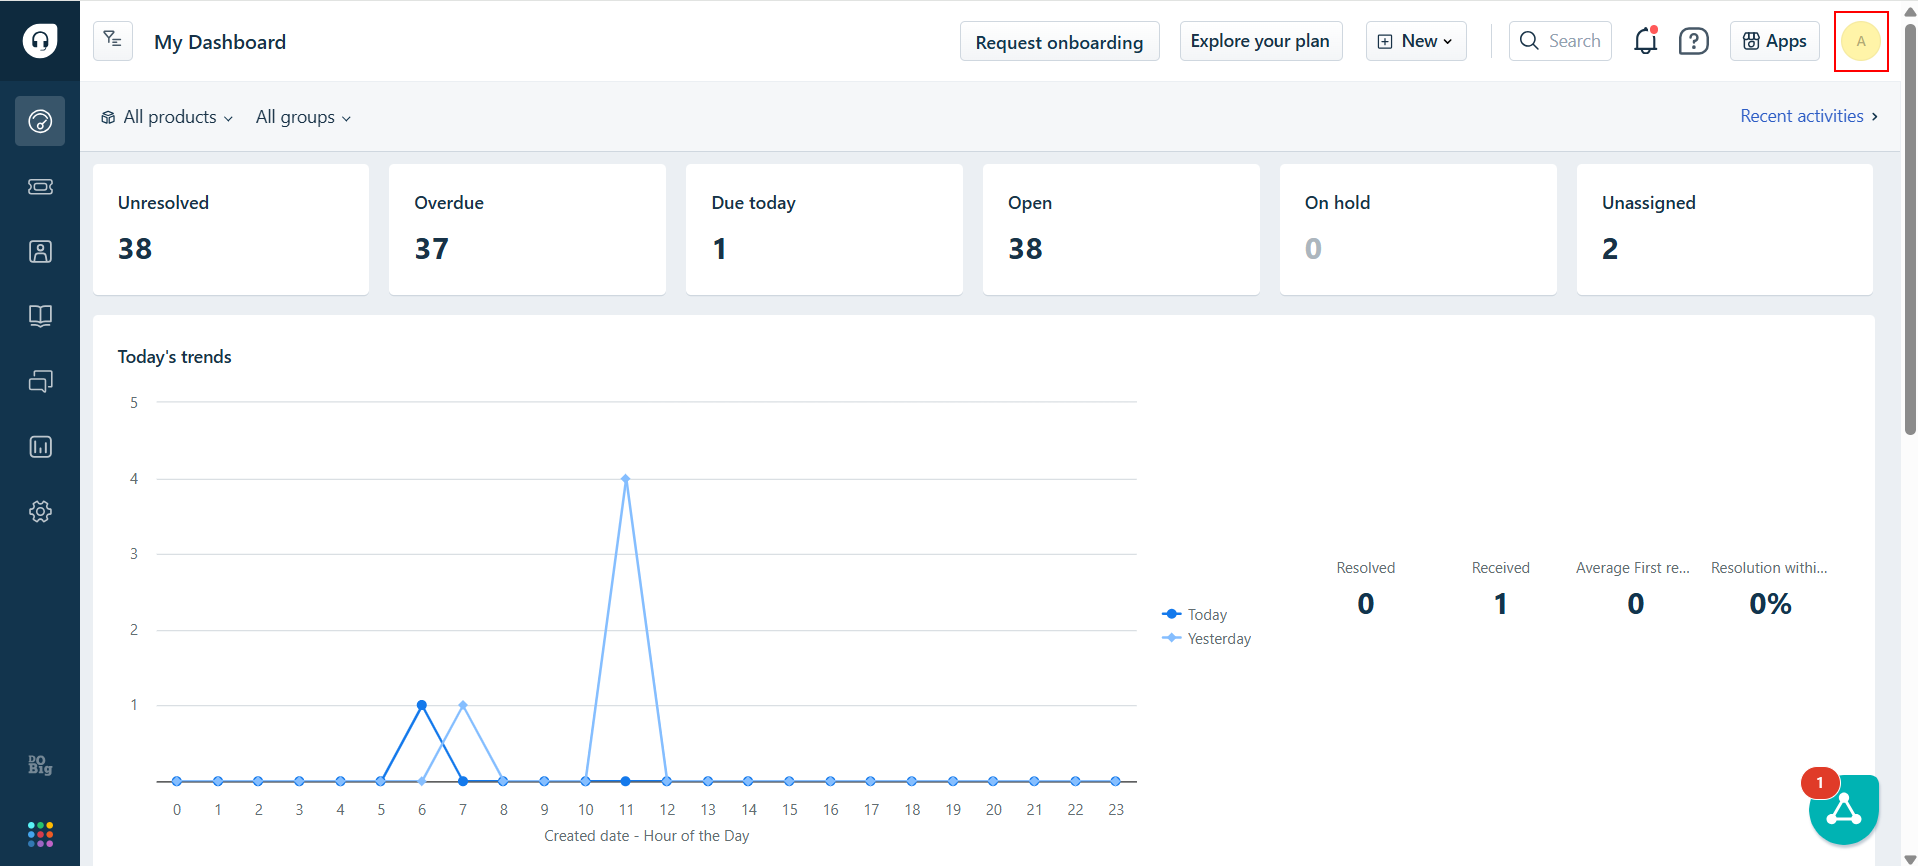
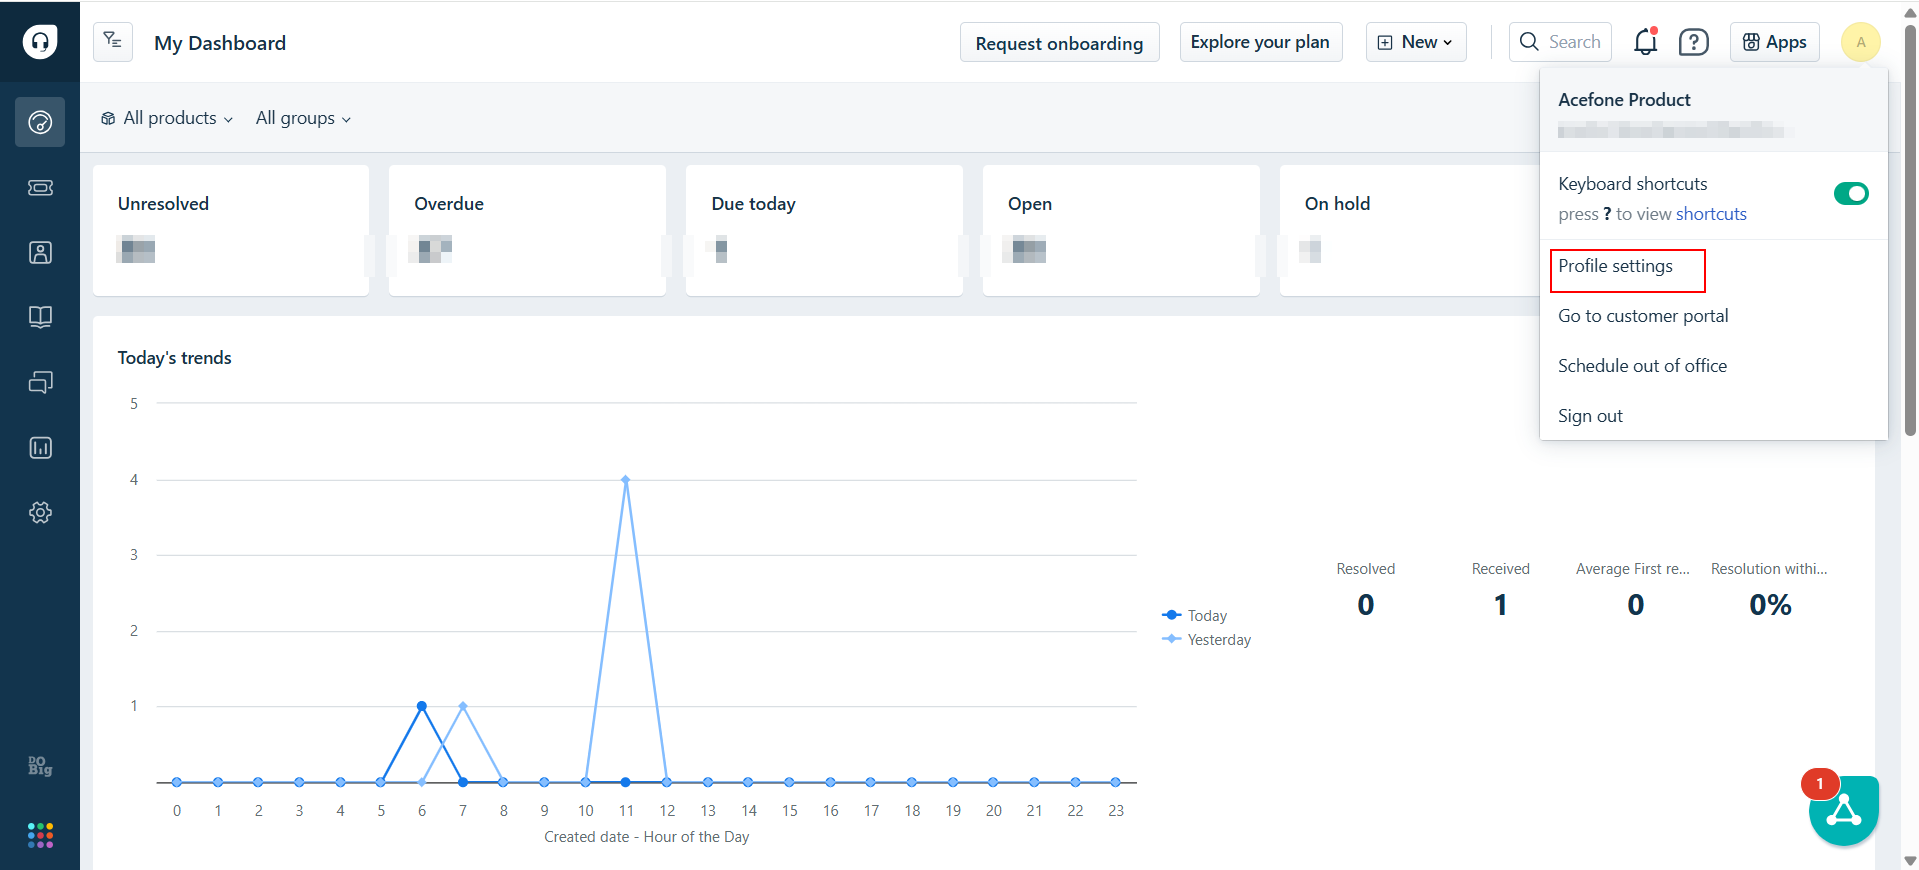
- Click on View profile , then go to Personal settings.
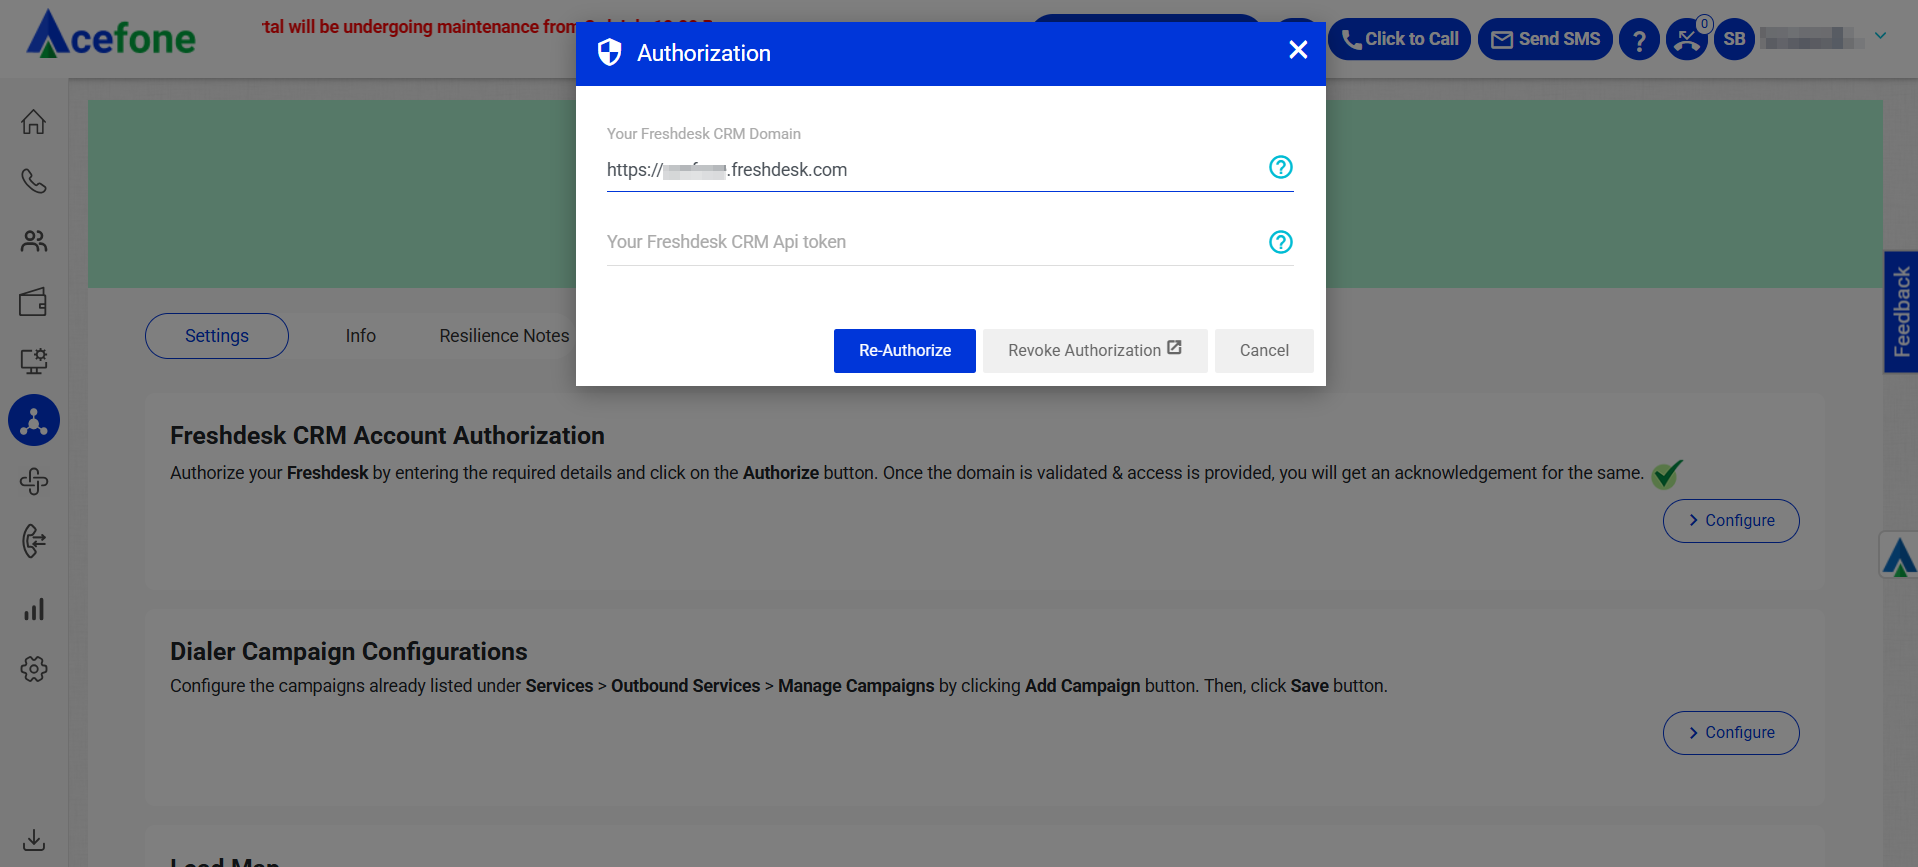
- Click on View API Key authenticate to retrieve the API Key and Copy CRM Domain (Your bundle alias) (up-to.com) from URL Tab.
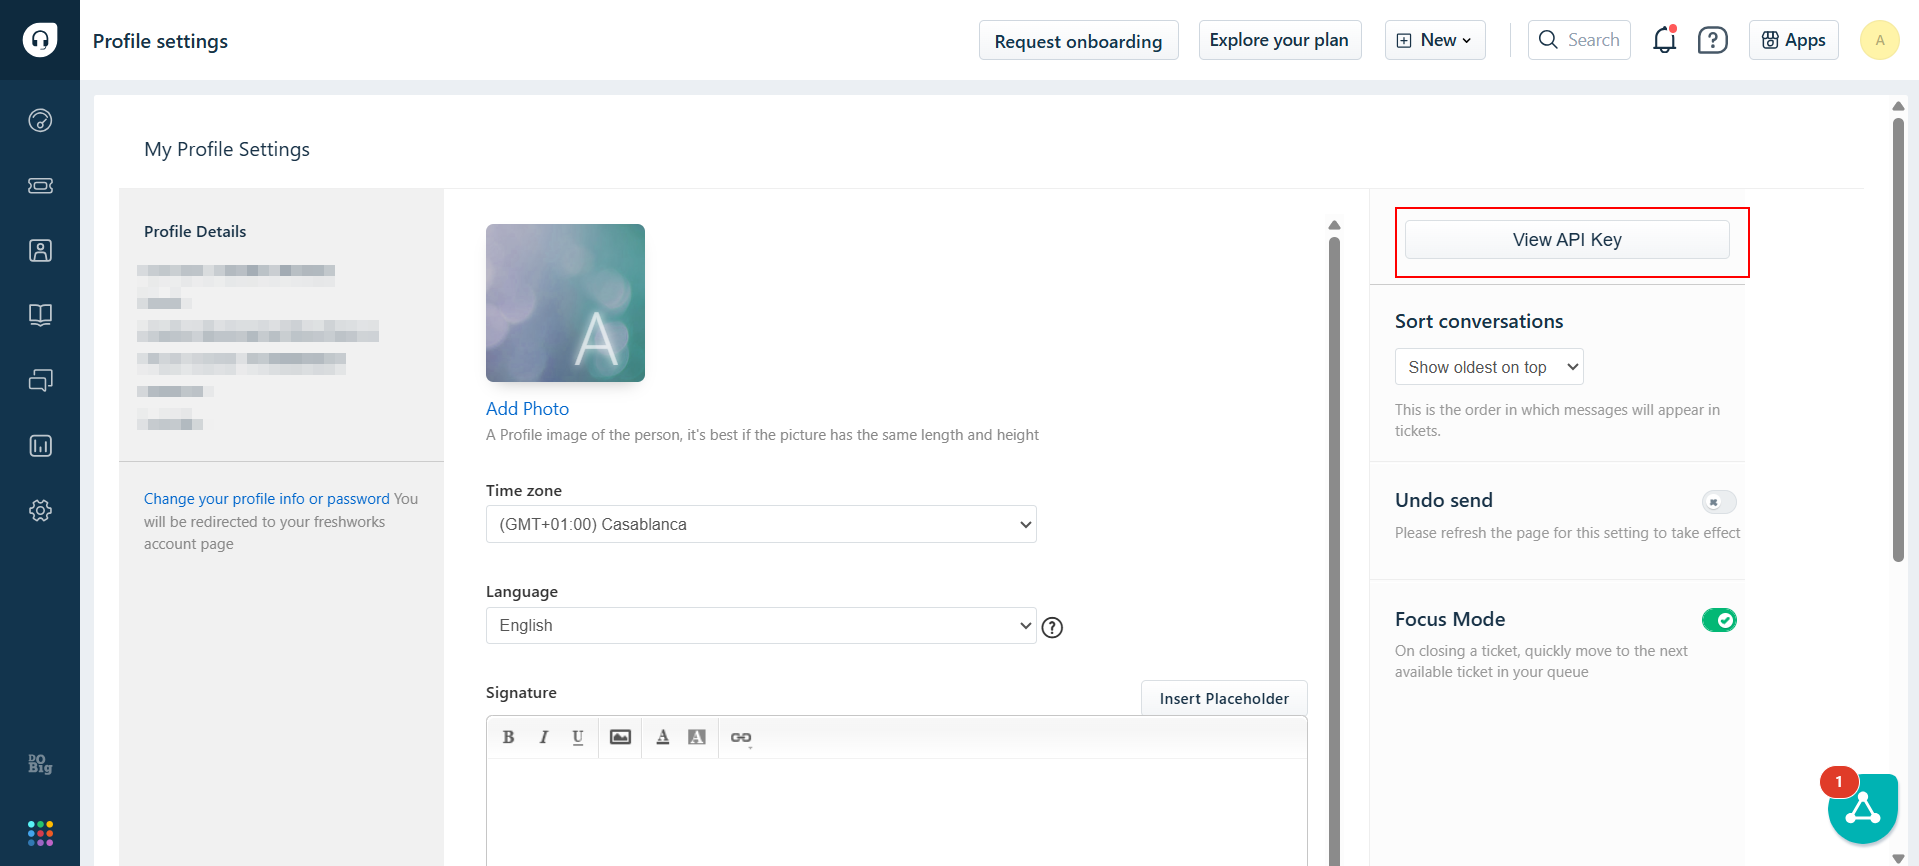
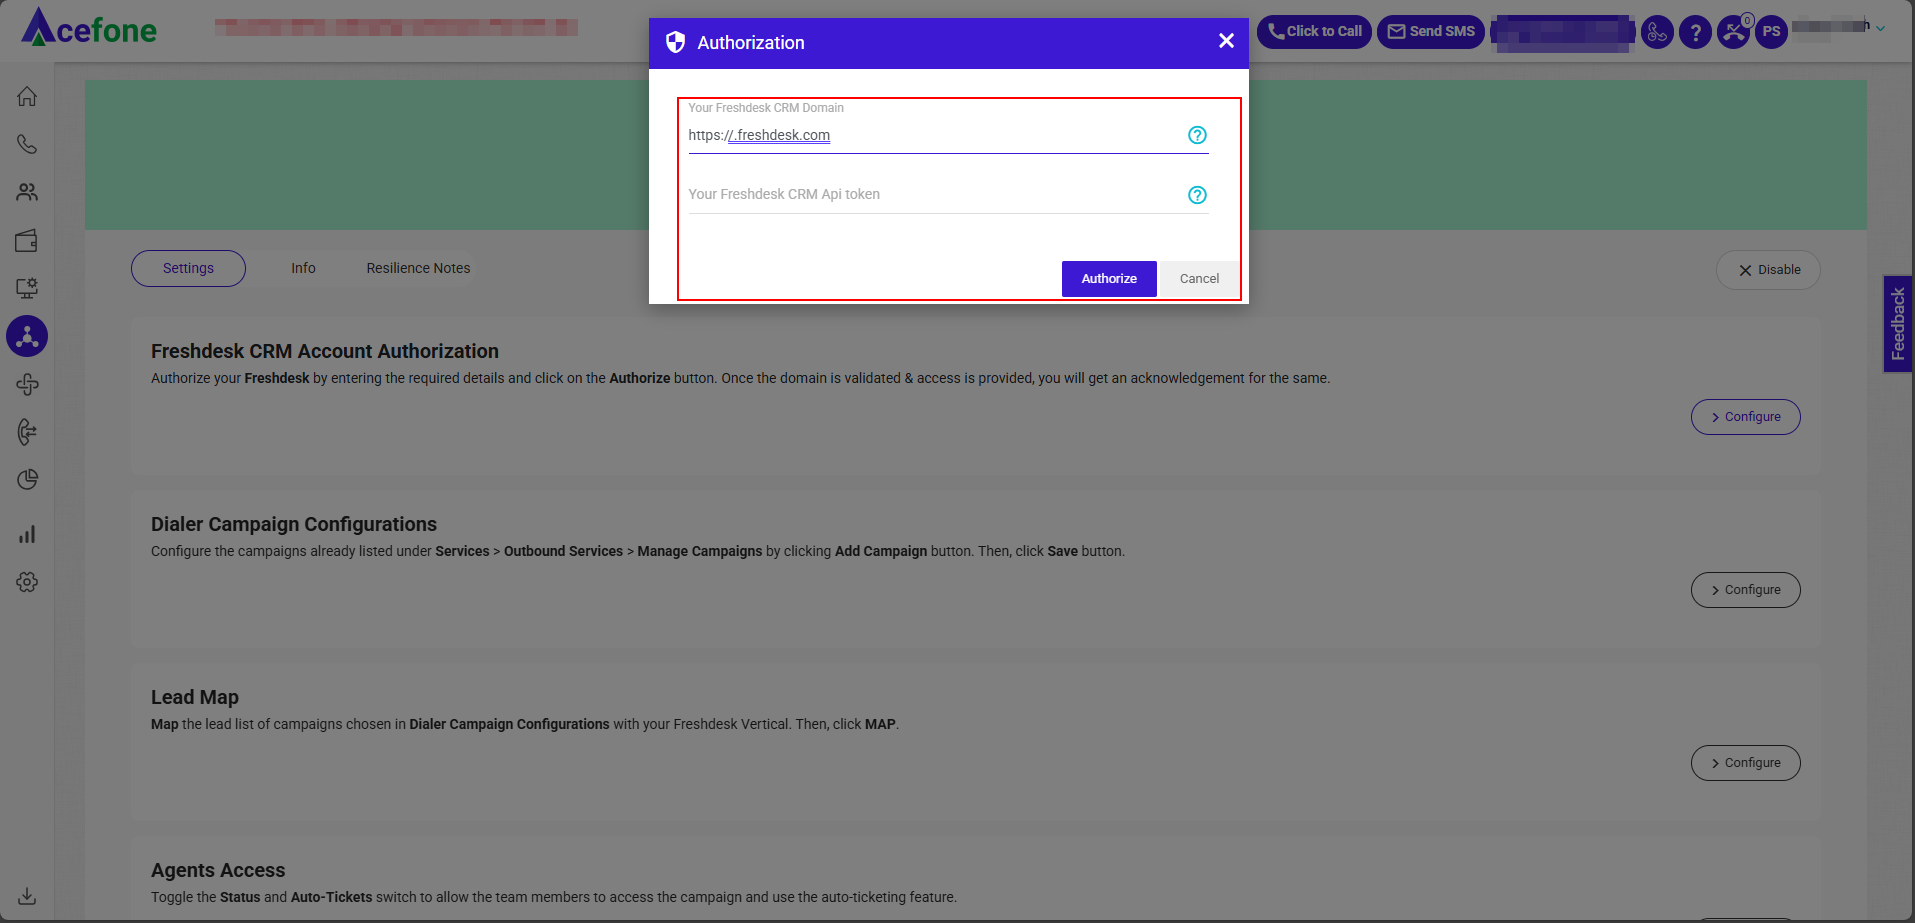
- Copy the API Key and Your bundle alias (CRM Domain) from URL tab and enter it in the Authorization tab within the Acefone portal .
Ensure you prefix the domain with https:// before entering it.

Step 2: Dialer Campaign Configuration
- Go to Dialer Campaign Configuration, choose or Add Campaign
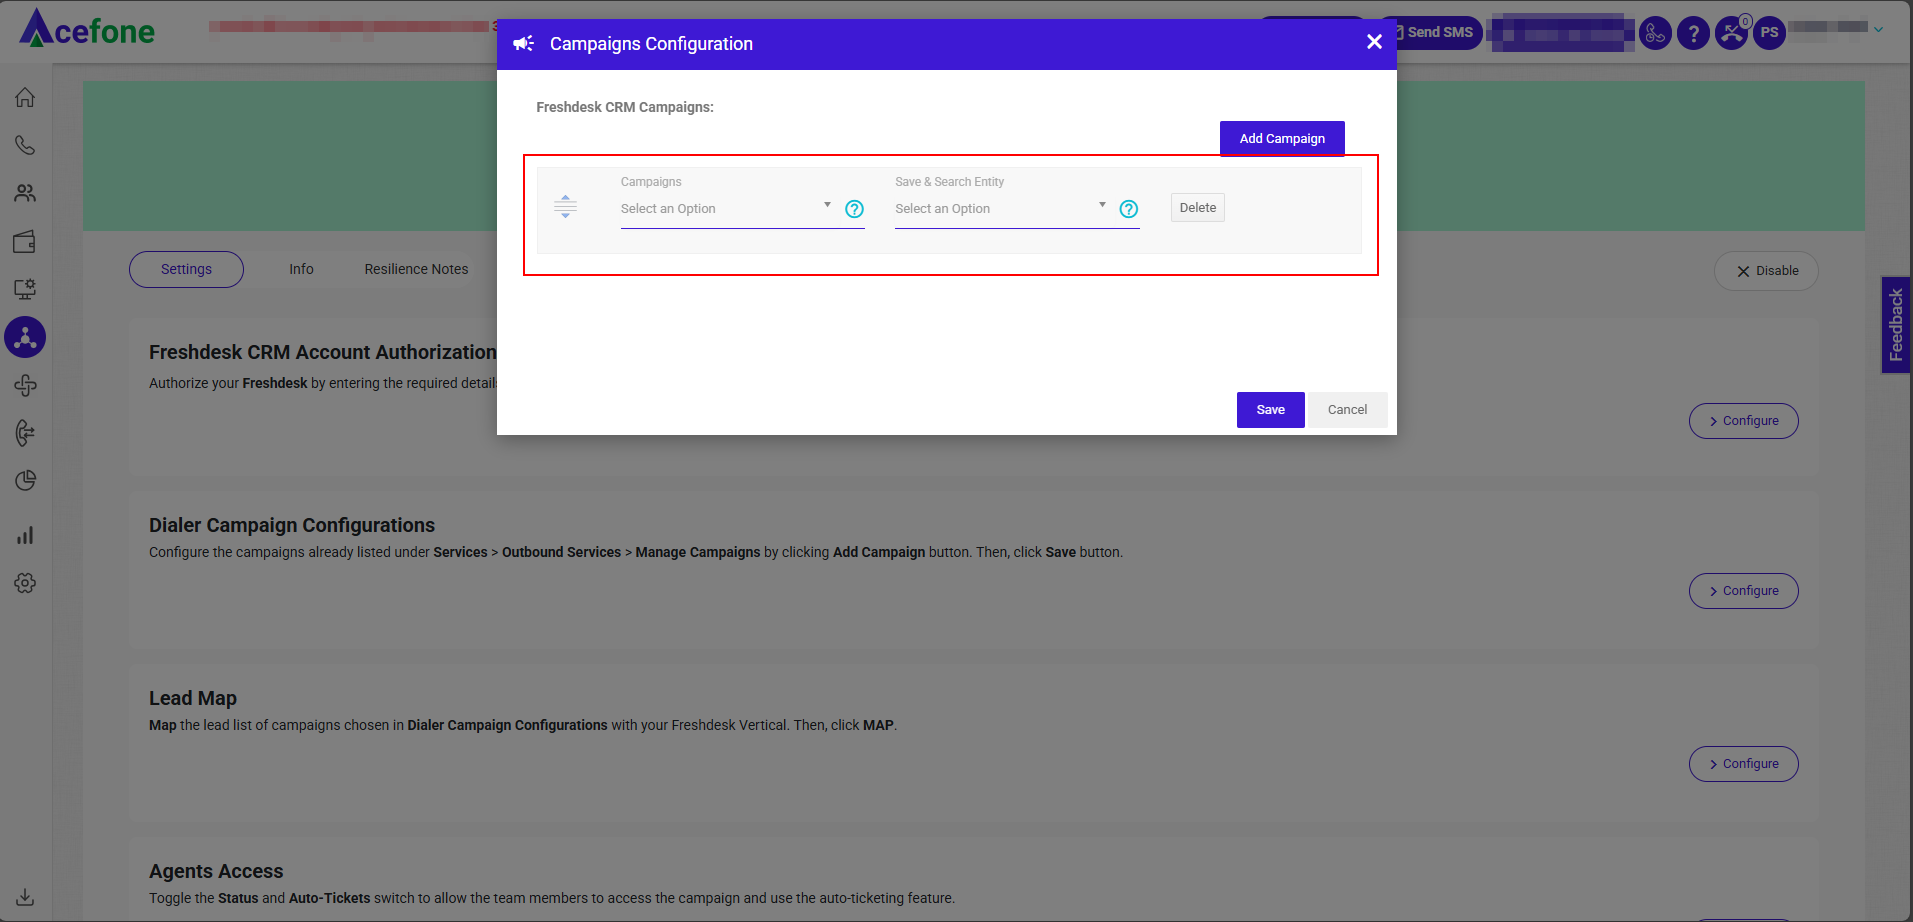
Note:In the Save and Search Entity setting, select Contact based on how your customer numbers are being stored.
If customer numbers are stored as Contacts, select Contact.
Important Note:
- Assign an empty Lead List during integration to ensure smooth data synchronization and prevent any error
- Only one Lead List should be assigned per campaign.
- The system supports two entity types: Account and Contact only.
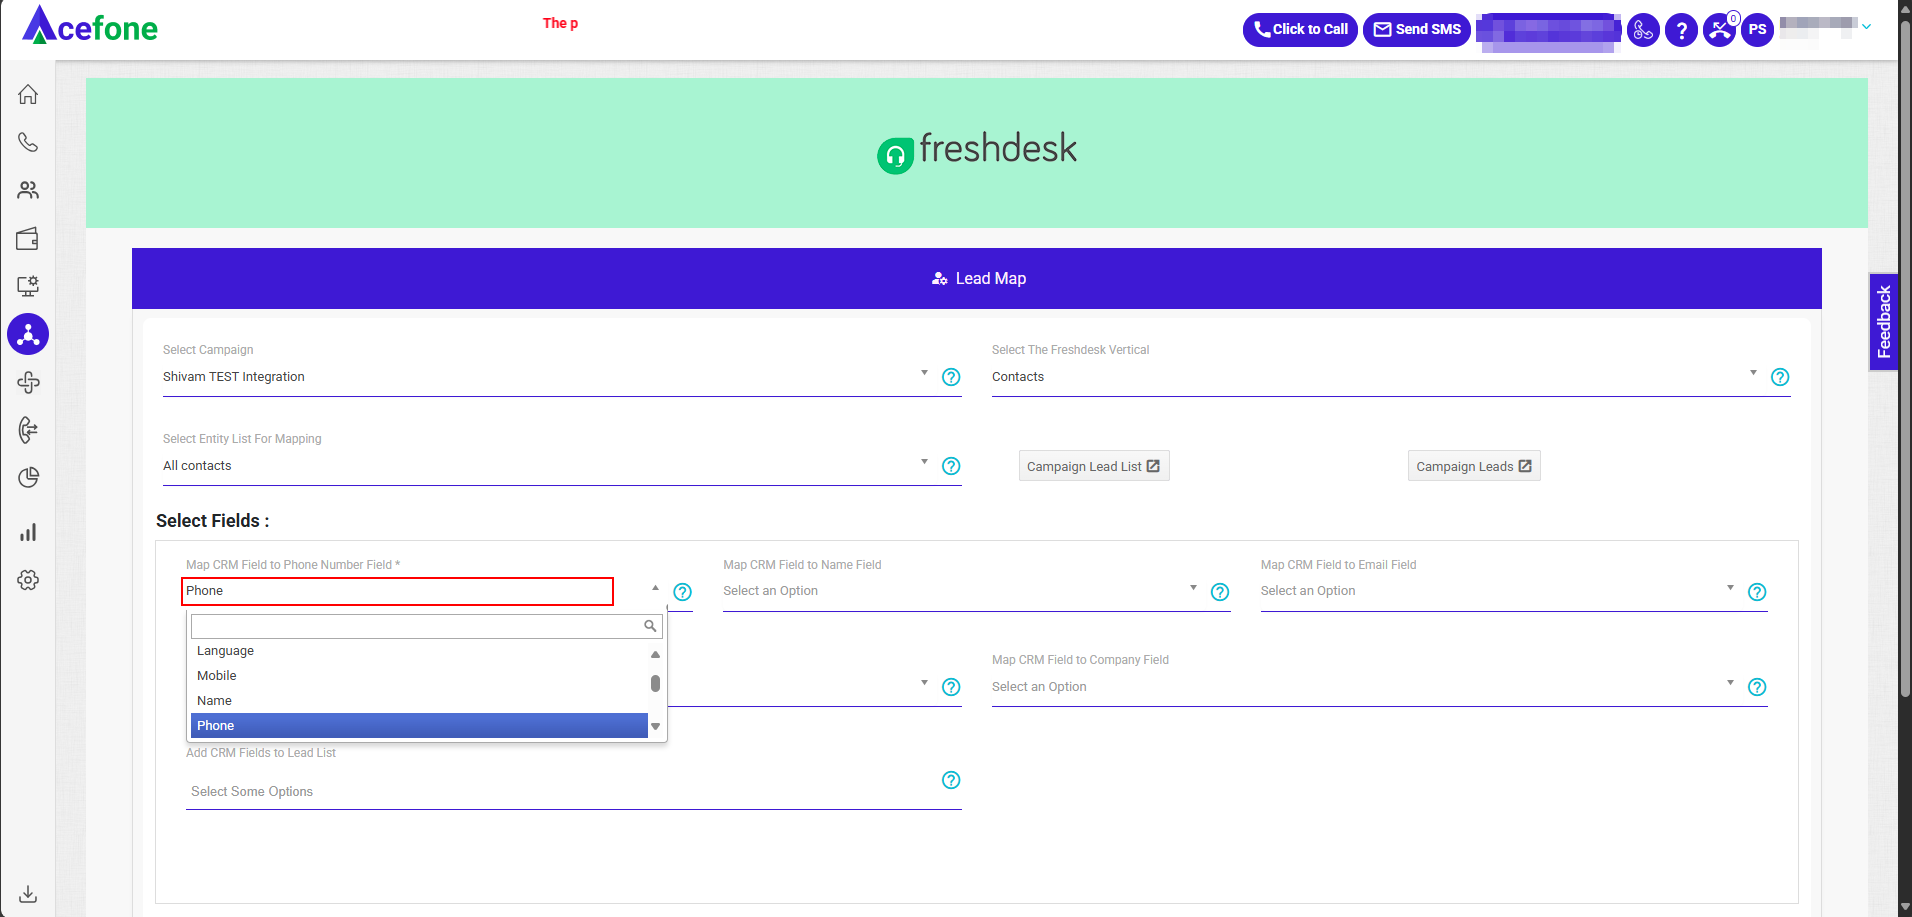
Step 3: Lead Map Configuration
- Go to Lead Map, Select Configure
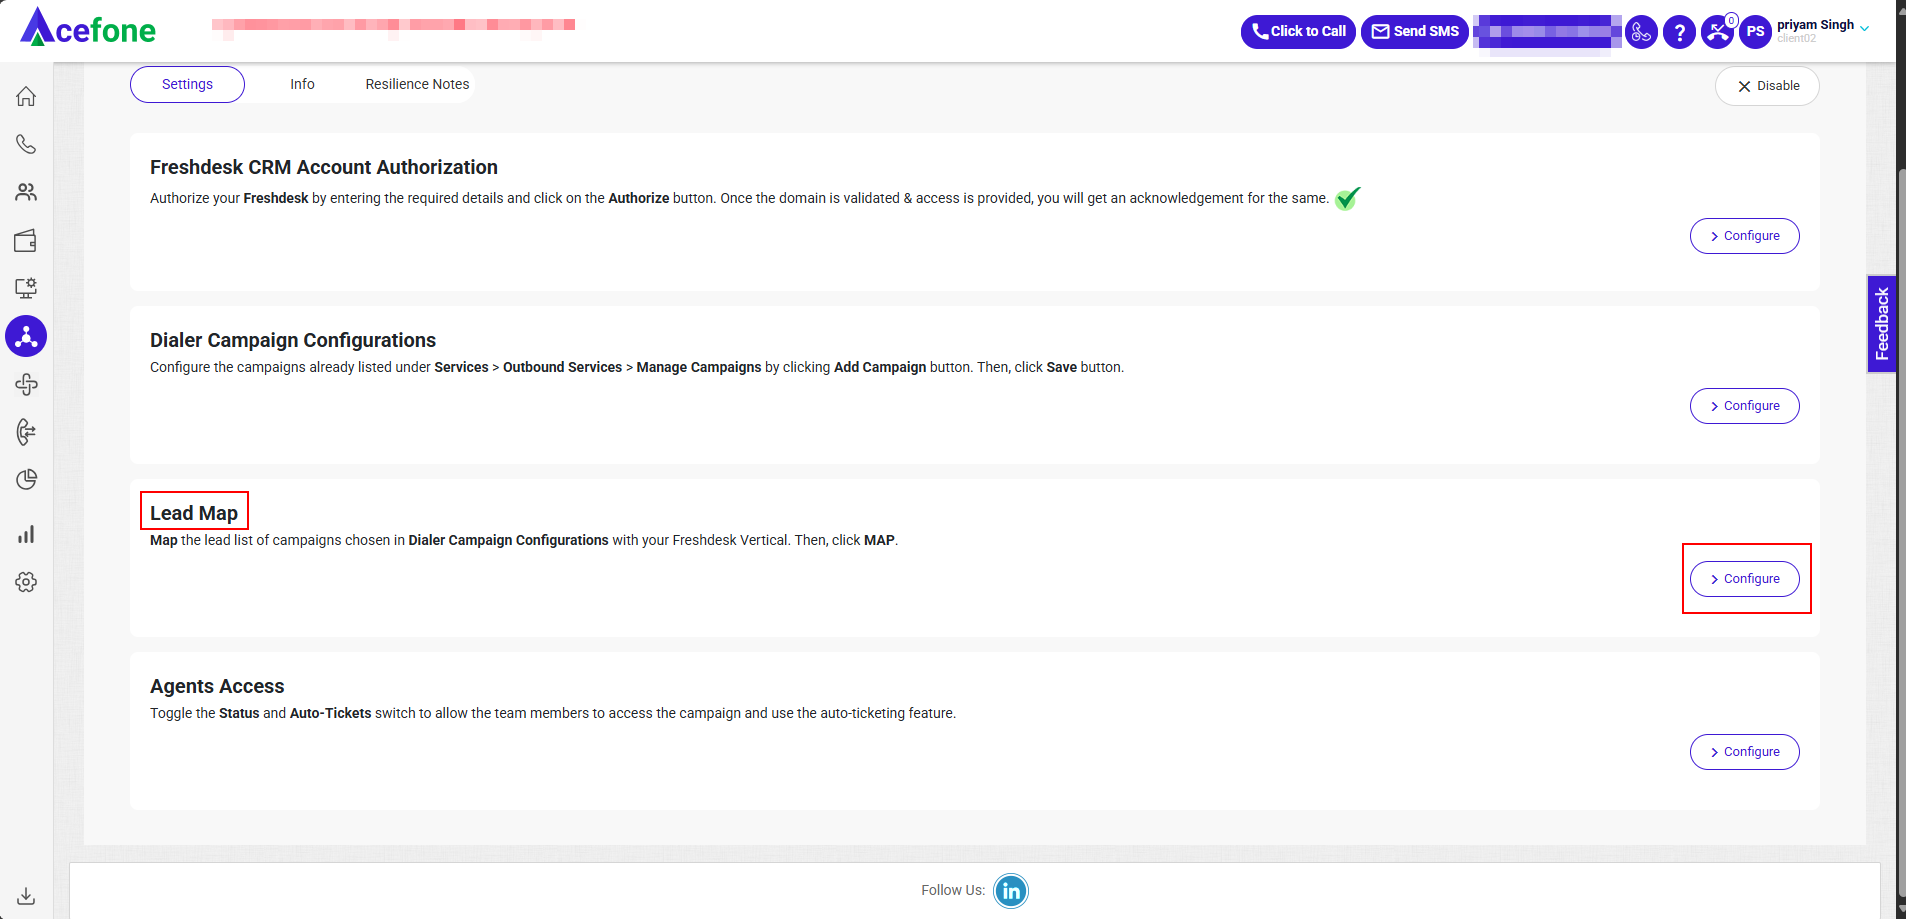
- Under Lead Mapping, map the Dialer campaign’s lead list with CRM
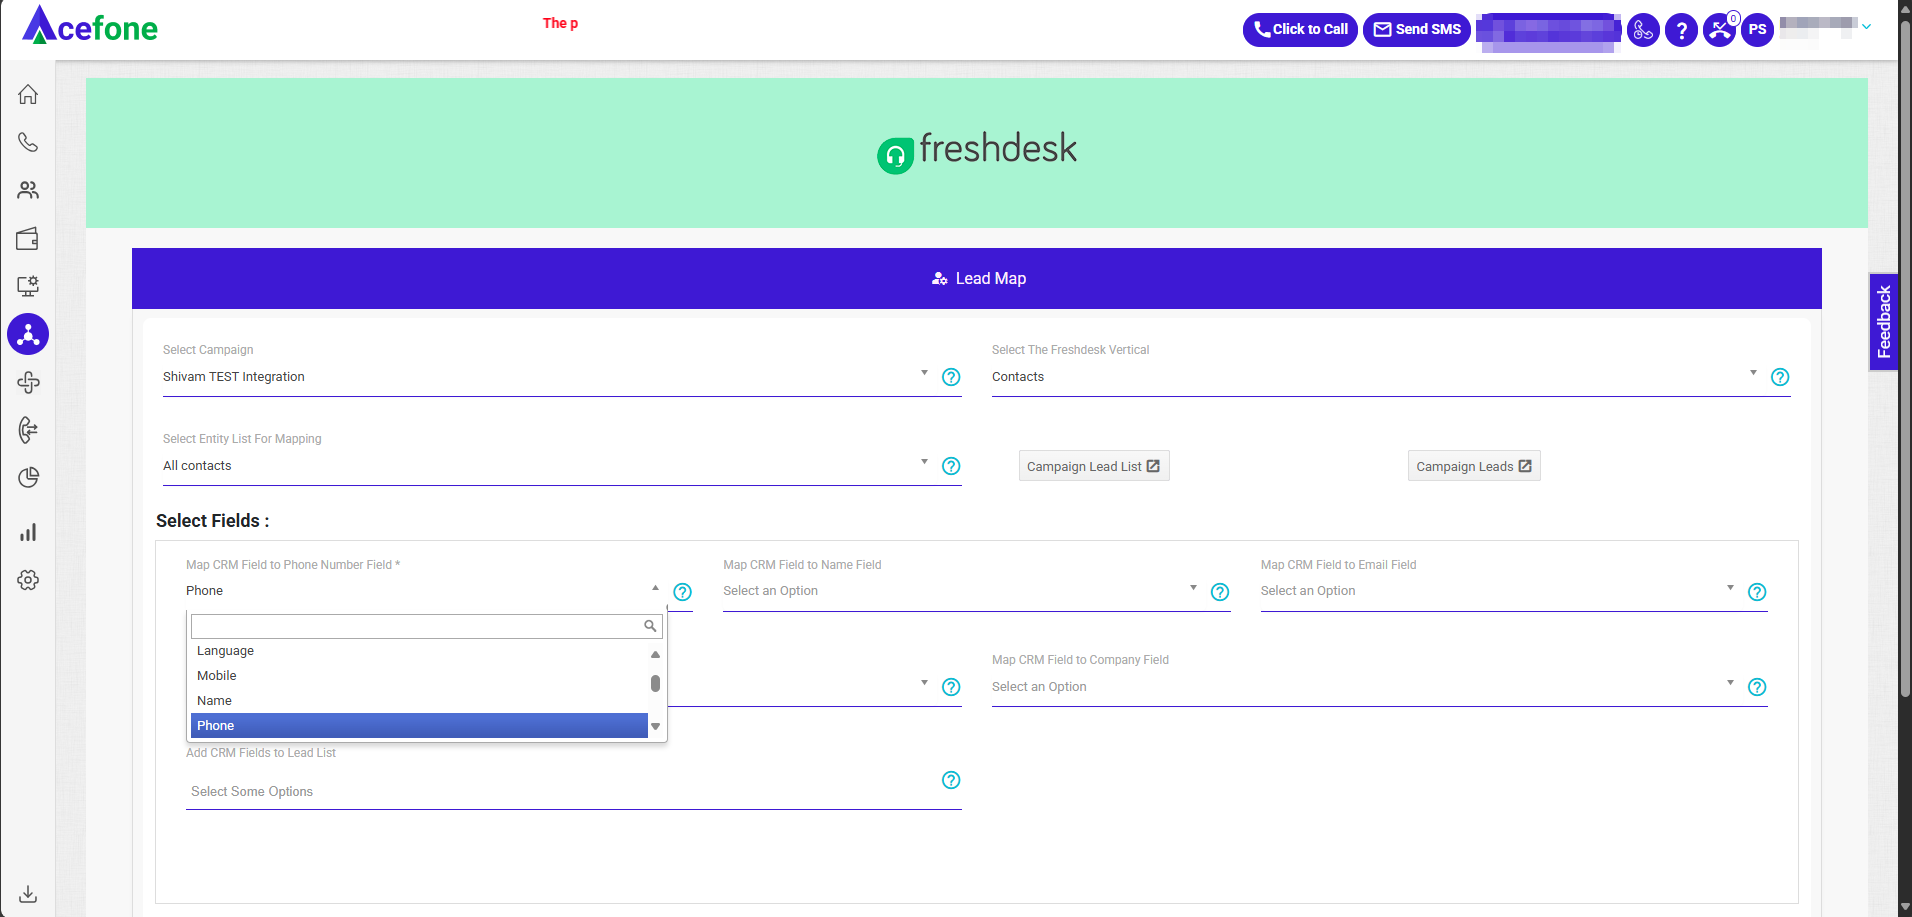
Ensure the dialable number is mapped to the Phone Number Field
Step 4: Agent Access Configuration
- Go to Agents Access, Select Configure
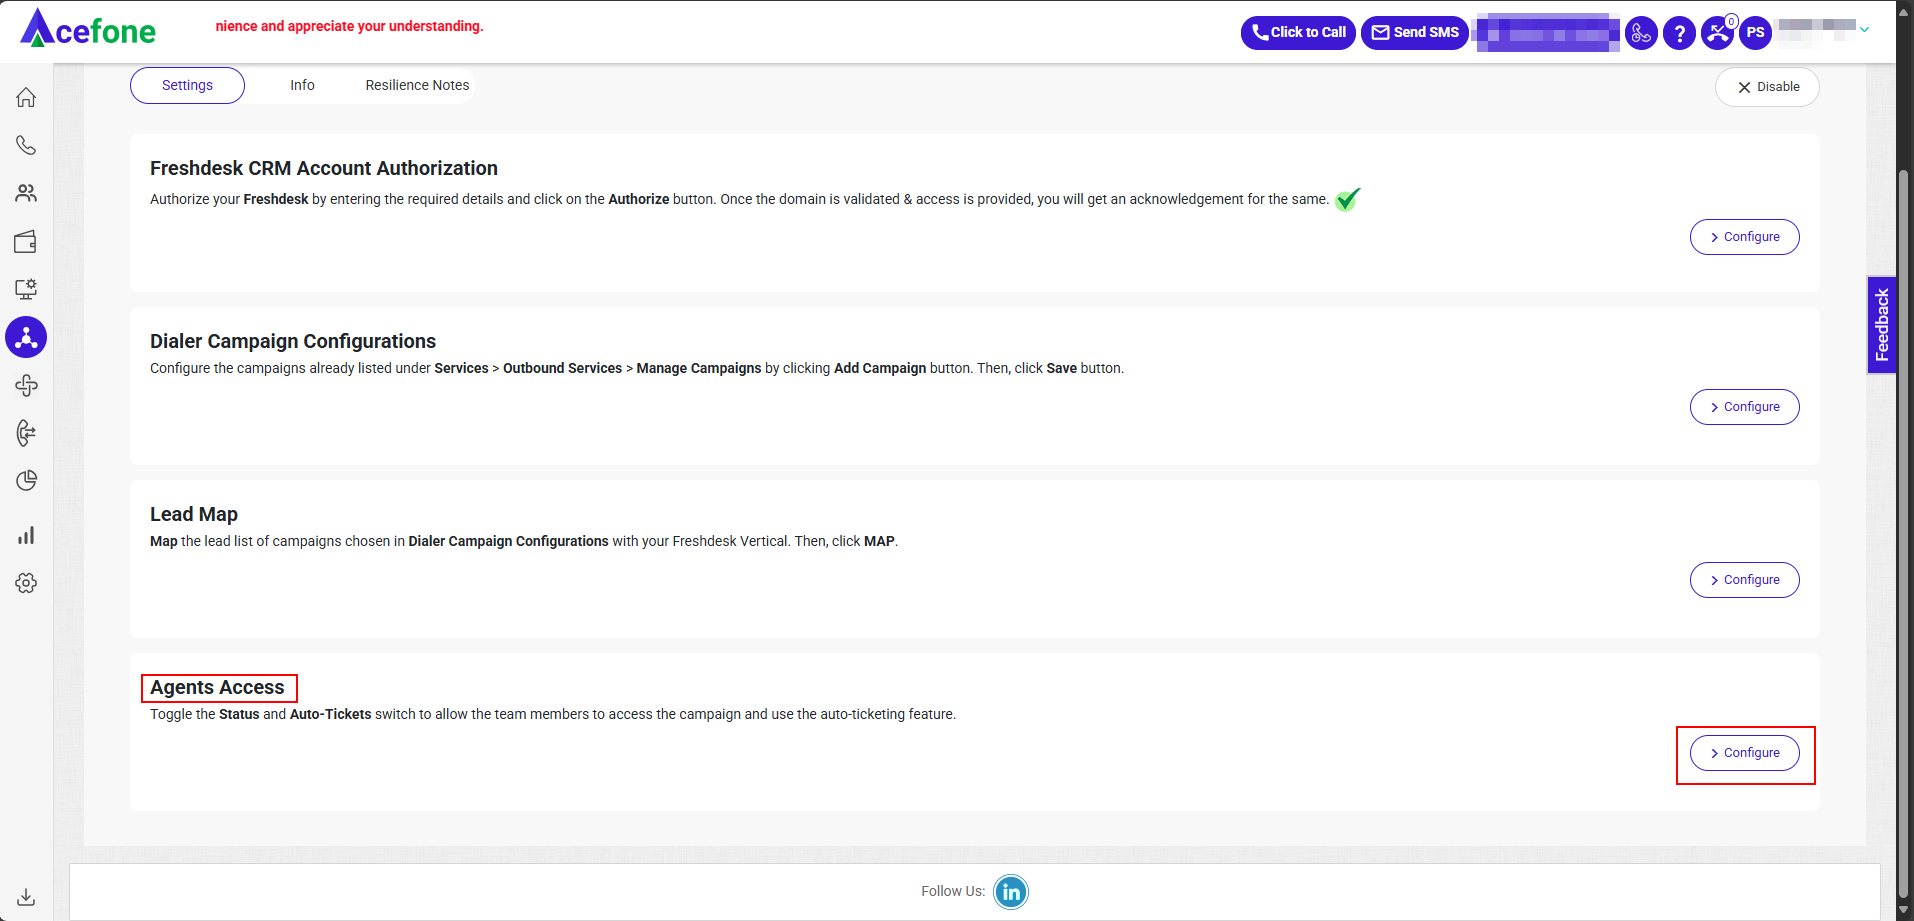
- In Agents Access, toggle Status and Auto-Ticket for each team member
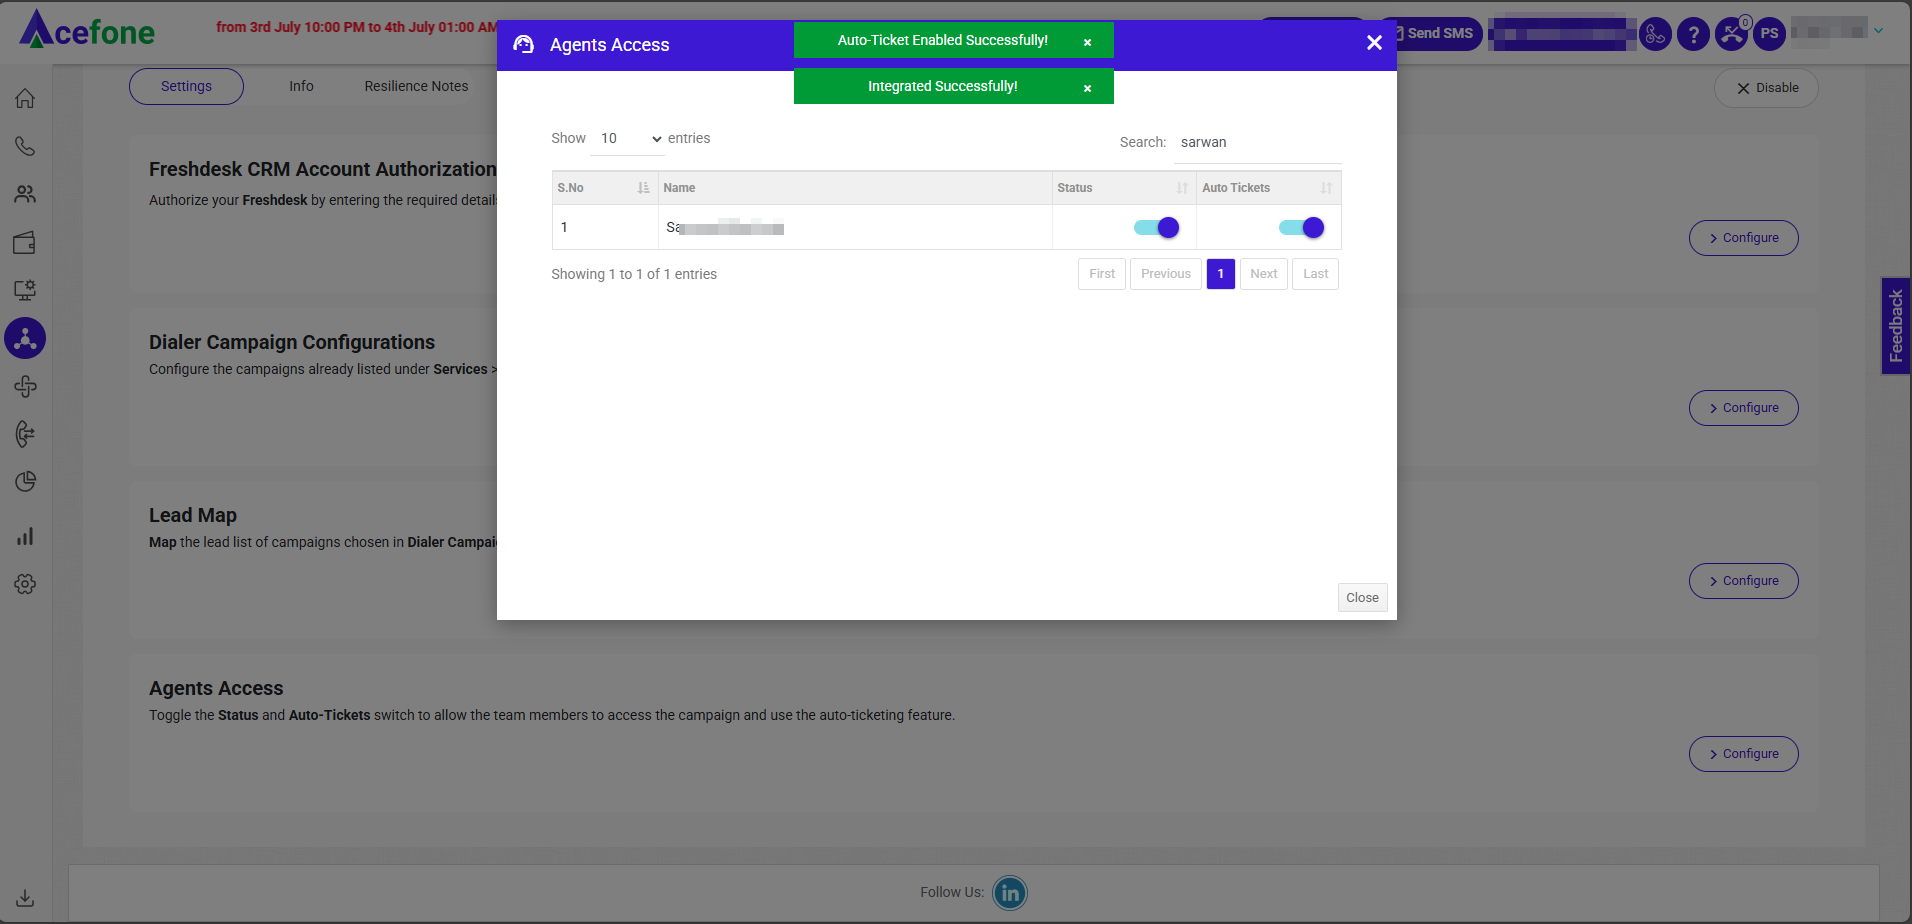
Agent Access Settings:
- Status: Enables Salesforce integration for the agent
- Auto-Tickets:
- ON: Ticket is auto-created after each call
- OFF: Agent must manually submit disposition
Step 5: Agent Authorization
- Log in to the Acefone portal with Agent Credentials.
- Go to Integrations.
- Click on More details under Dialer Freshdesk CRM.

- Go to Settings.
- Click on Configure to Authorize the agent.
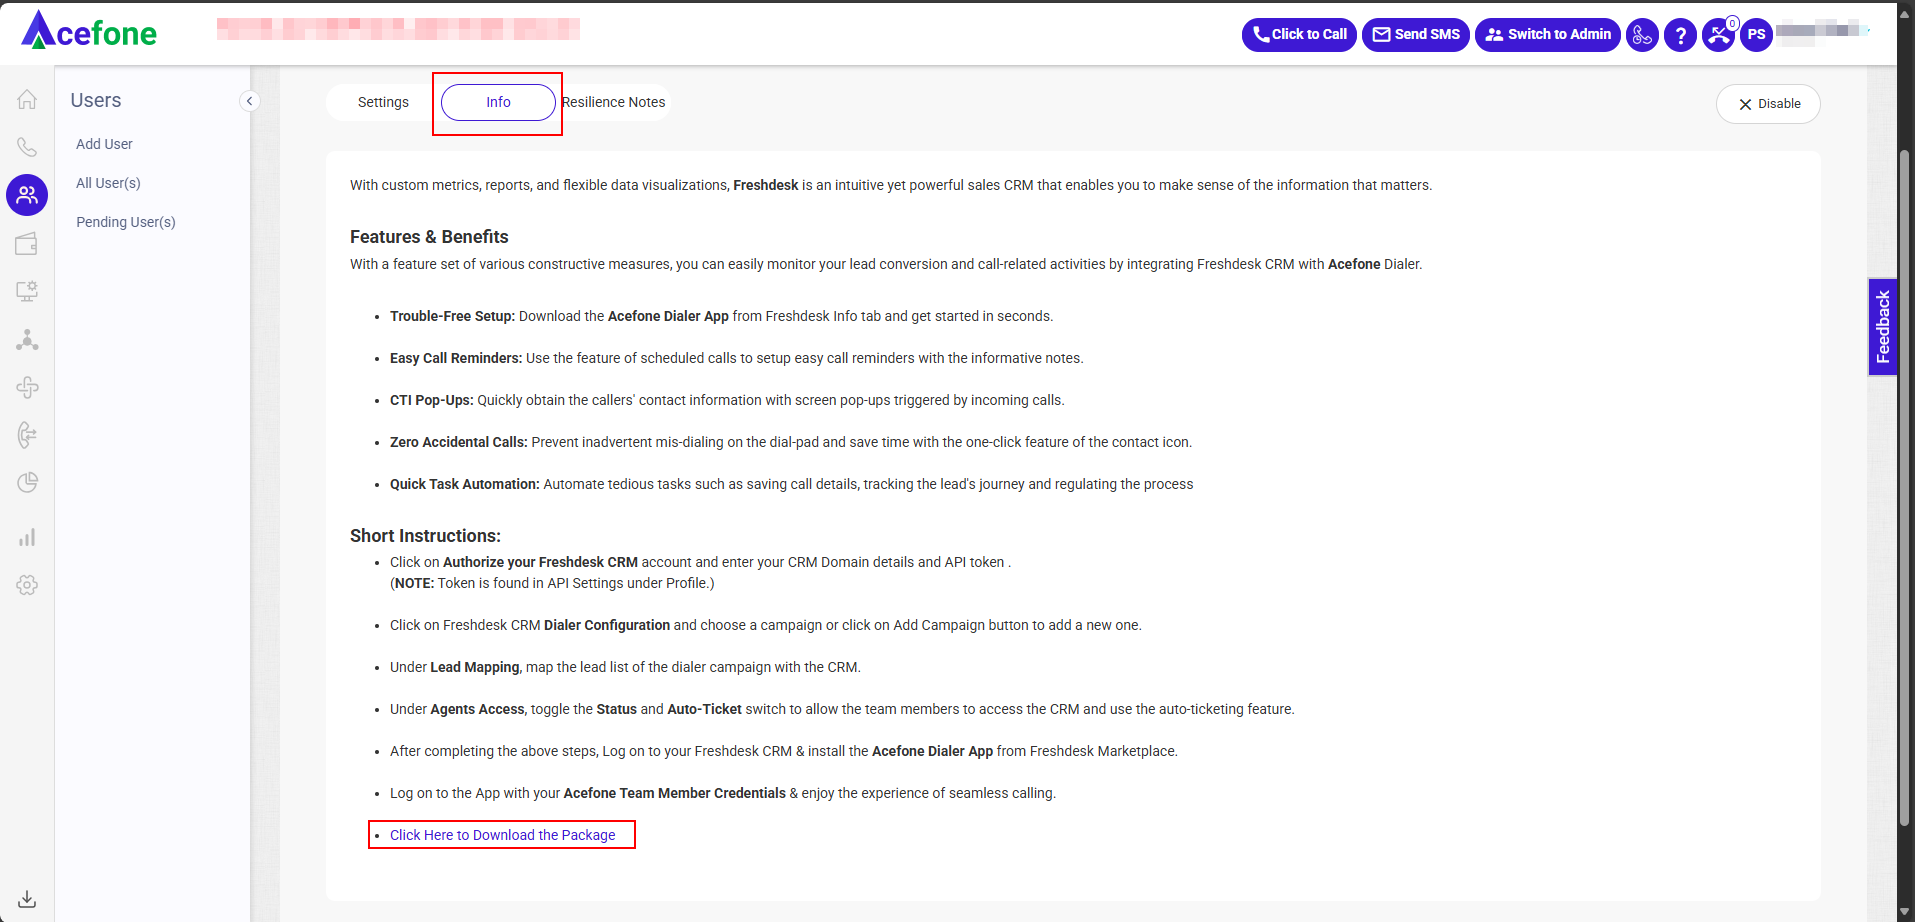
Step 5: Install Freshdesk Package
- Under Info tab, click Click Here to Download the Package
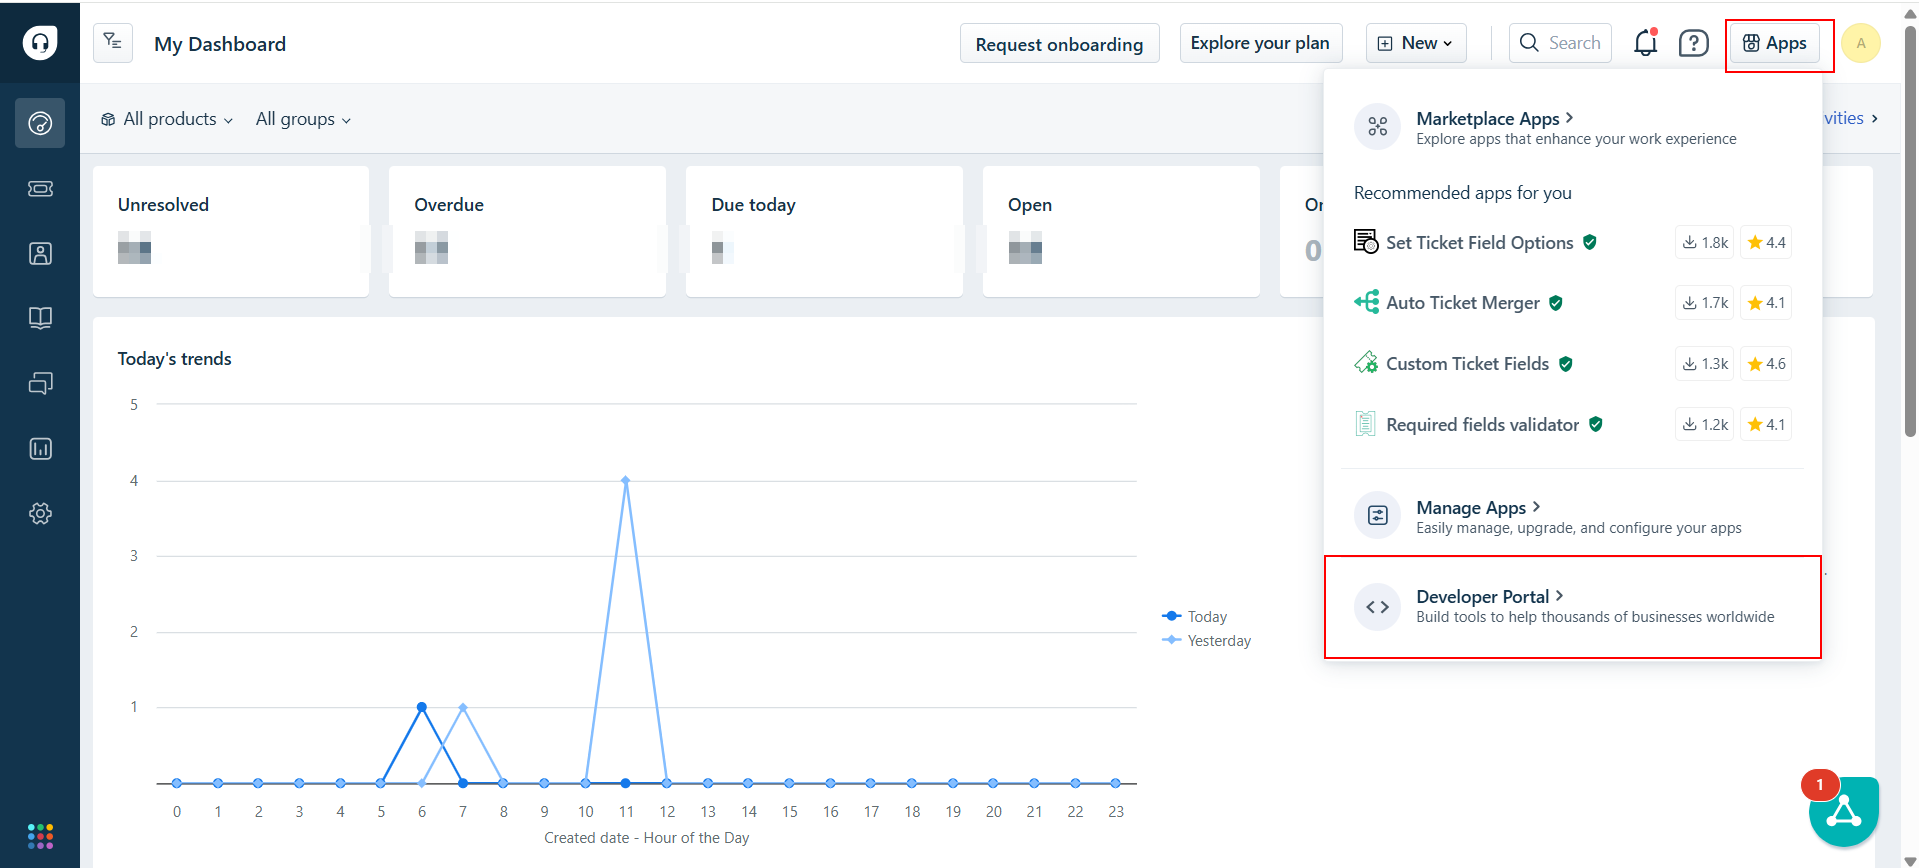
- Open the Freshsdesk portal and click on Apps and go to Developer Portal.
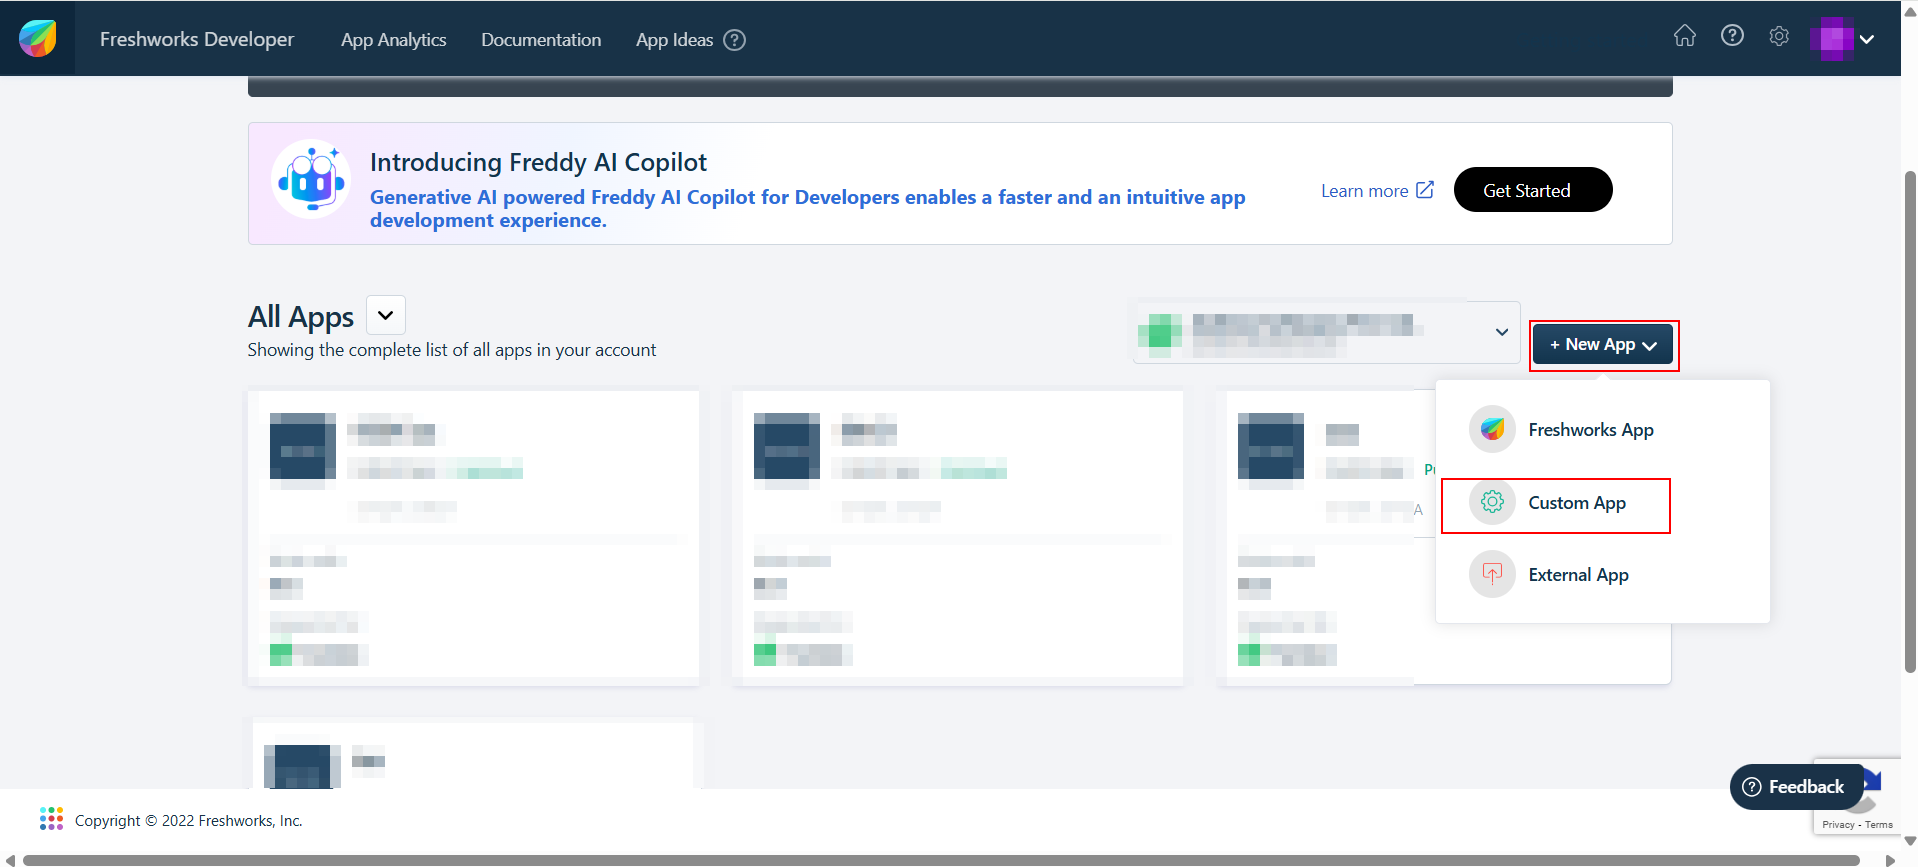
- Click on New App
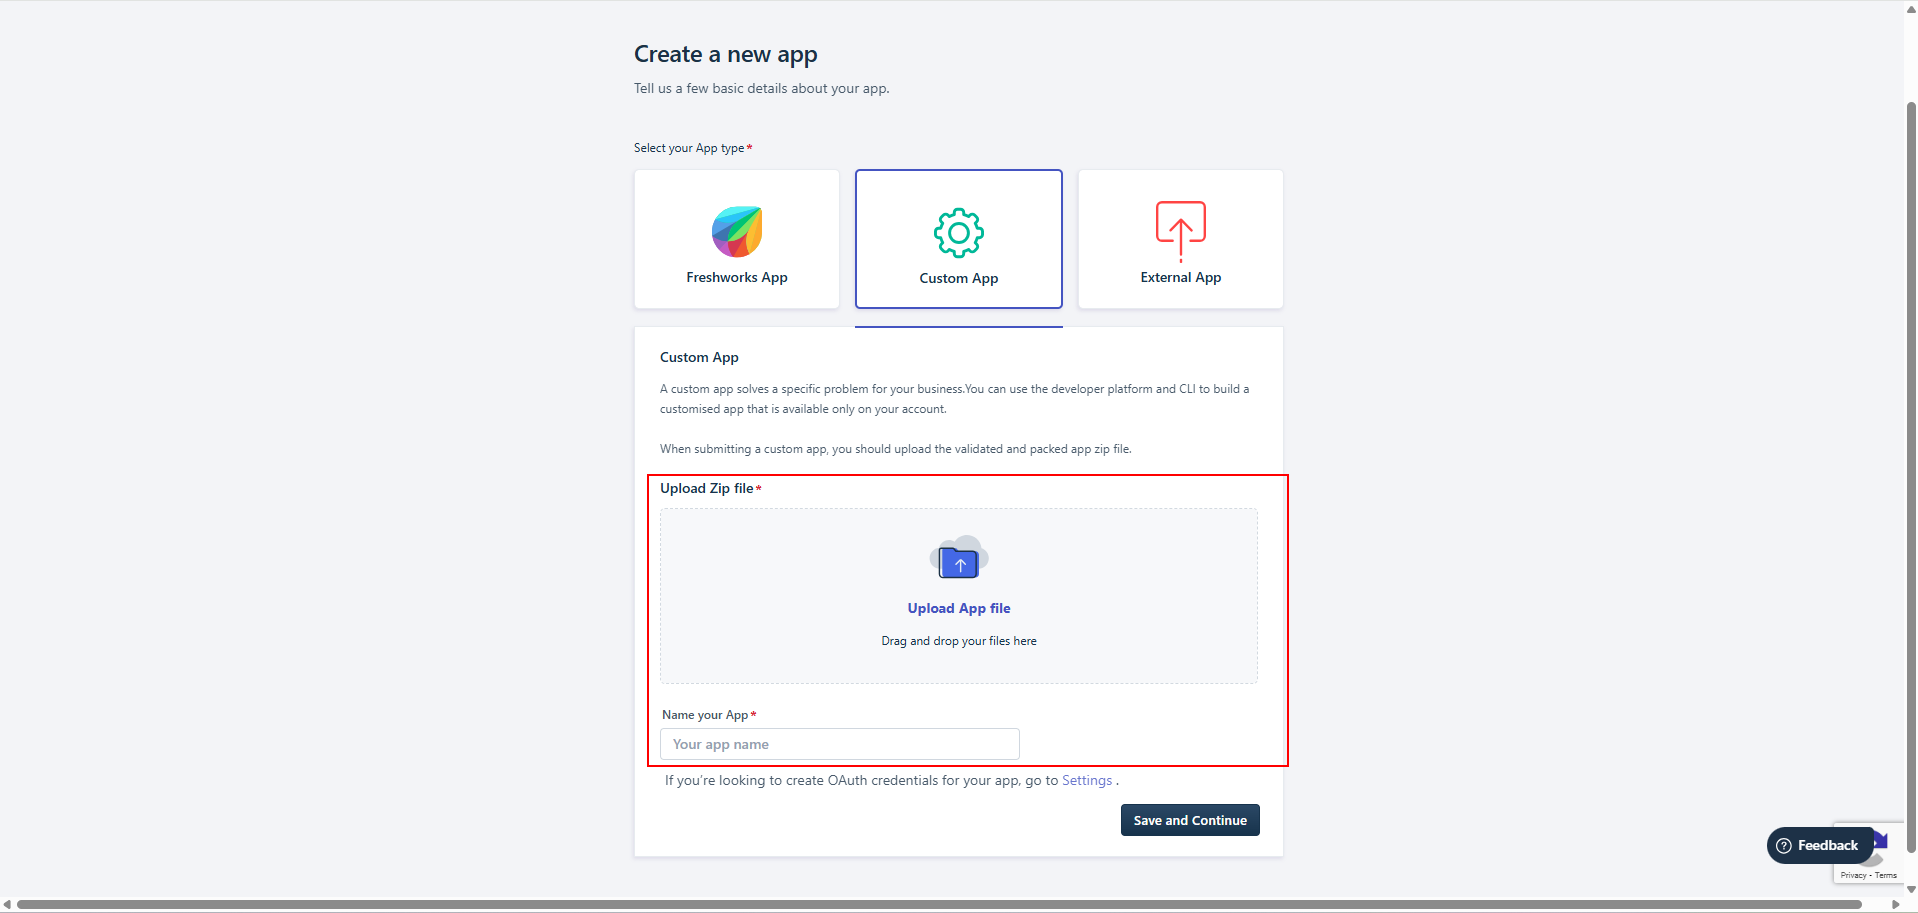
- Upload the file downloaded in Step 4 (1) and enter the Name (Acefone Dialer).
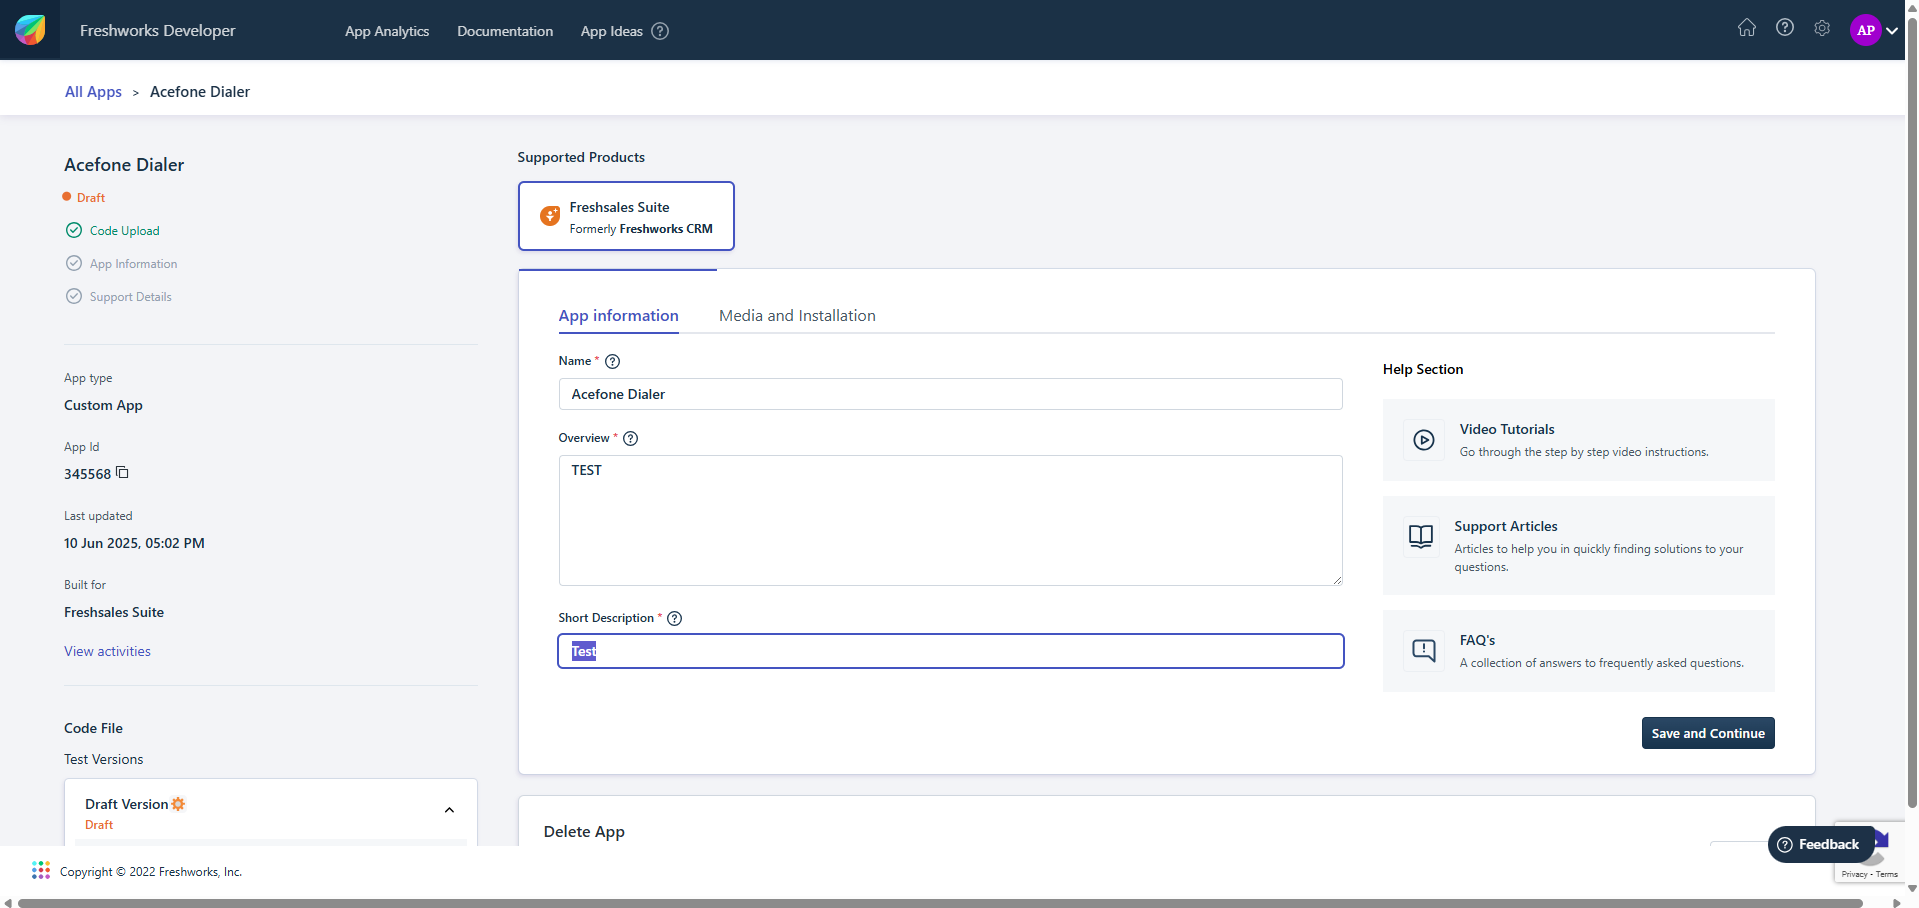
- Go to Media and Installation
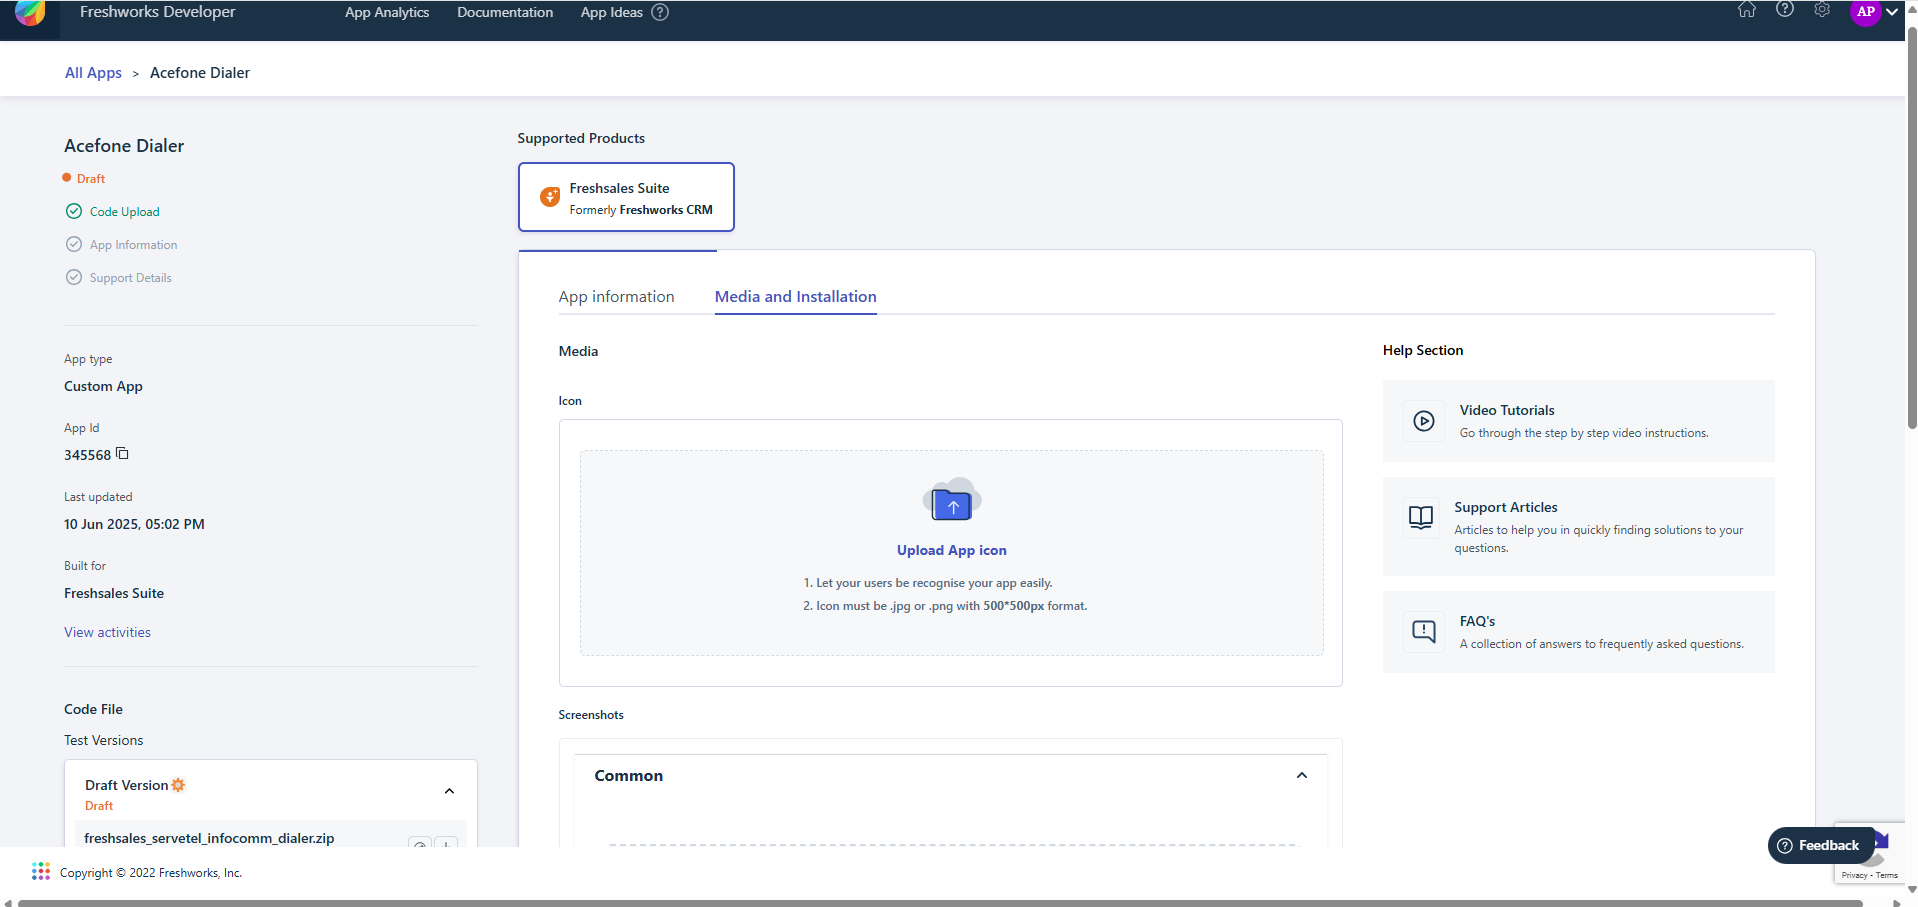
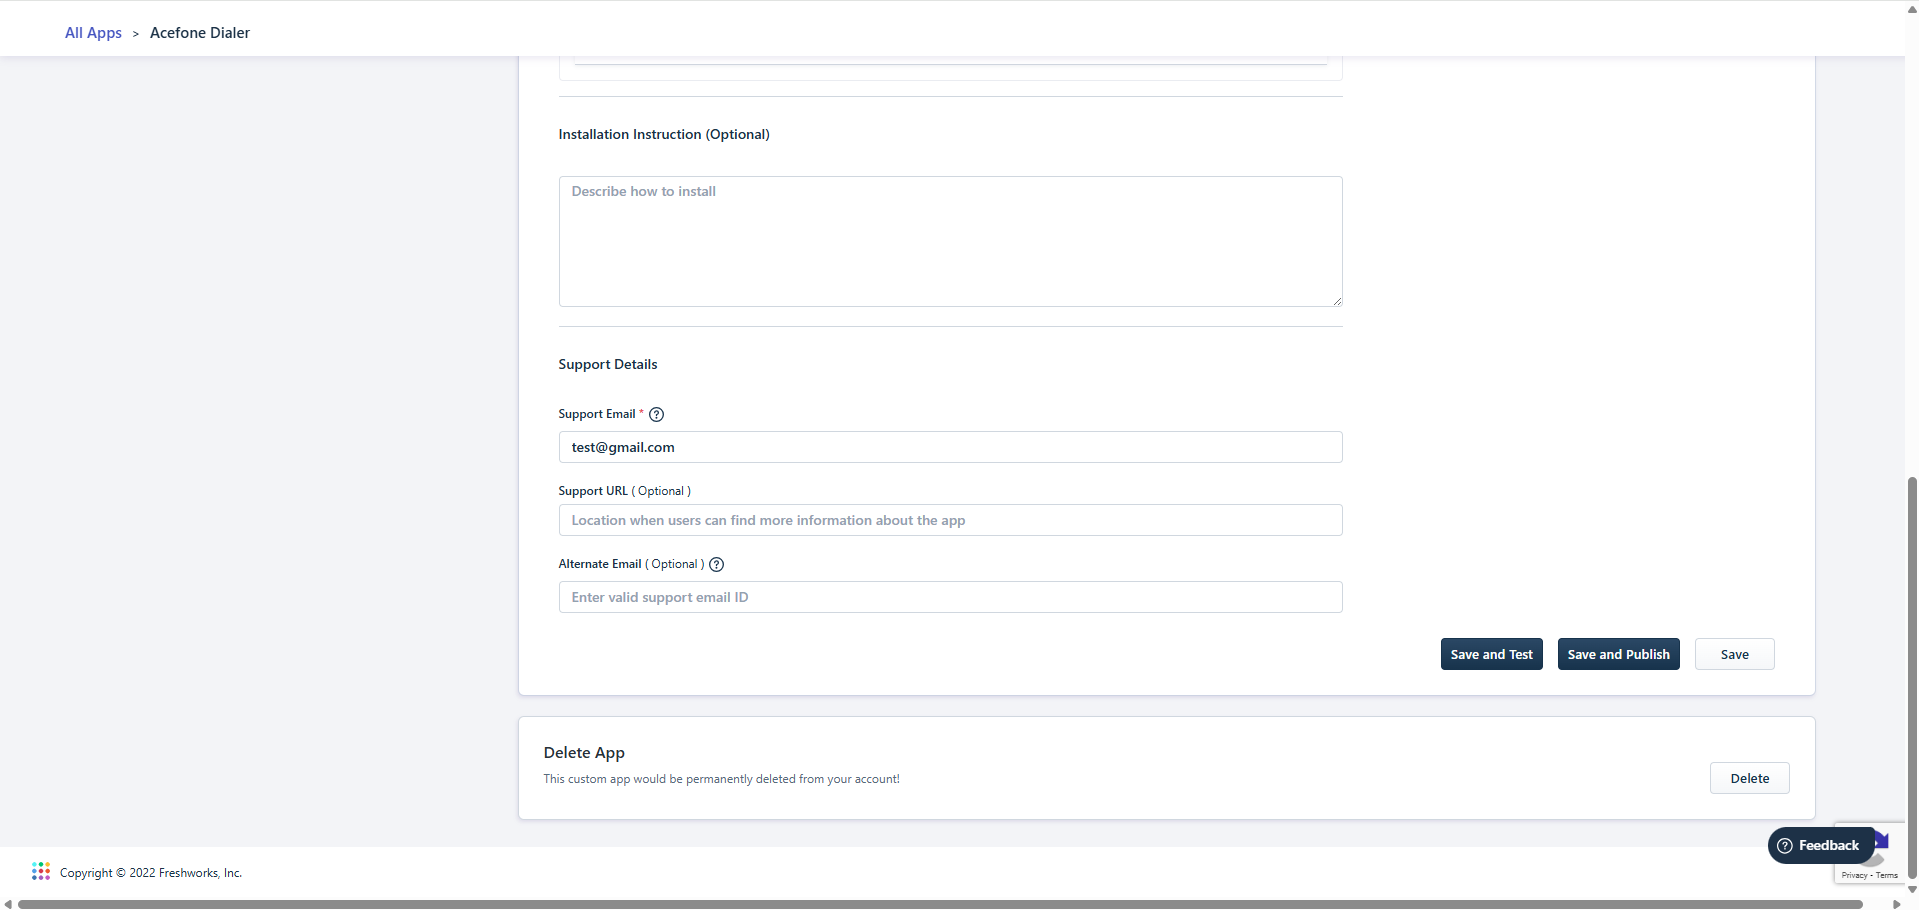
- Click on Save and Publish
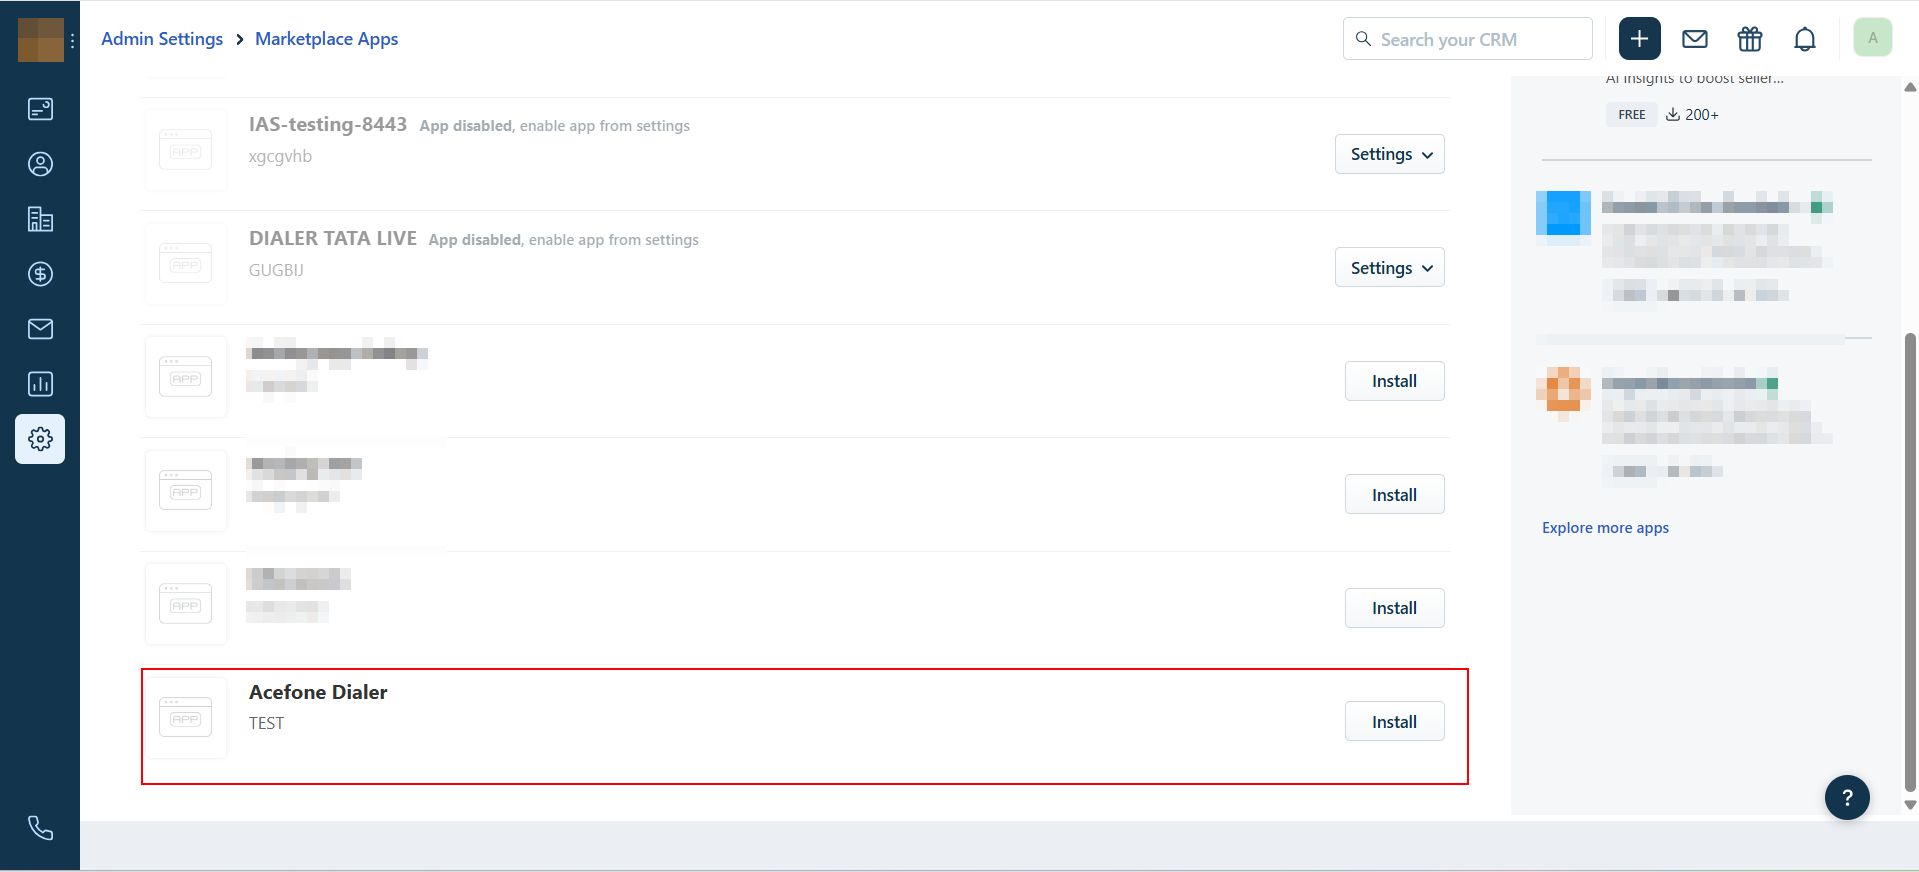
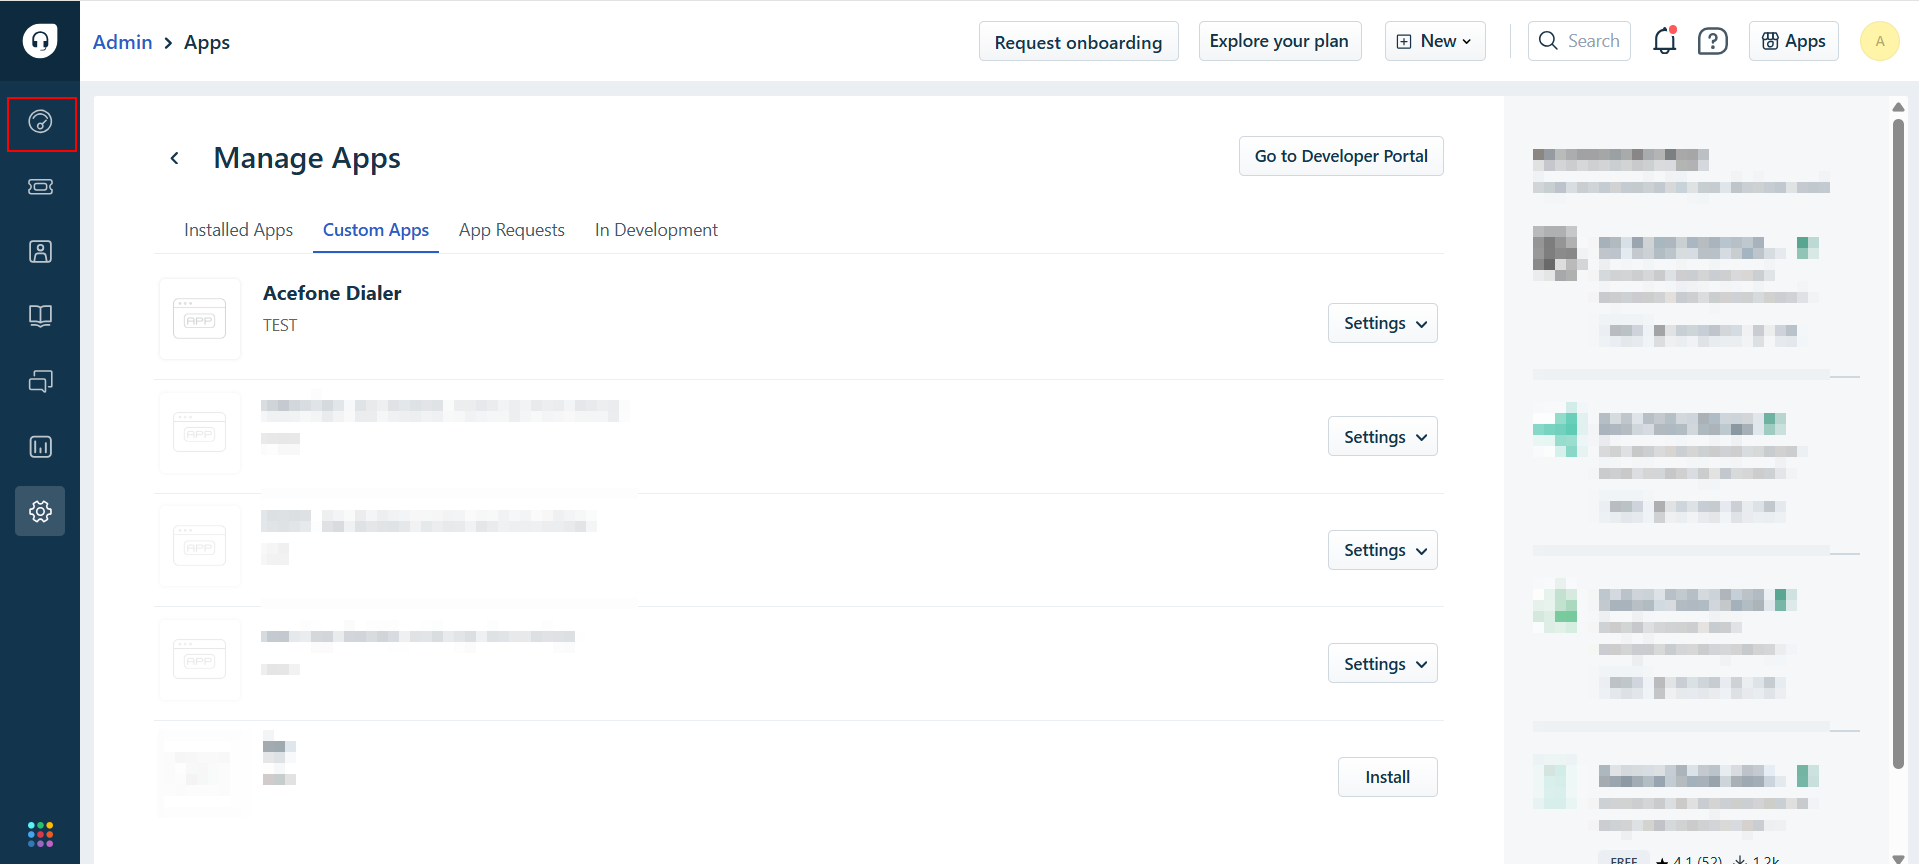
- Go to the Manage apps again
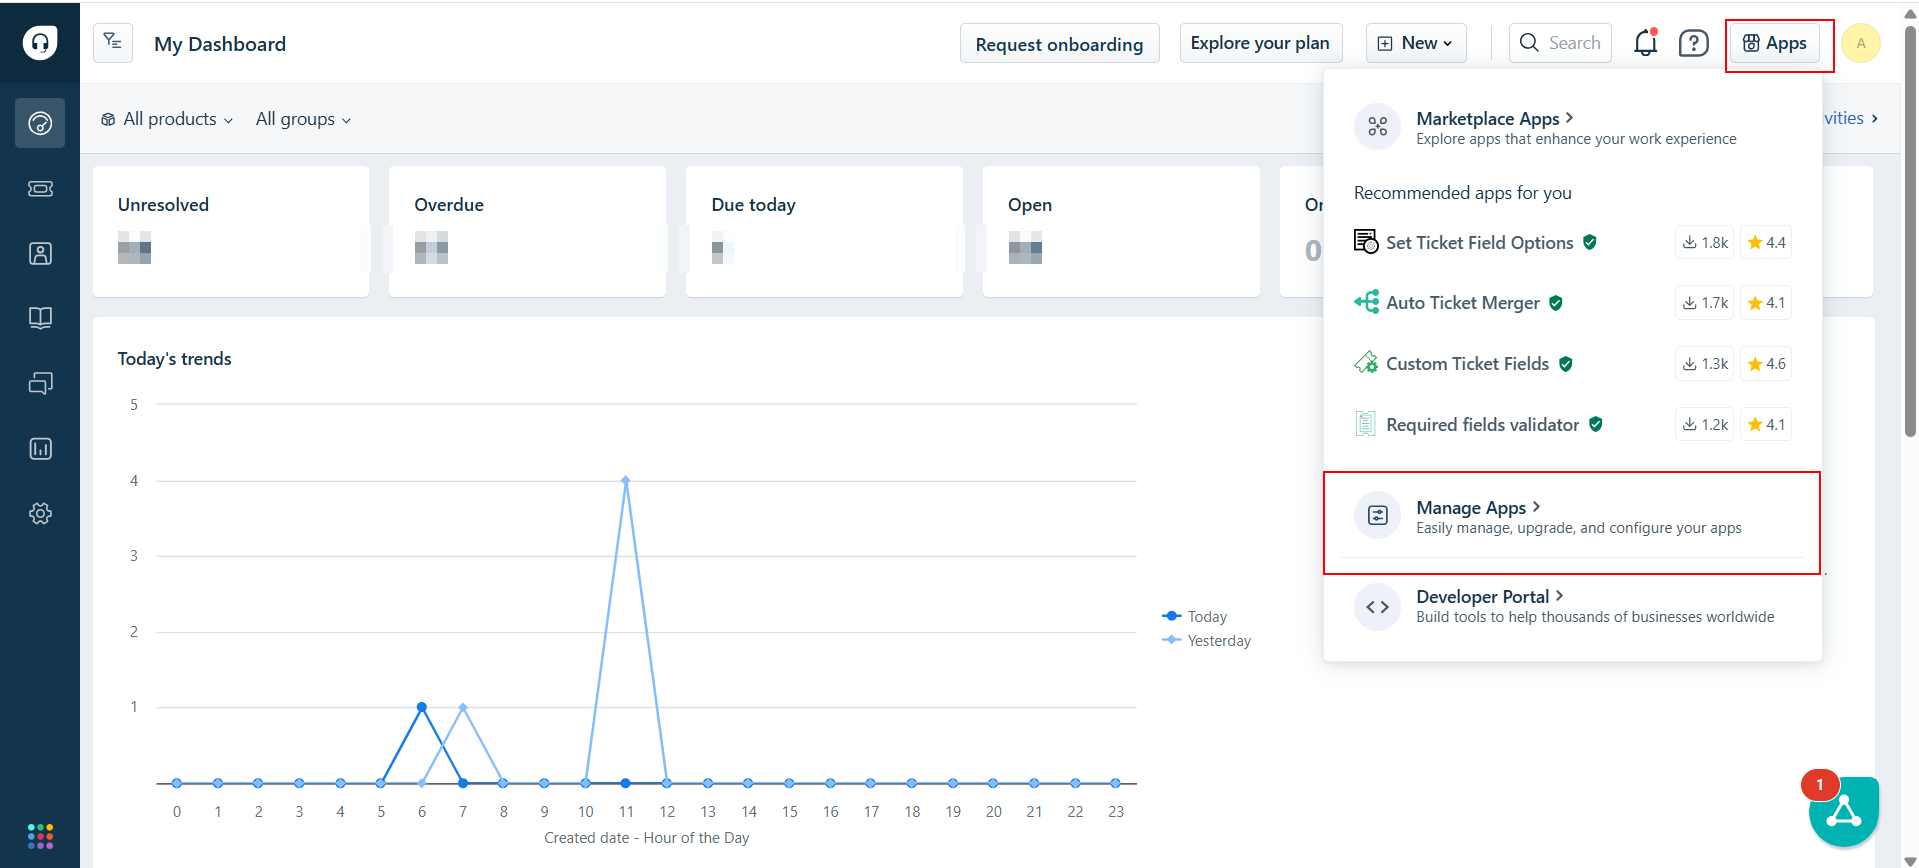
- Select Custom Apps
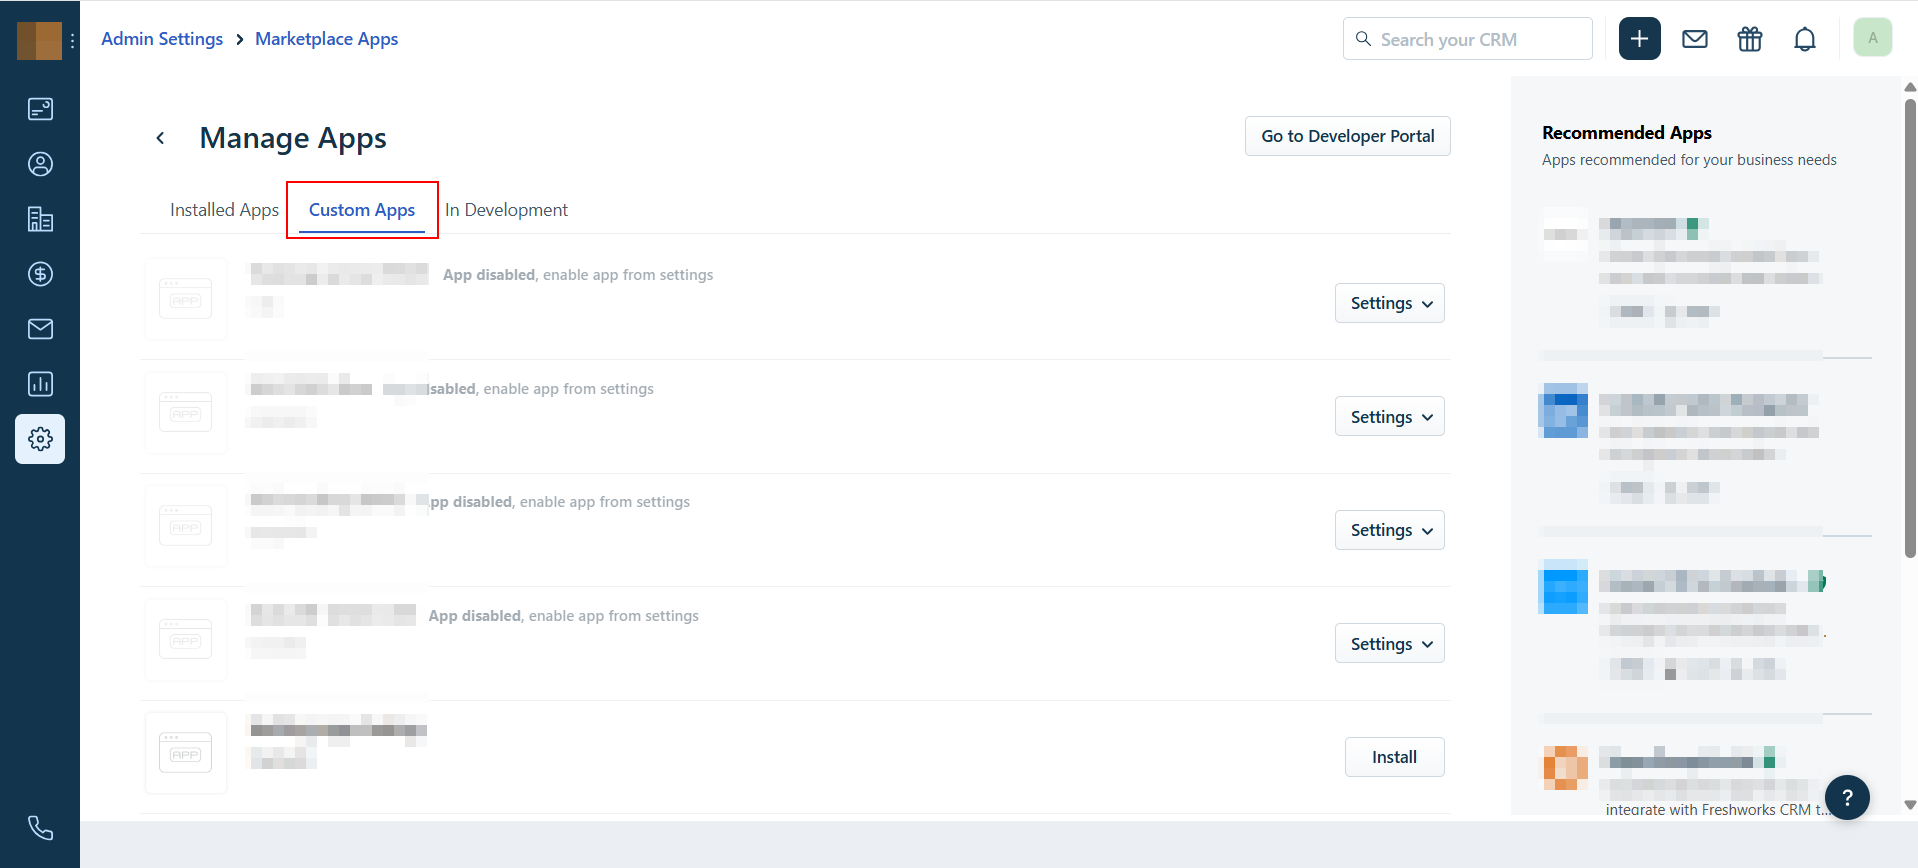
- Install the app Acefone Dialer
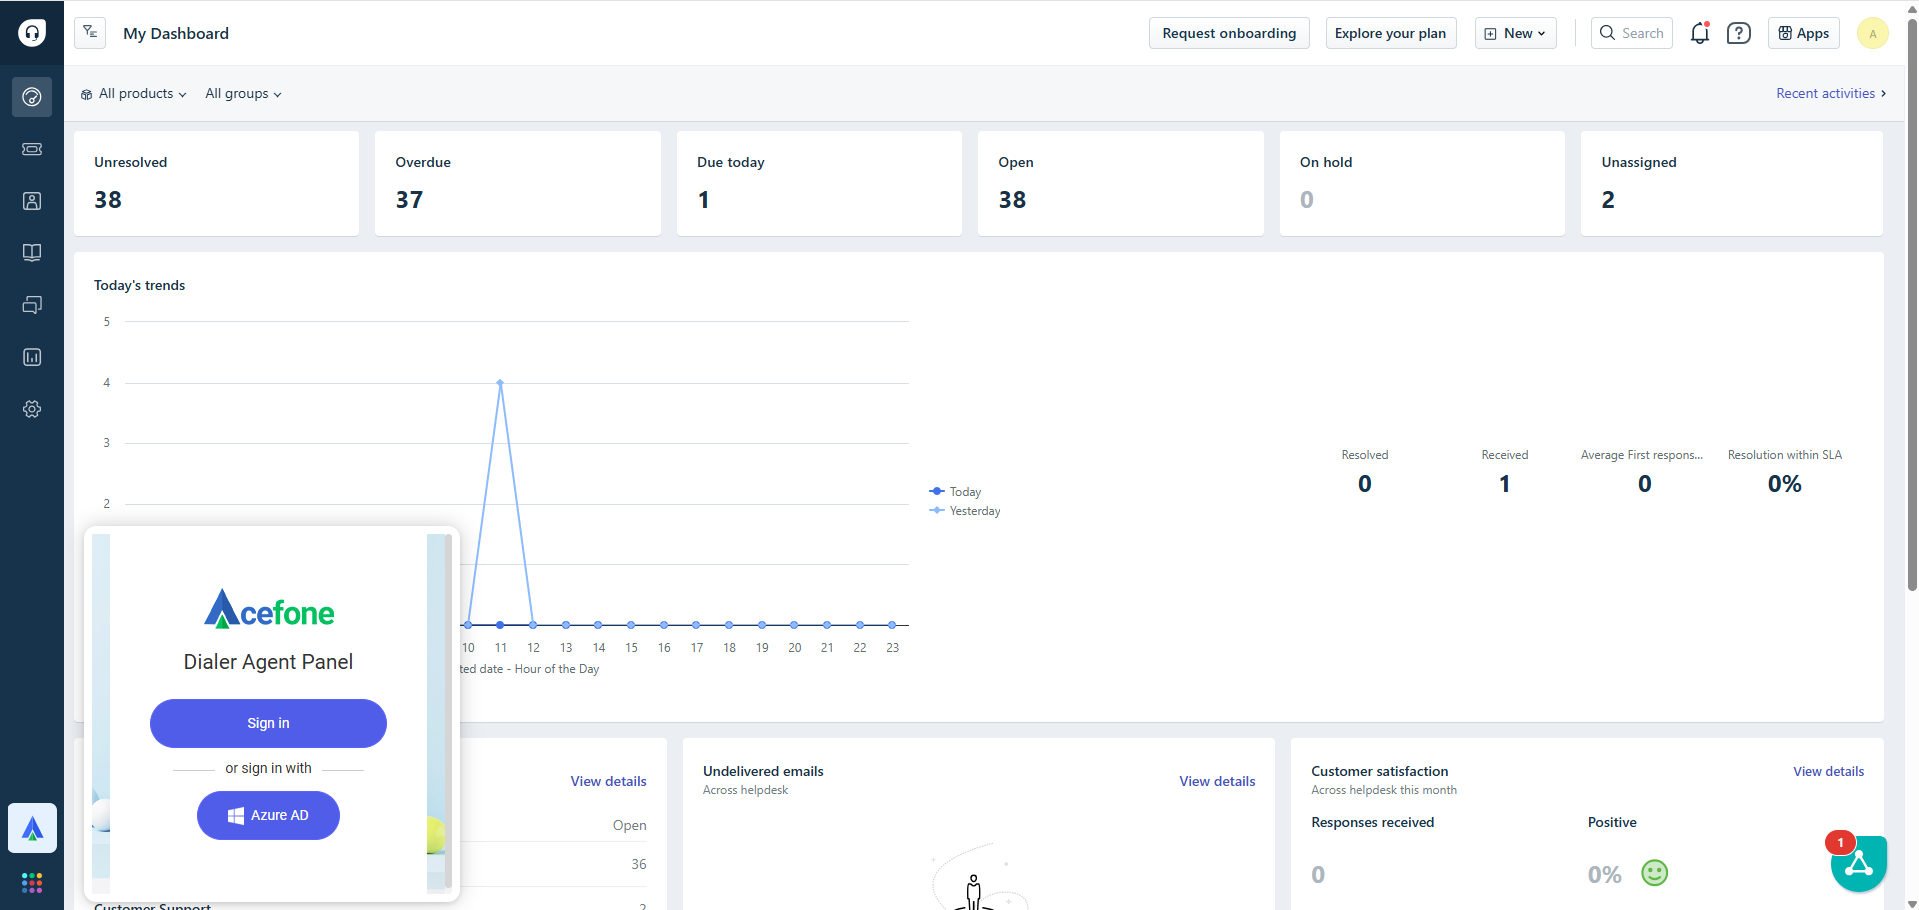
- Go to Dashboard.
- Click on Acefone Dialer icon on the bottom left.
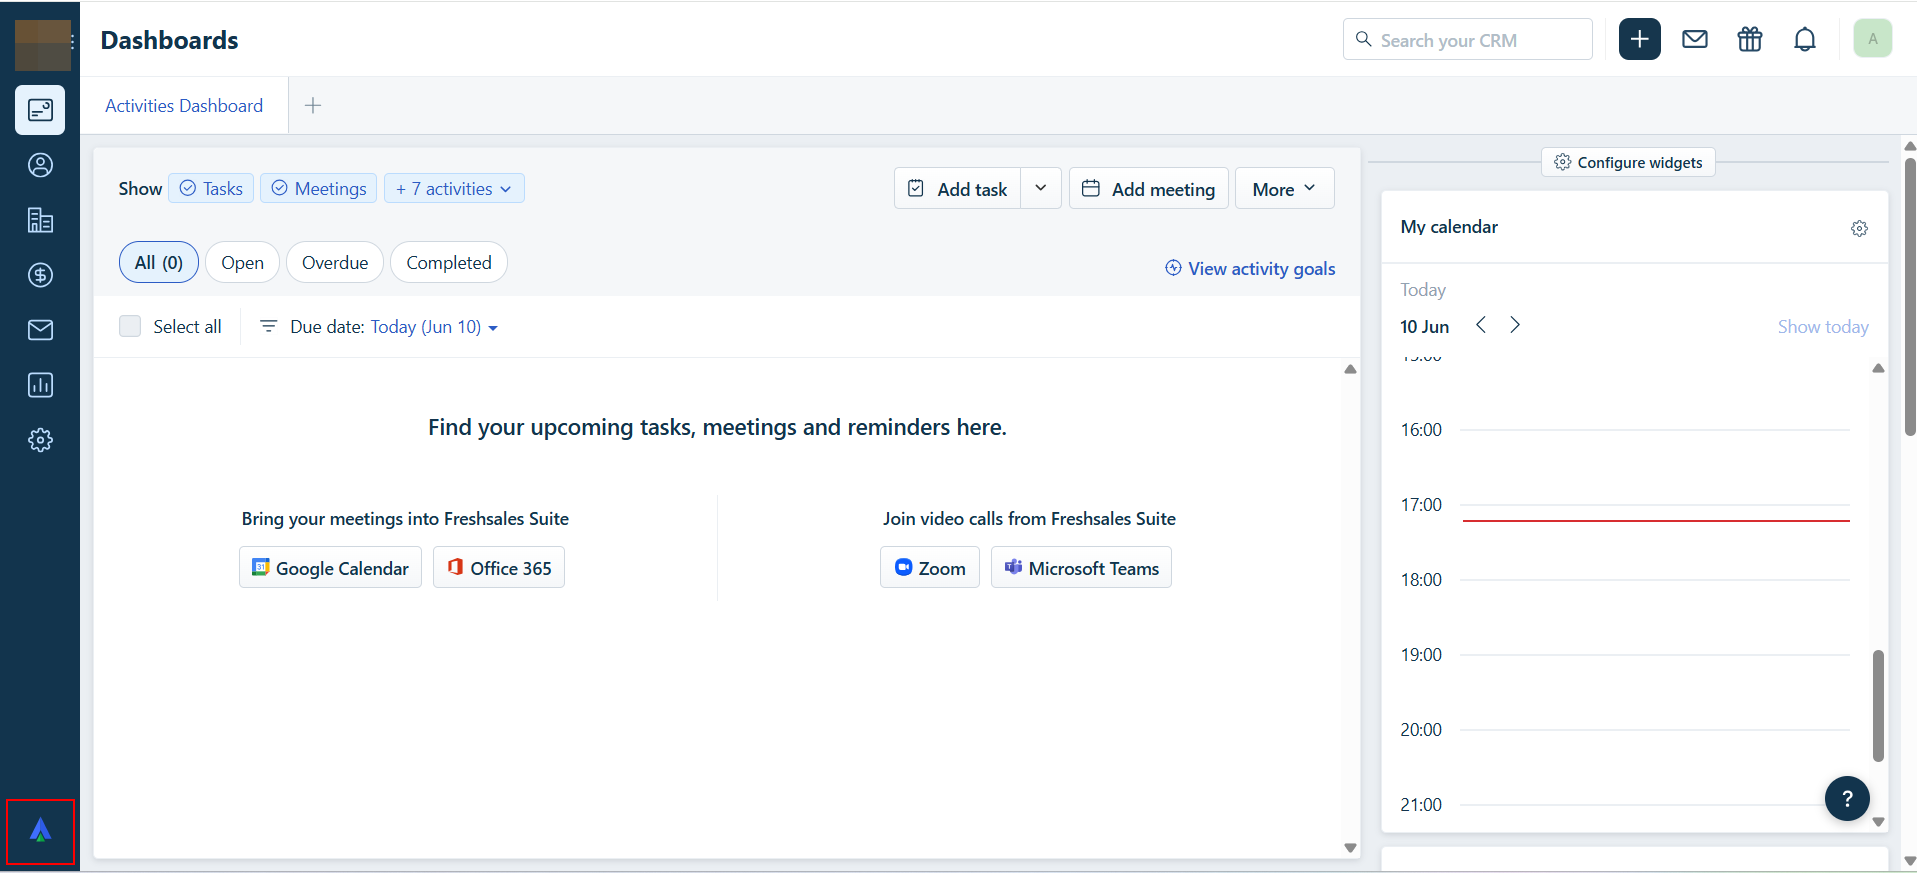
🎉 You’ve successfully integrated Acefone with Freshdesk CRM. Happy calling!
Updated about 1 year ago