Time Groups
In the Time Groups section, you can set up working and non-working hours for agents to enable time-based call routing. Since agents work in shifts, this service is essential for call centres operating 24/7. It allows the assignment of agents to specific groups, known as time groups, and ensures that incoming calls are routed only to agents within the active time group. For example, an agent working a night shift will automatically start receiving calls upon logging in. This functionality significantly reduces the burden on supervisors, as they no longer need to manually assign calls to agents.
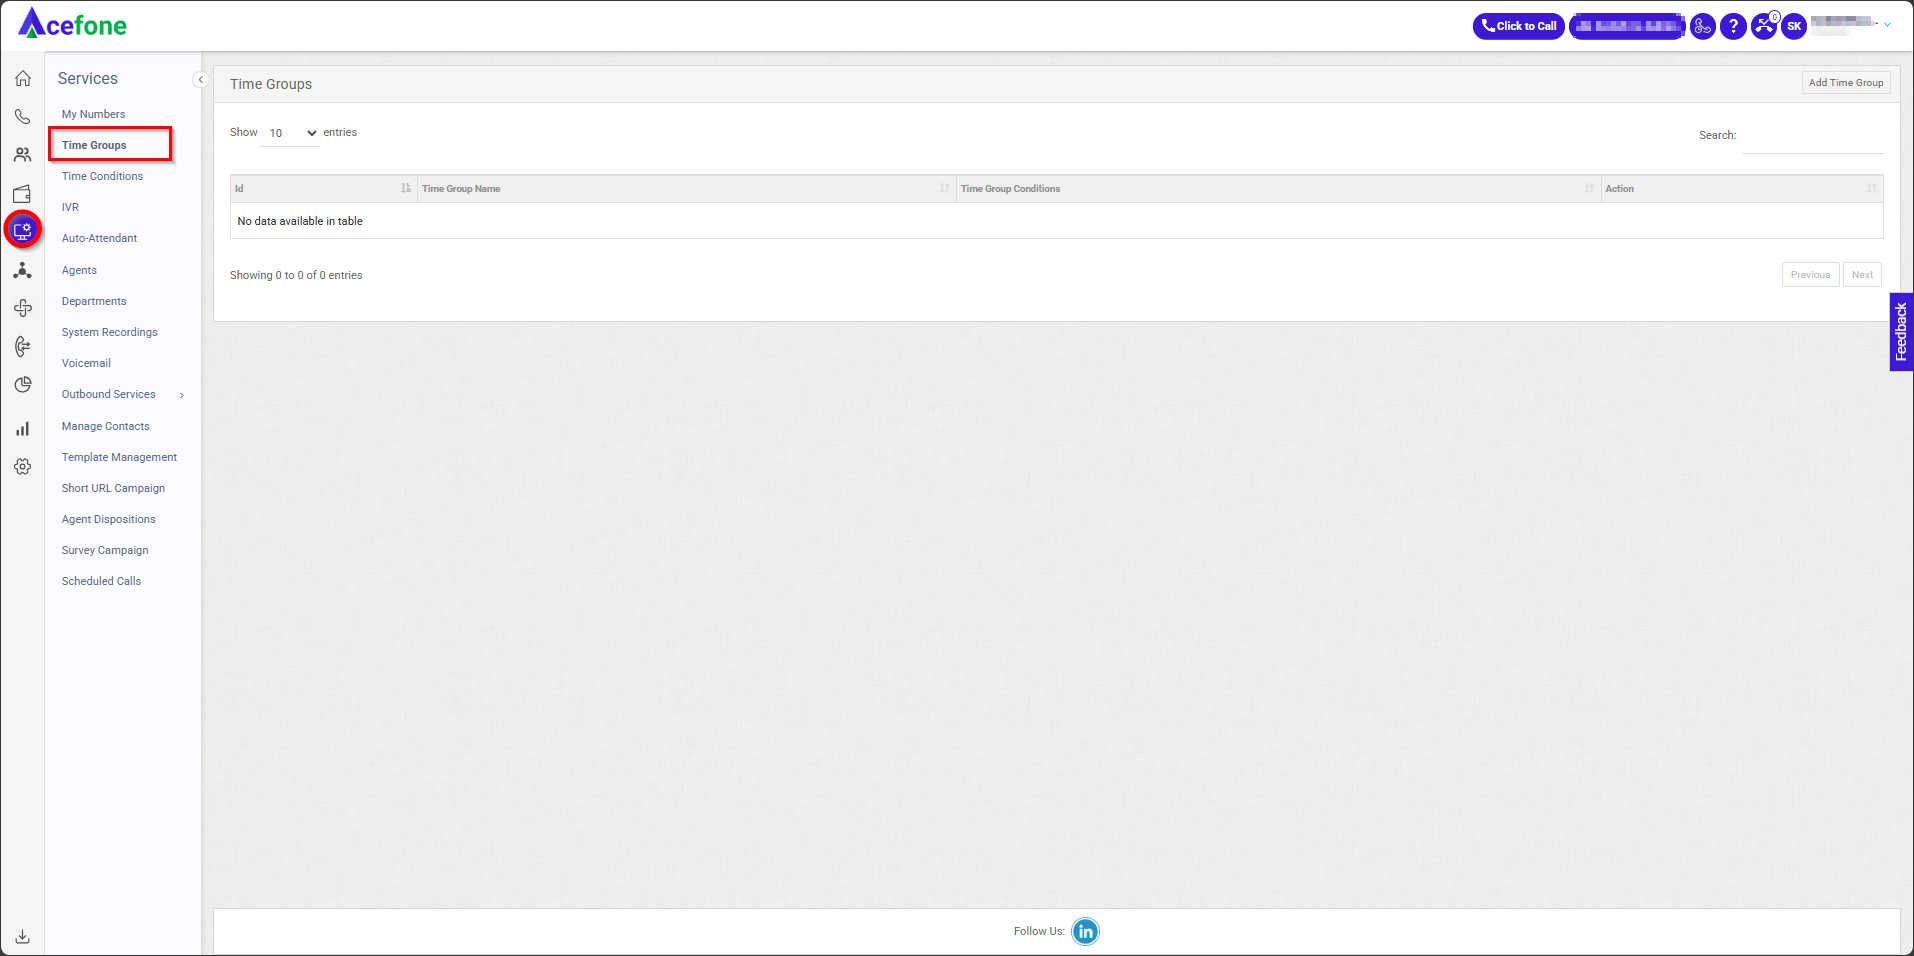
Getting Started with Time Groups
To go to Time Groups to your Acefone account, first log in using your unique User ID and Password. Once logged in, you will be directed to the main dashboard. From there, locate the navigation menu on the left-hand side of the screen and click on "Services." A set of options opens up. One of these options is the “Time Groups".
- List of Time Groups
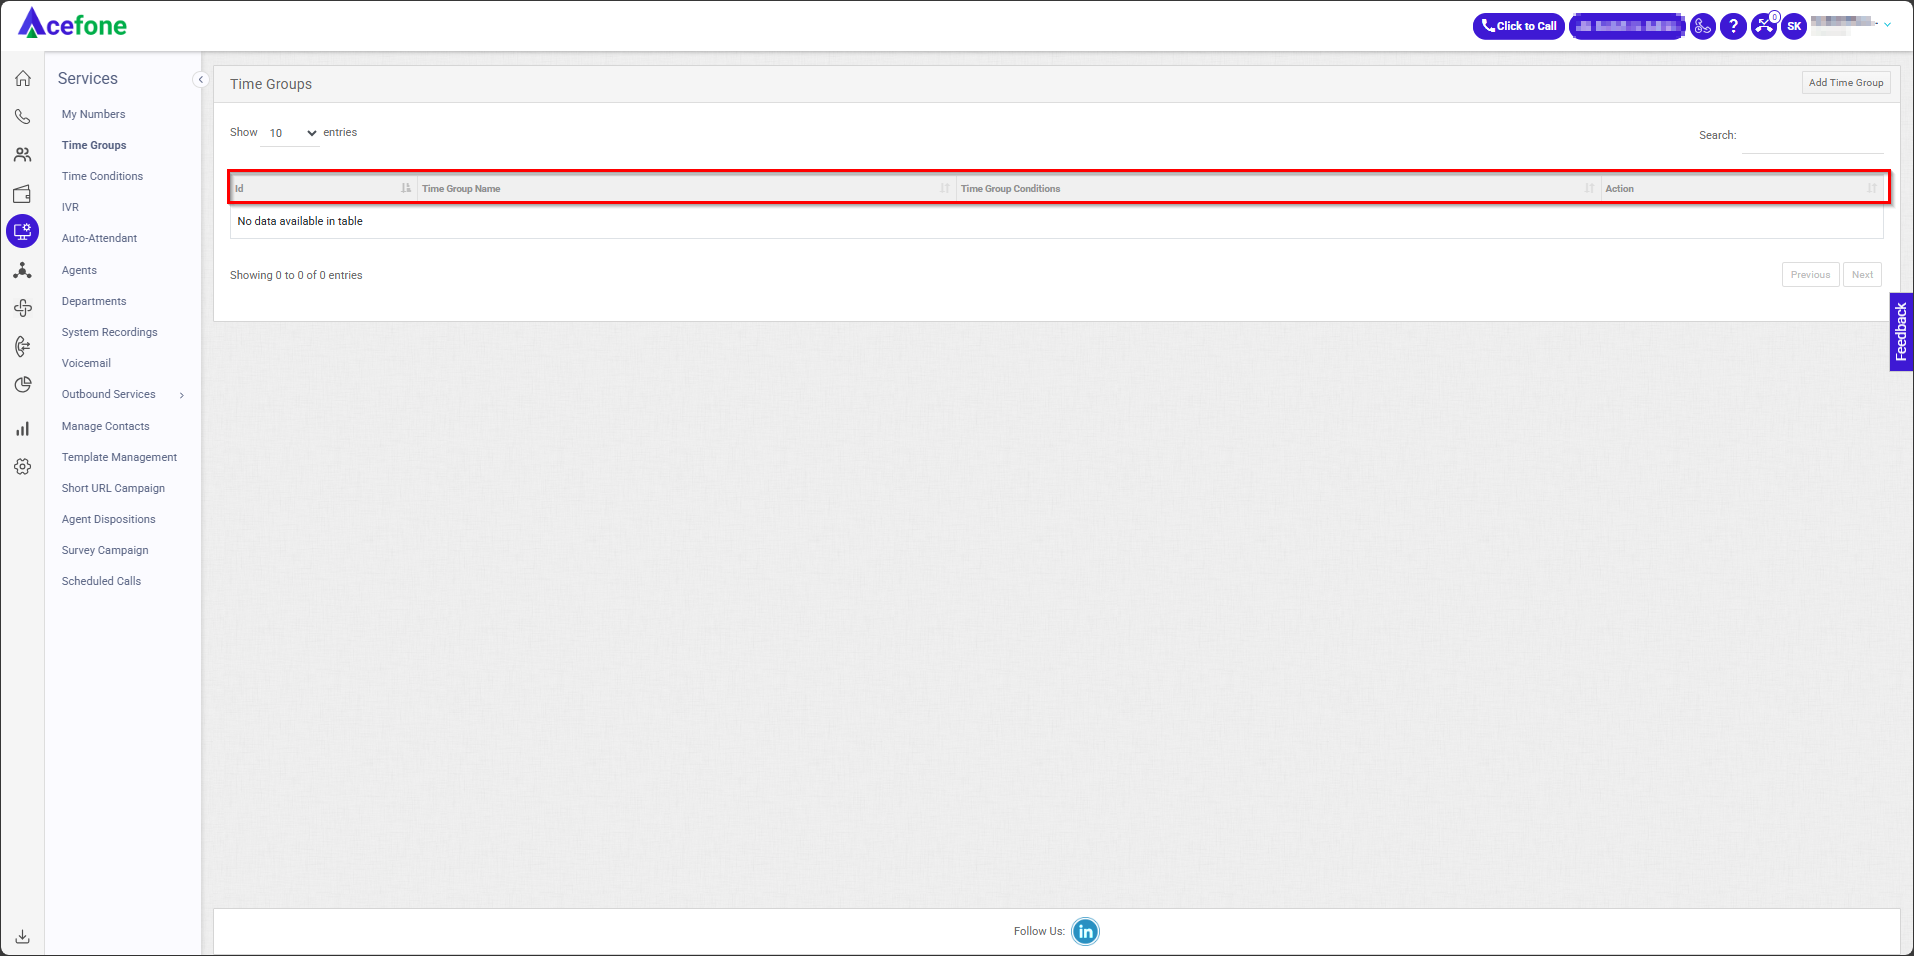
The table displays a list with the following information:
| Field | Description |
|---|---|
| ID | Displays the ID of the Time Group. |
| Time Group Name | Displays the name of the Time Group. |
| Time Group Conditions | Displays the time group conditions set by the Admin. |
| Action | Provides an option to edit and delete the time groups. |
- Add Time Group
To add a time group, follow the below steps:
- Click on the Services tab on the side navigation.
- Click on Time Groups.
- A list of all-time groups is displayed along with the relevant details.
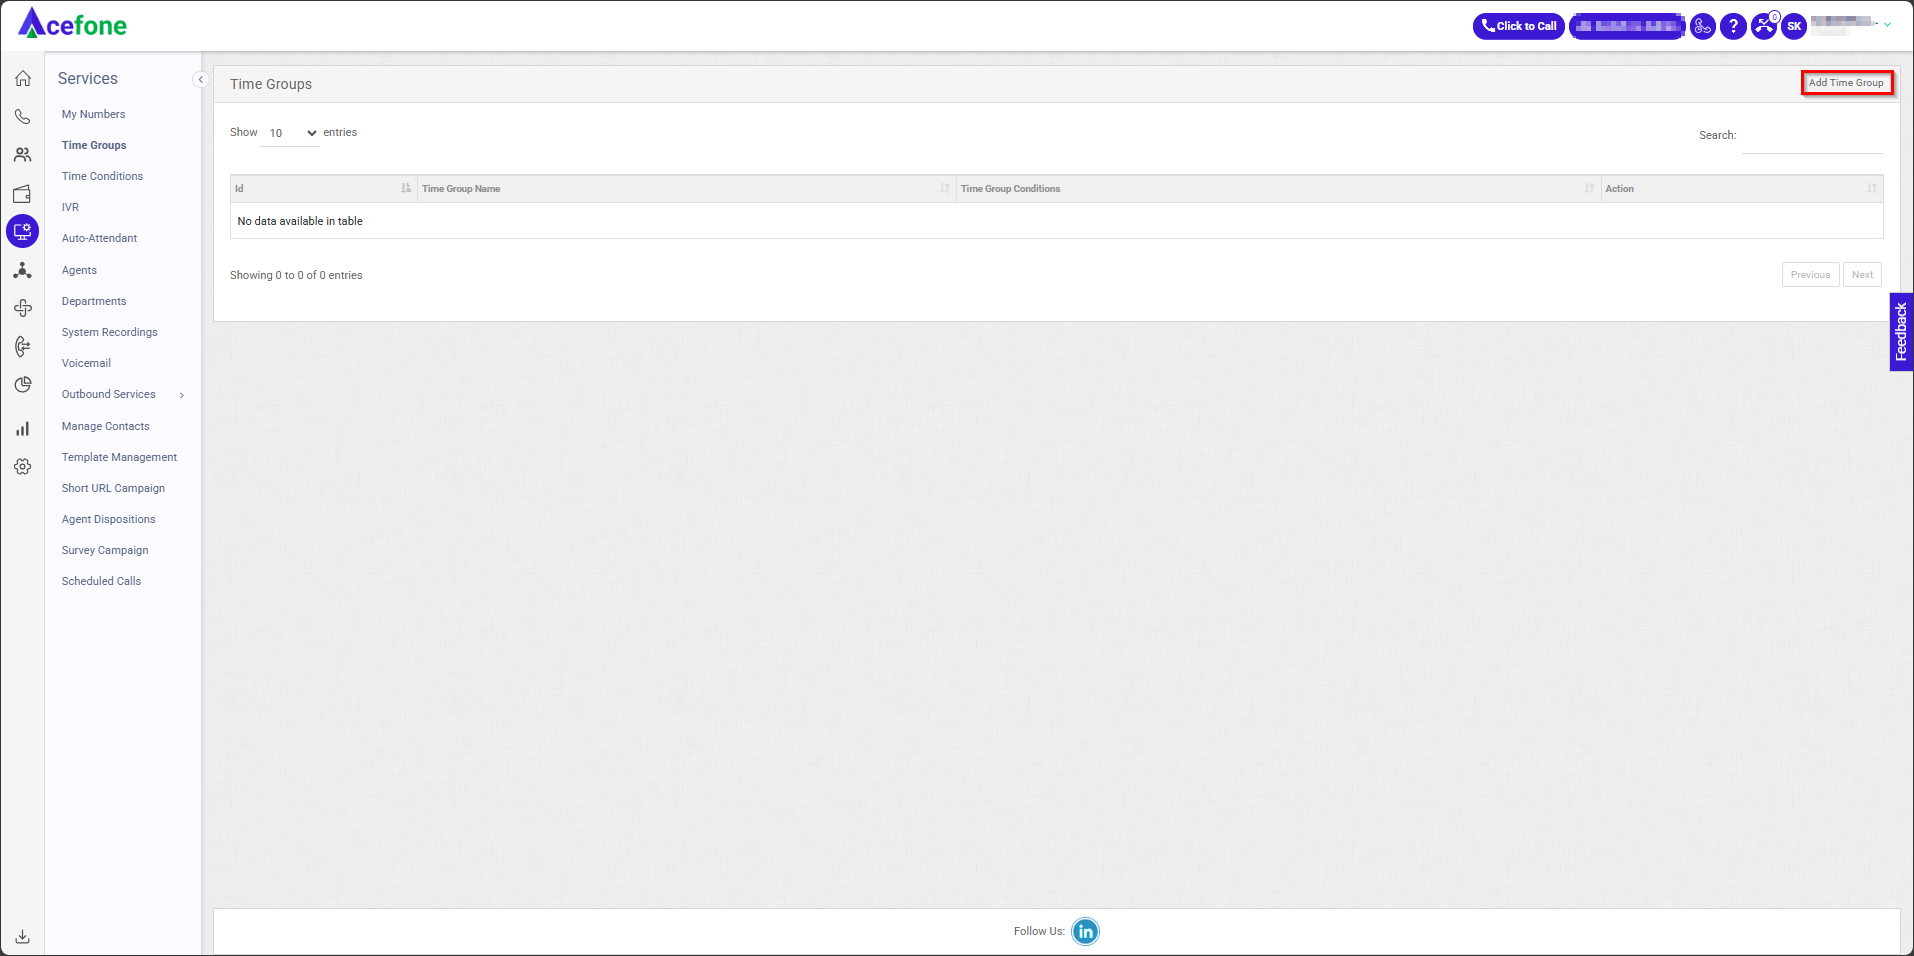
- Click on Add Time Group.
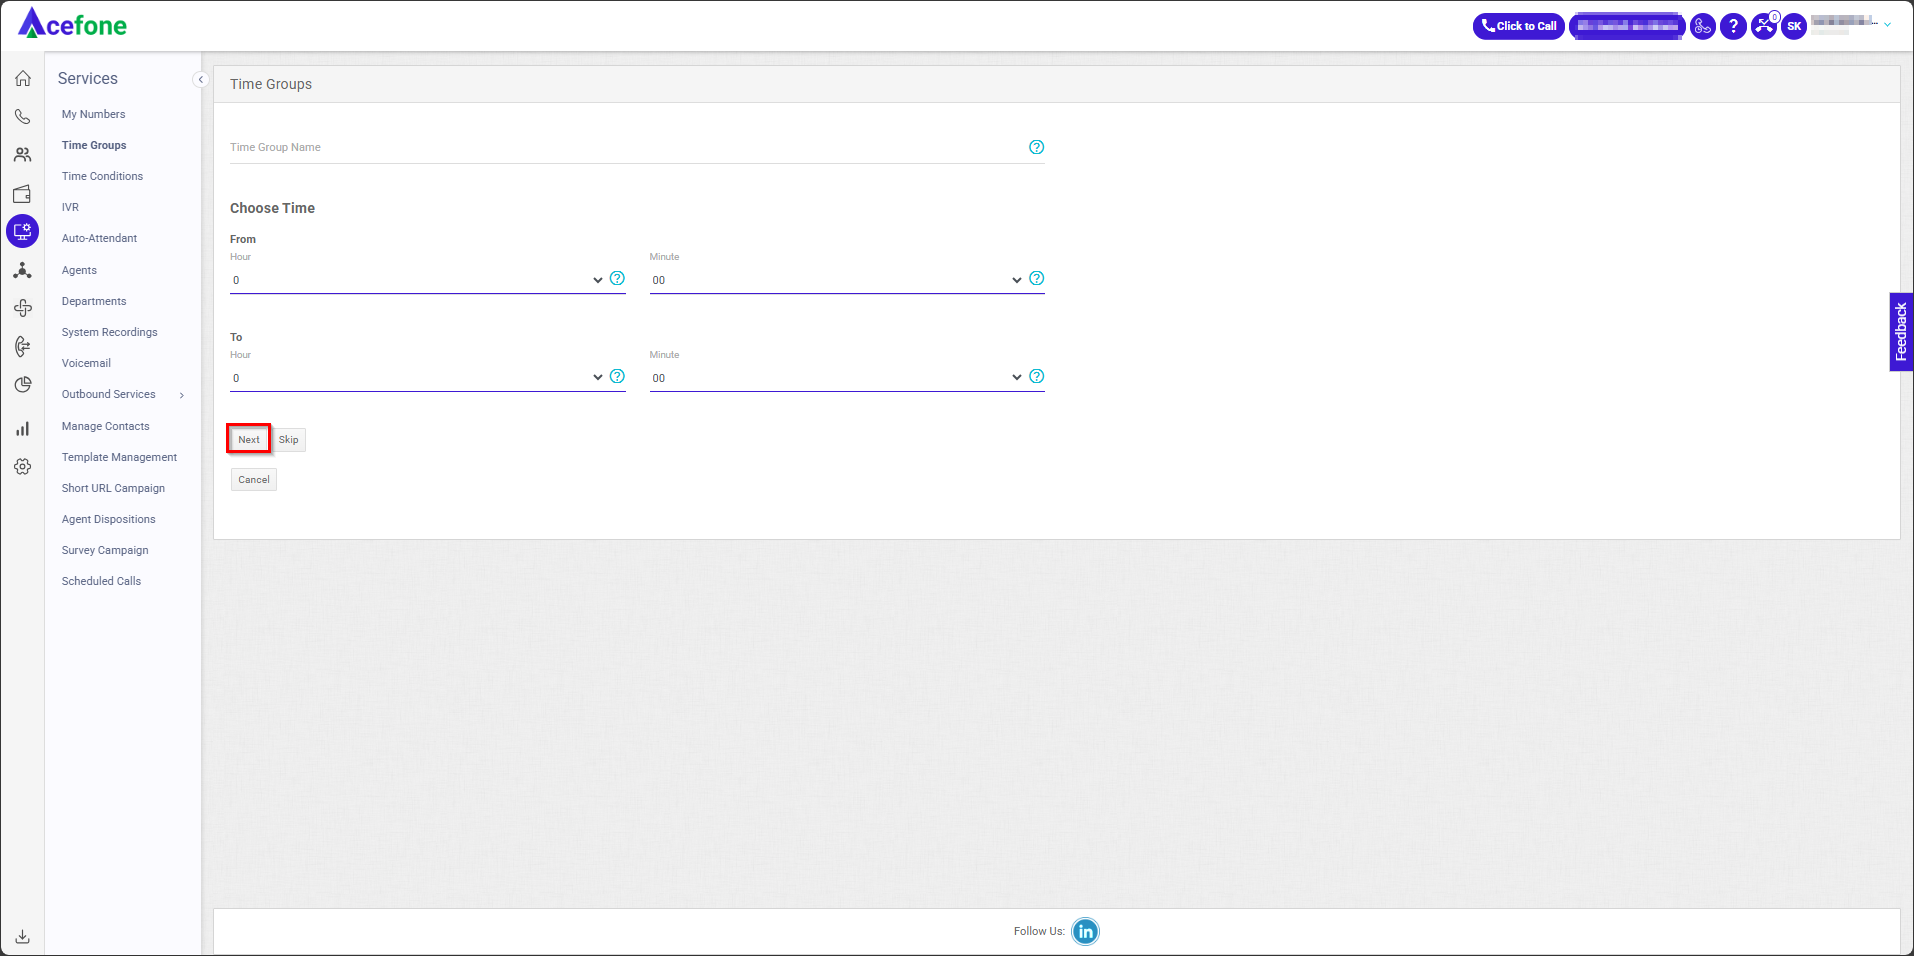
- Enter the Time Group Name and provide time-related details under Choose Time.
- Click Next.
- Choose Days from the list and click Next.
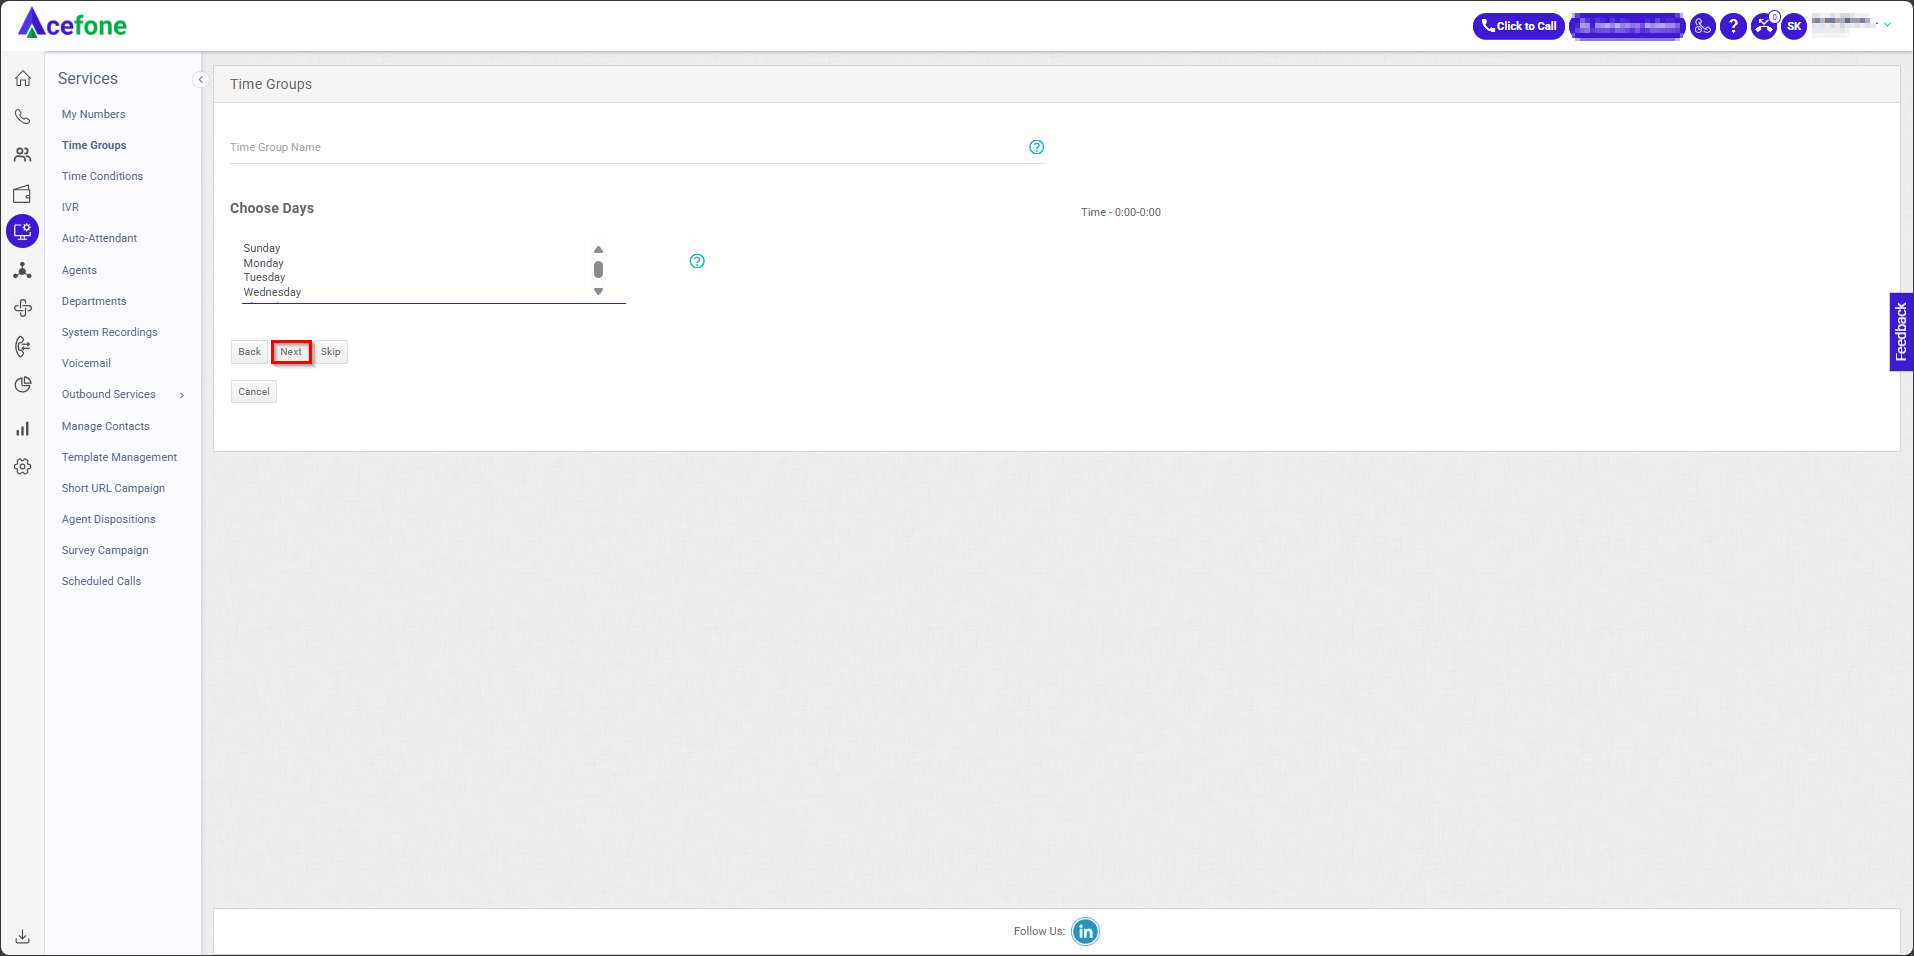
Use the Skip option if you want to remove restrictions on days, dates, or months. This will allow the system to function without any specified limitations.
Note: Press the control key to choose more than one.**
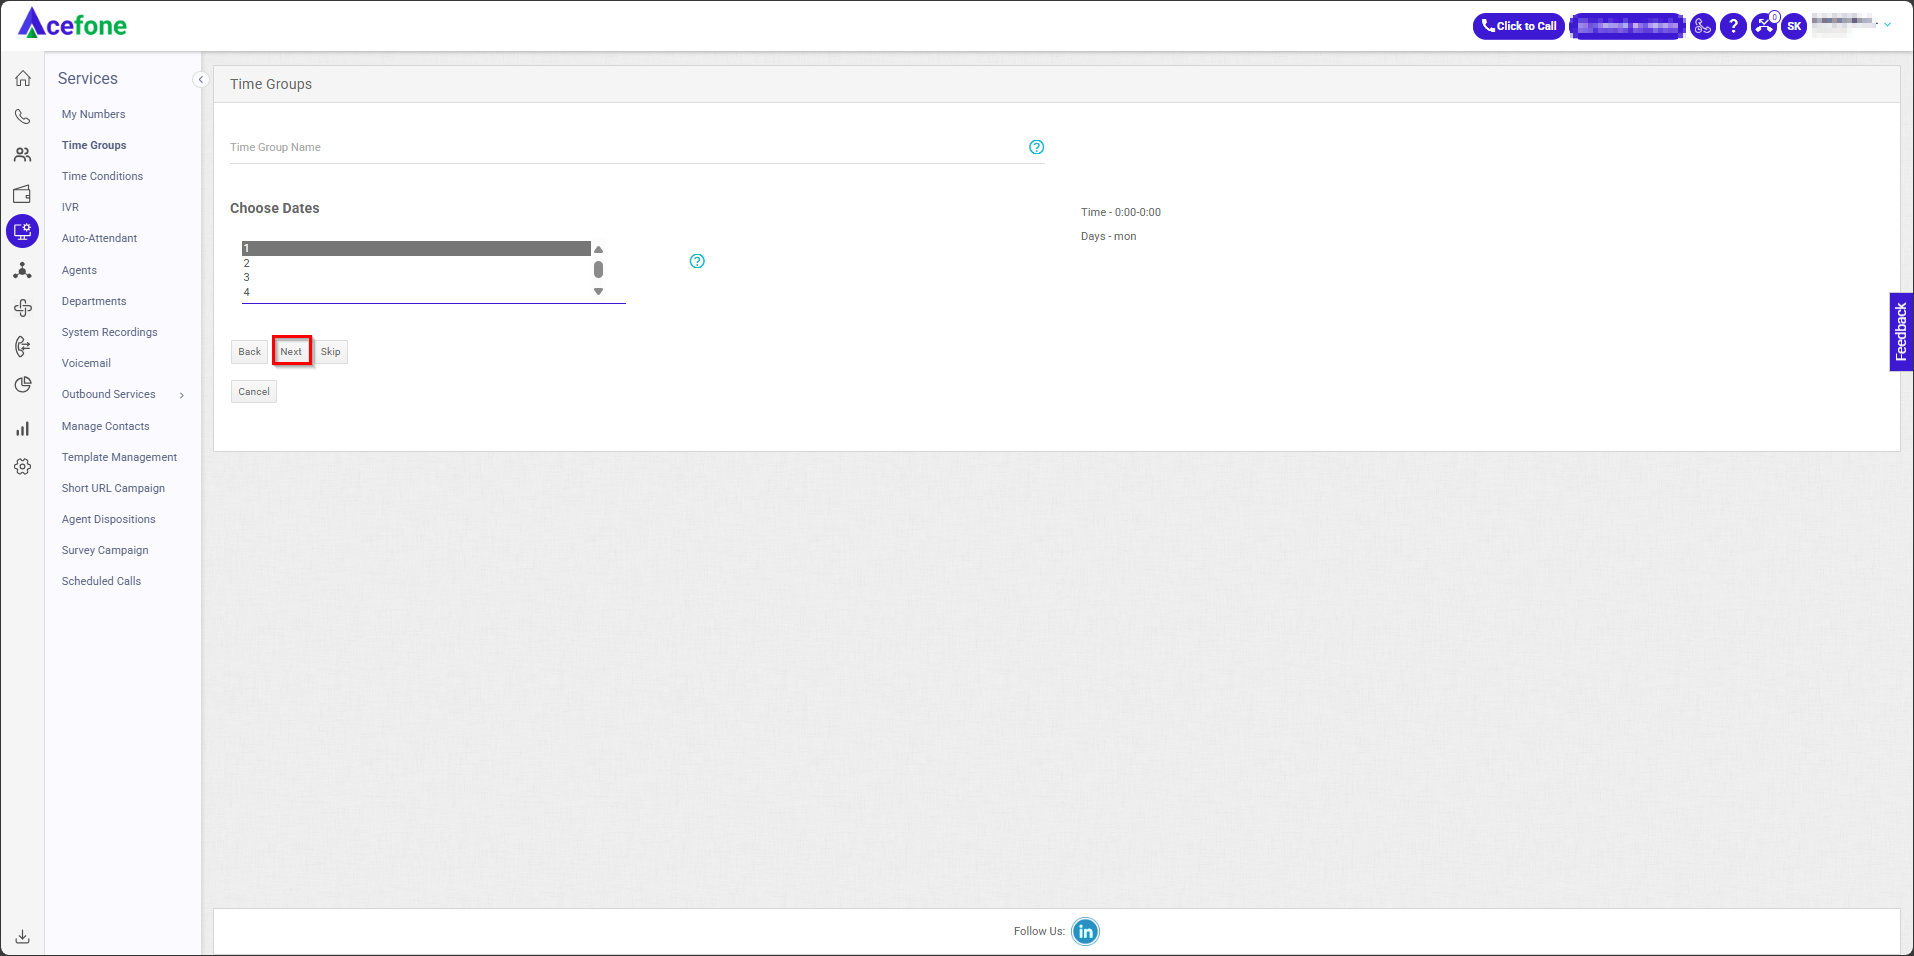
- Choose Dates and click Next.
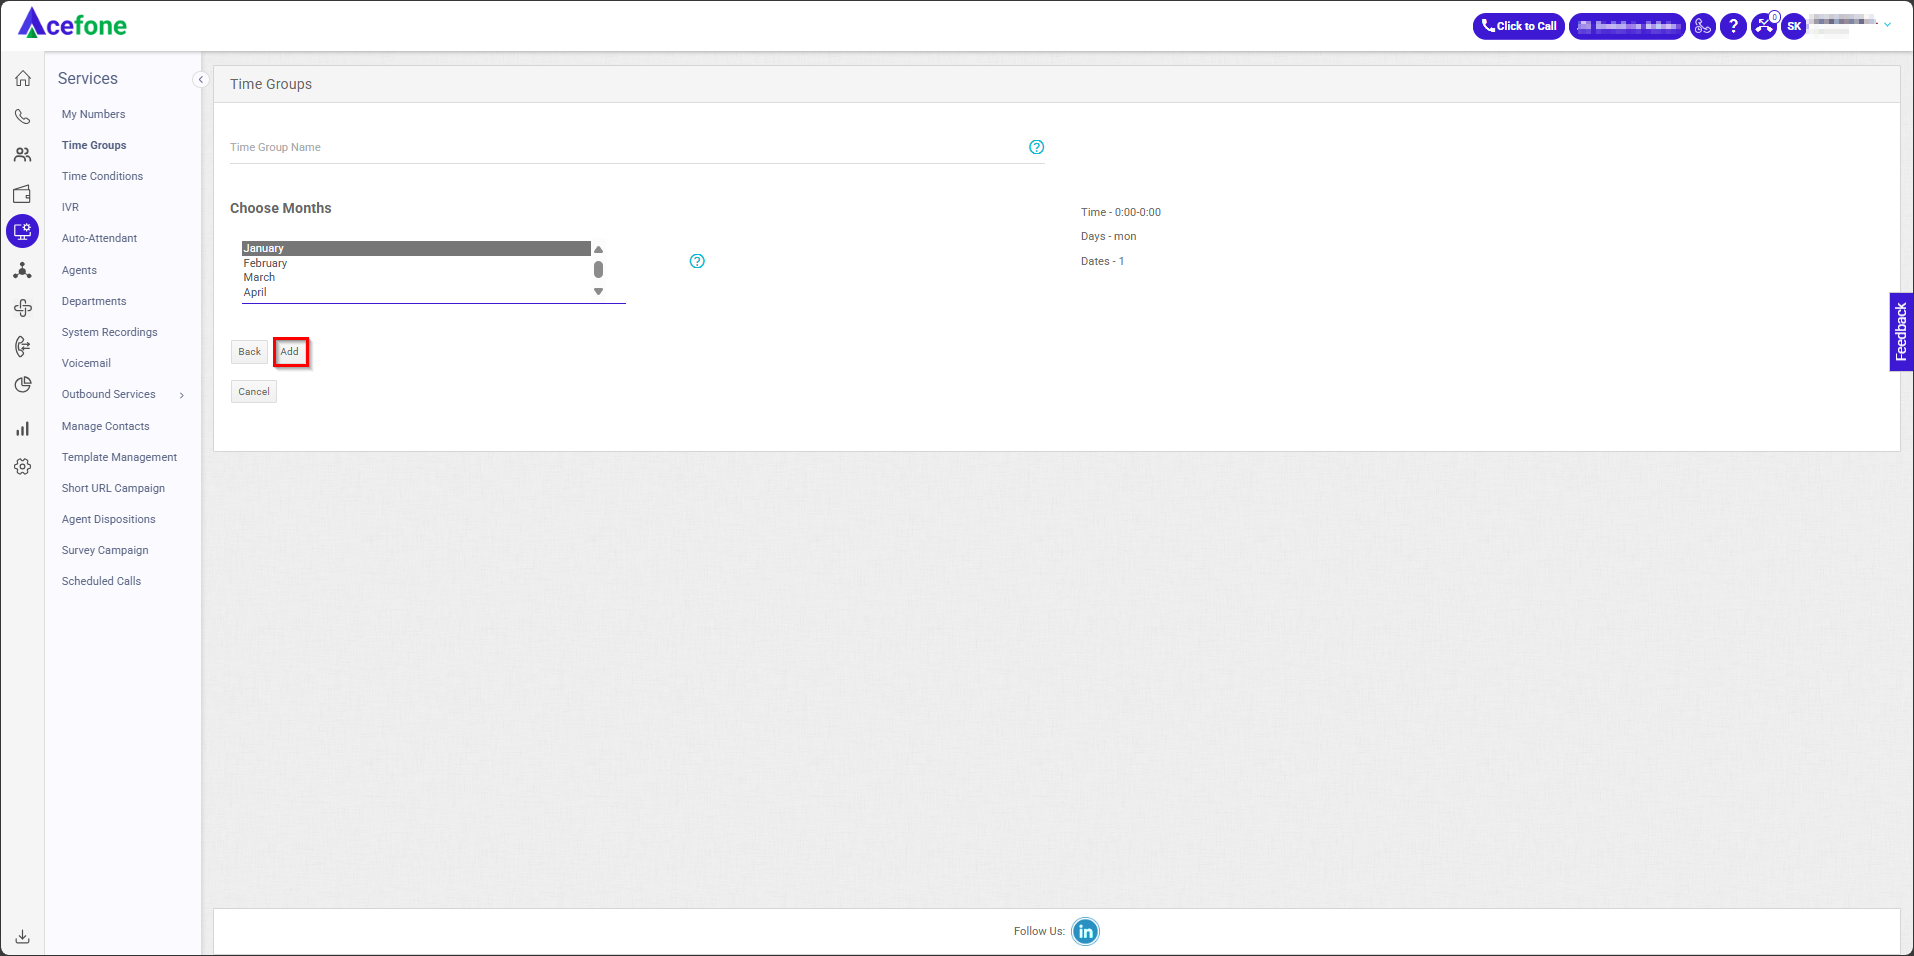
- Choose Month and click Add.
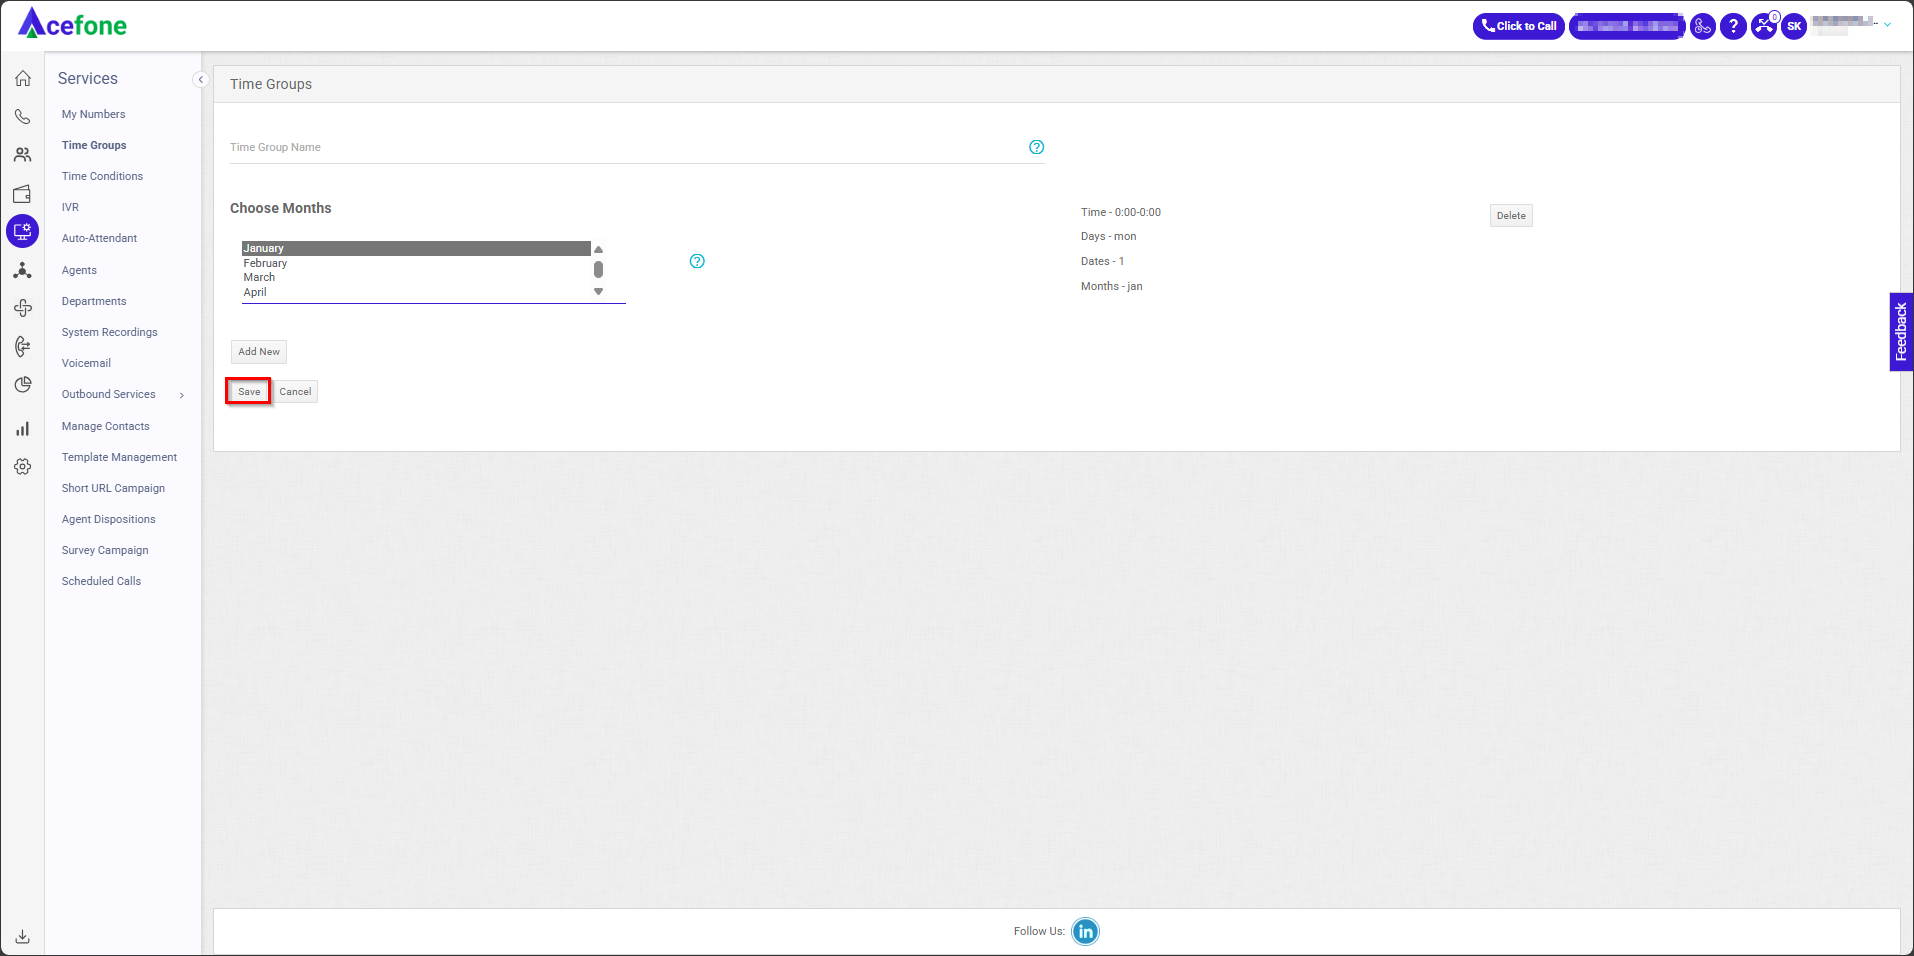
- Click the Save button.
Updated 7 months ago
