
API Tokens
API Token Overview
- API Tokens are unique identifiers used to authenticate and secure communication between applications and the Acefone platform. These tokens allow users to access Acefone APIs without exposing sensitive credentials like usernames or passwords. Each token is associated with specific permissions and can be generated for various integrations, ensuring controlled and secure access to the system's features and data.
- Users can generate, manage, and revoke API tokens as needed to maintain security and facilitate seamless integration with external applications.
Getting Started with API Tokens
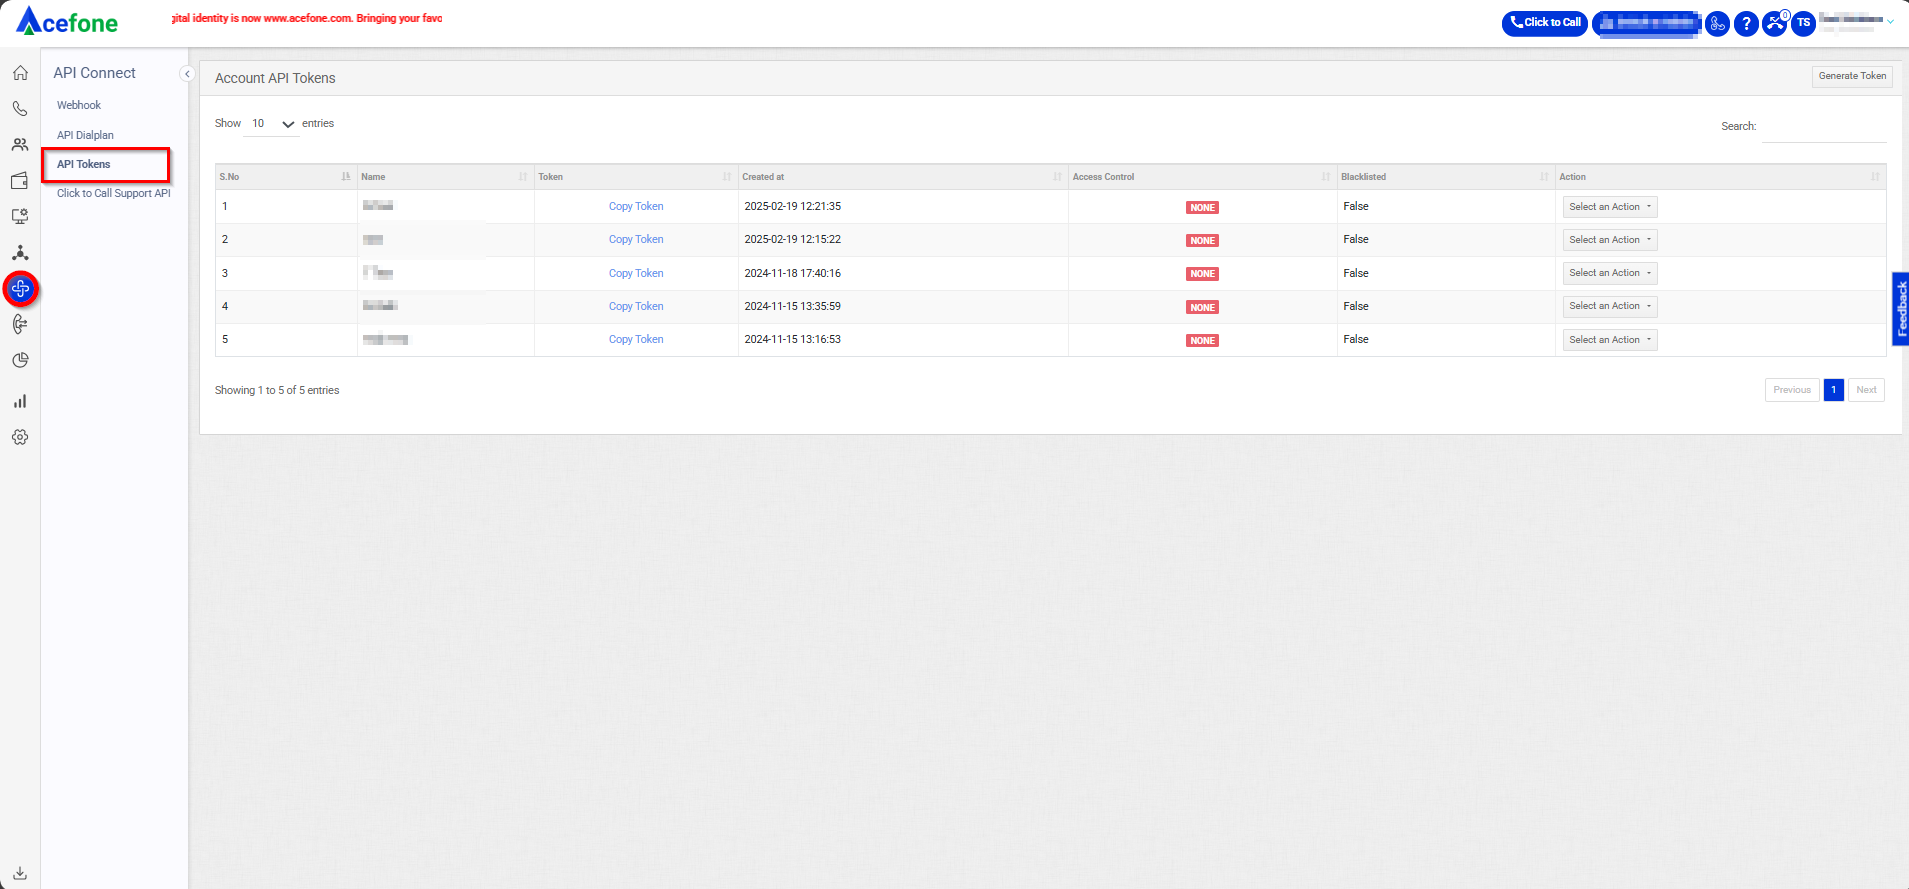
- To go to API Tokens to your Acefone account, first log in using your unique User ID and Password. Once logged in, you will be directed to the main dashboard. From there, locate the navigation menu on the left-hand side of the screen and click on "API Connect". A set of options opens up. One of these options is the “API Tokens".
- List of all Account API Tokens
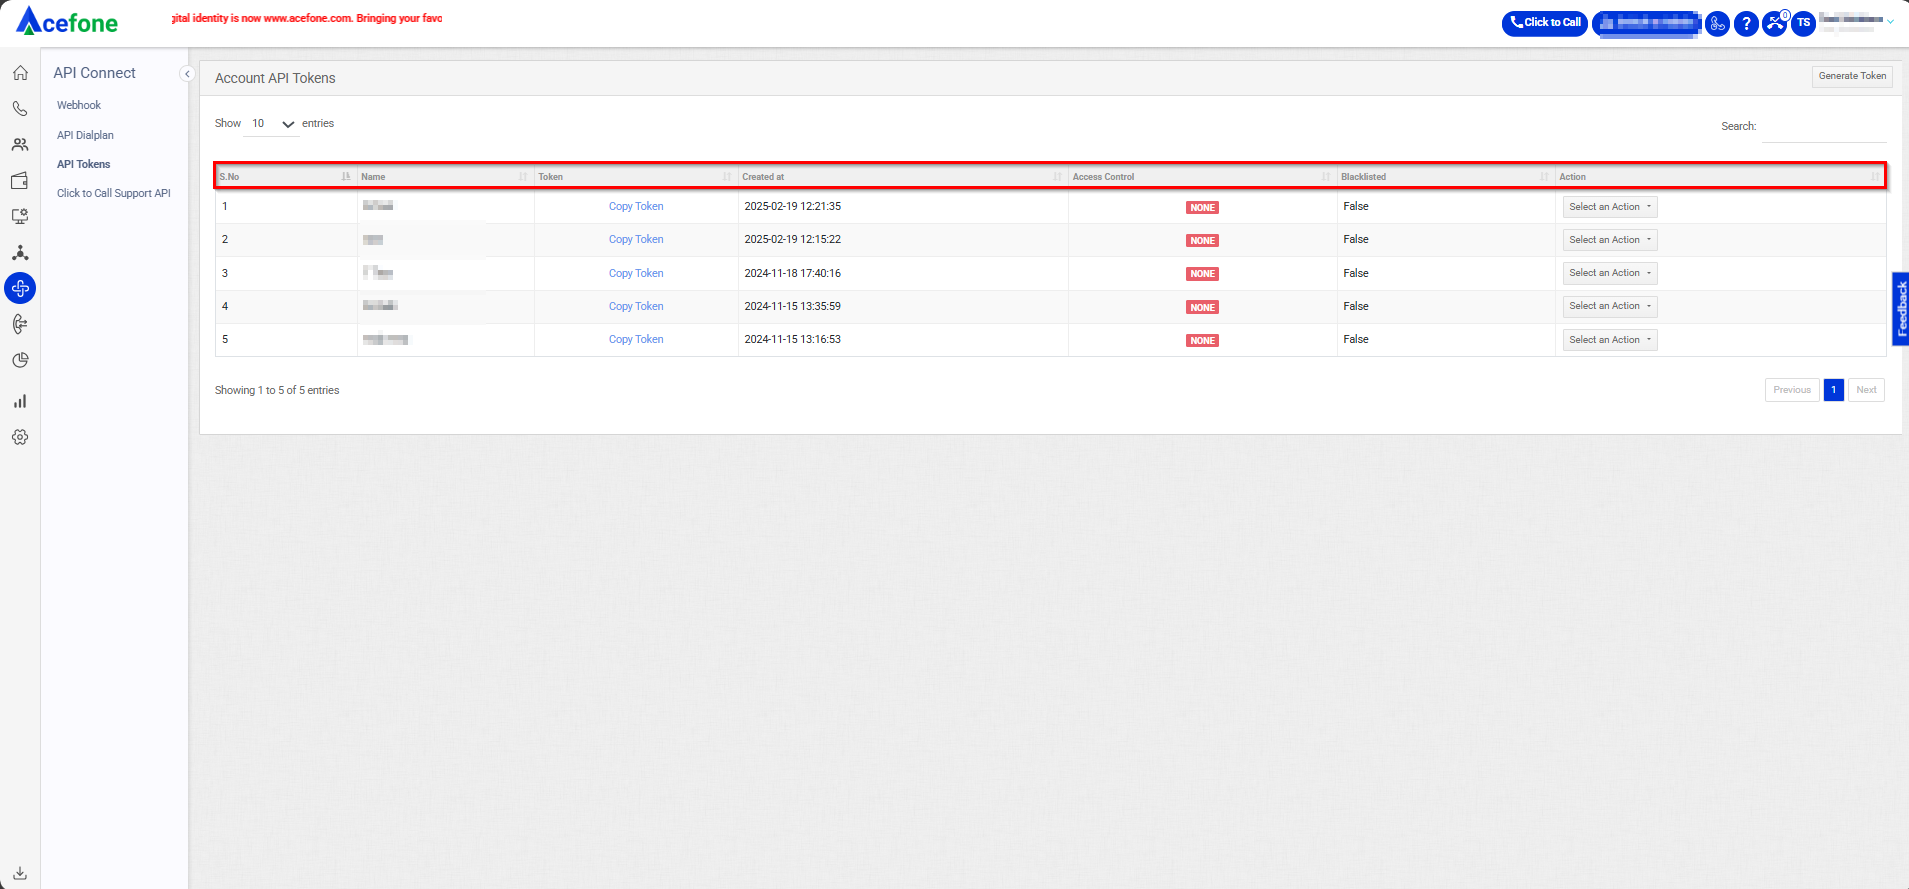
- The table displays a list of all account API tokens with the following information:
| Field | Description |
|---|---|
| S.No. | Serial number used to uniquely identify or order each API token. |
| Name | The name or label assigned to the API token for easy identification. |
| Token | The unique API token string used for authentication. |
| Created At | The date and time when the API token was generated. |
| Access Control | Specifies the permissions or access level associated with the API token. |
| Blacklisted | Indicates whether the API token has been blacklisted (disabled for use). |
| Action | Options to Edit, Blacklist, or Delete the API token as required. |
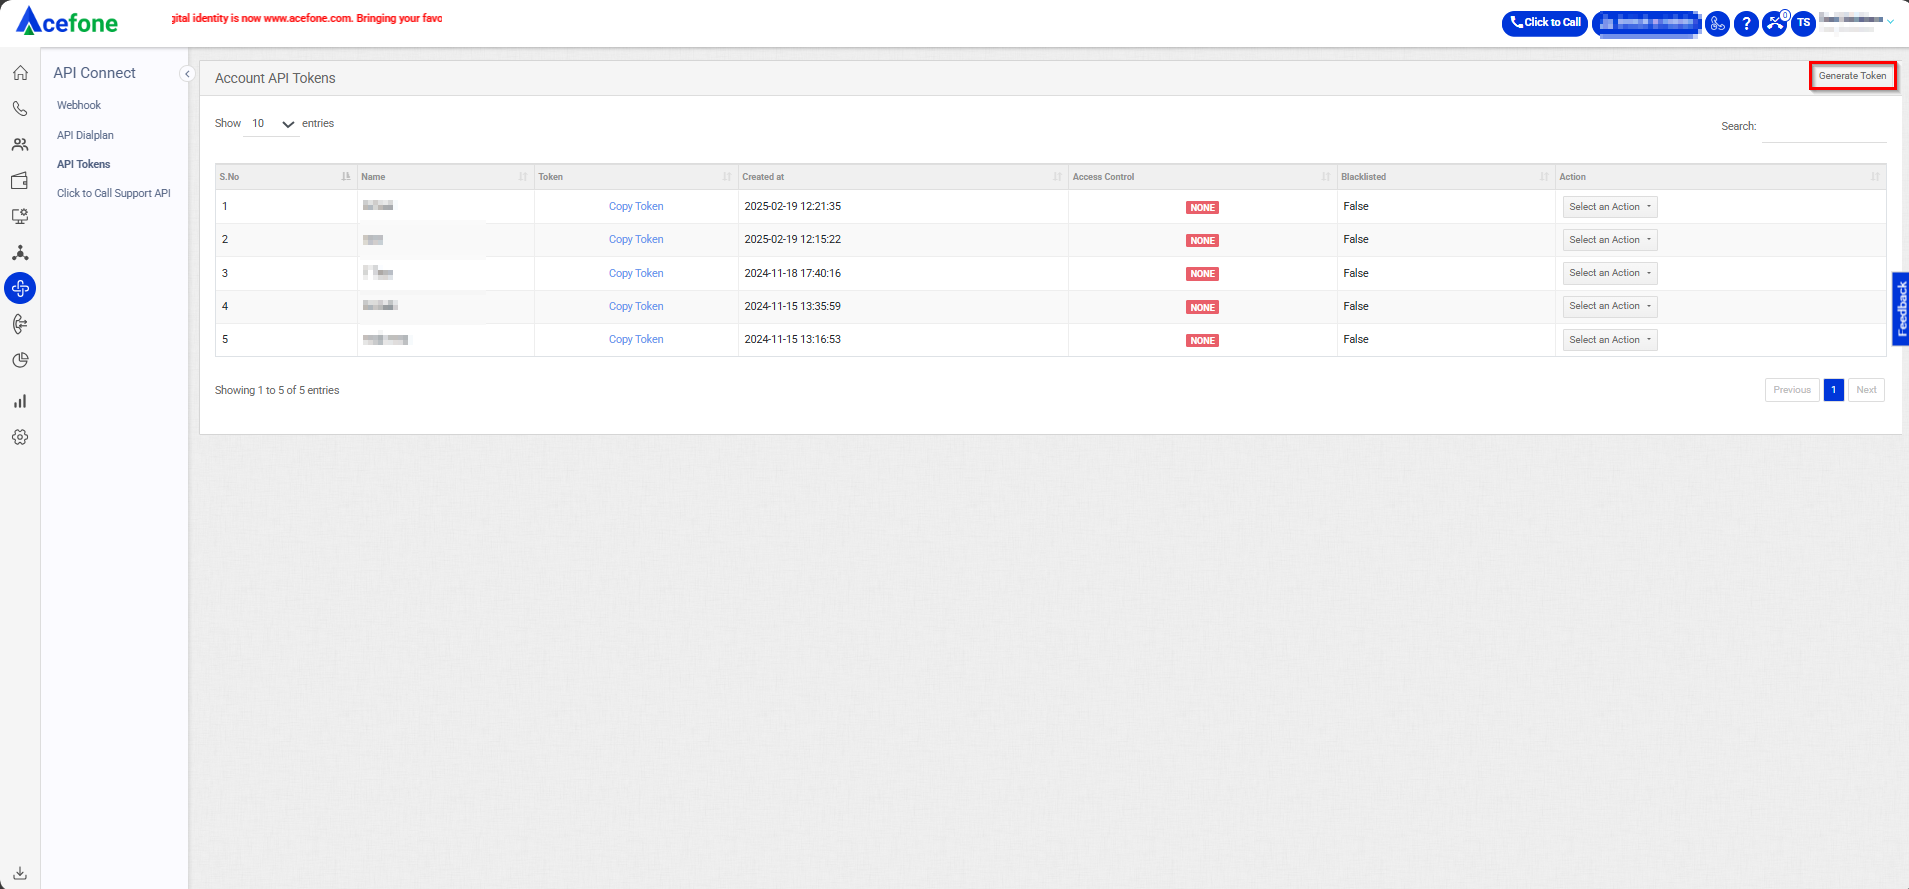
- Generate Token
- To generate a API token, follow the below steps:
- Click on the API Connect tab on the side navigation.
- Click on API Tokens.
- A list of all the account API tokens appears along with the relevant details.
- Click on Generate Tokens.
- The following screen will appear, prompting you to complete the necessary fields as shown in the screenshot below.
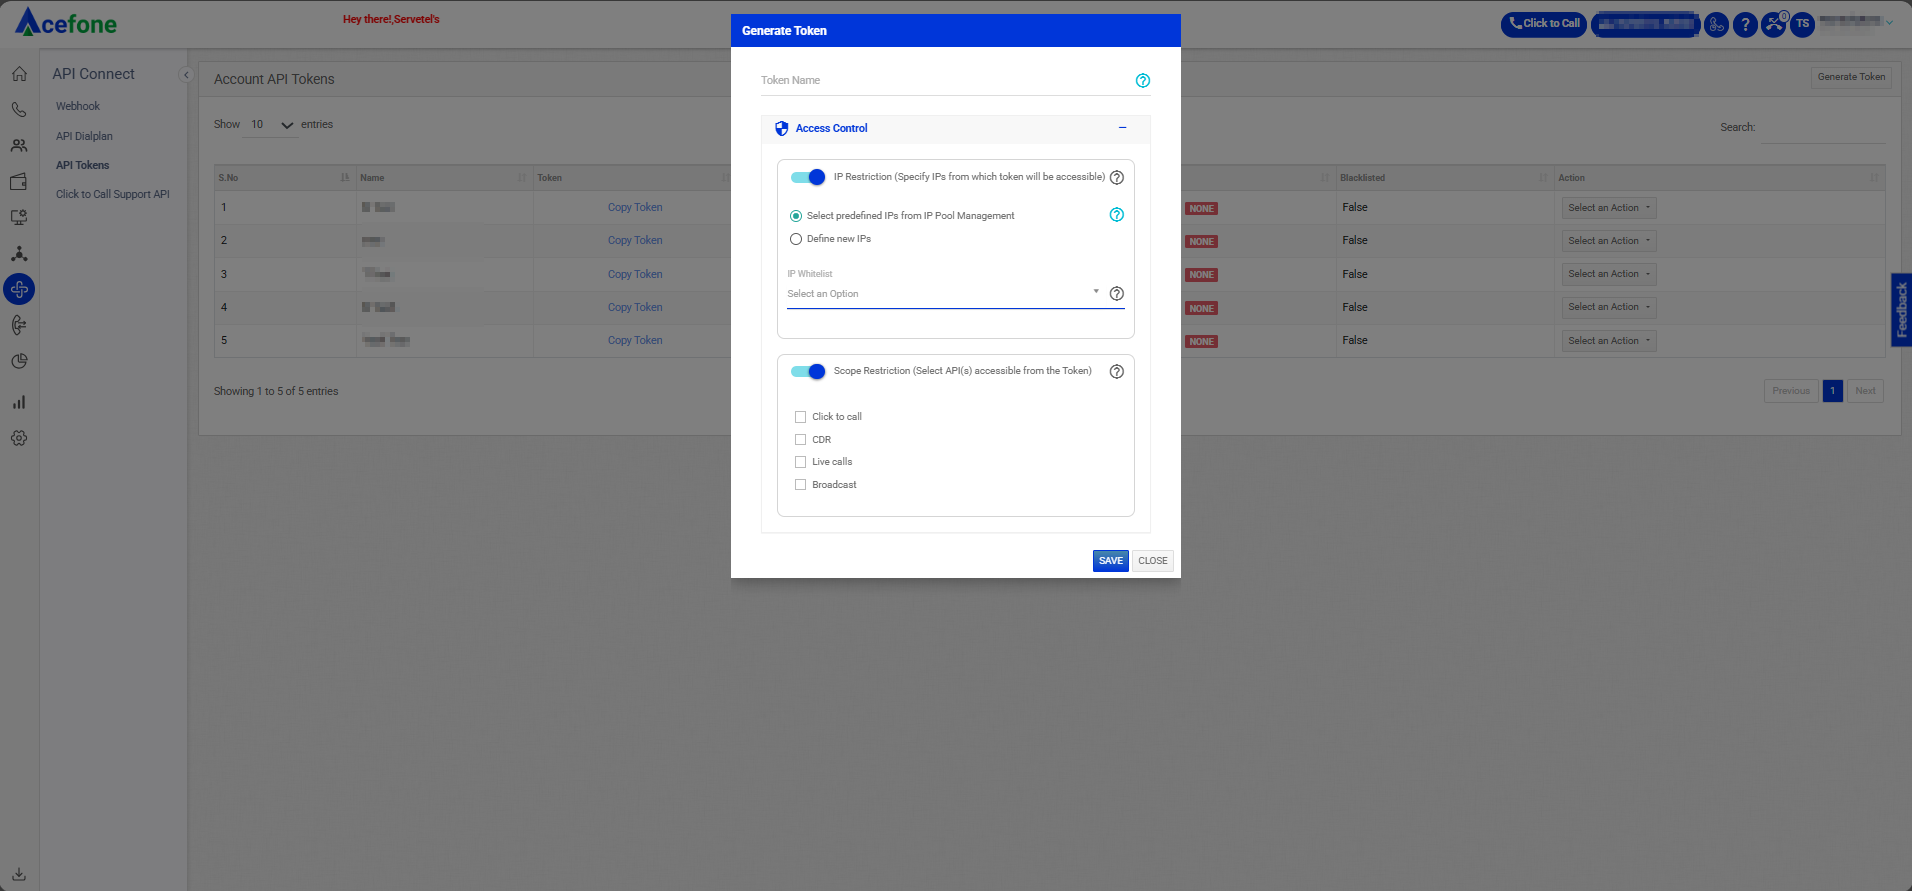
- Here is a table explaining the fields from the Generate Token interface based on the screenshot:
| Field | Description | Options/Examples |
|---|---|---|
| Token Name | A unique name for the token to easily identify its purpose. | Example: SalesAPIToken, SupportToken |
| Access Control | Restricts token usage based on IP addresses and API scopes. | Choose specific restrictions like IP Restriction or Scope Restriction |
| IP Restriction | Specify IP restrictions for token accessibility. | * Options include: - Select predefined IPs: Choose from an existing IP whitelist in the IP Pool. - Define new IPs: Manually add IP addresses for access. |
| IP Whitelist | Displays the selected or predefined IPs allowed to use the token. | Example: 192.168.1.1, 10.0.0.5 |
| Scope Restriction | Restricts token access to specific APIs. | * Options include: - Click to Call: Access click-to-call APIs. - CDR: Access Call Detail Records APIs. - Live Calls: Access live call monitoring APIs. - Broadcast: Manage broadcast campaign APIs. |
- Click Save.
Important:The API token generated from the portal is valid for a lifetime without expiration. However, if the token is generated via an API, it will expire after 60 minutes.